Dell PowerConnect 5224 – The Switch Swicheroo Pt. 2

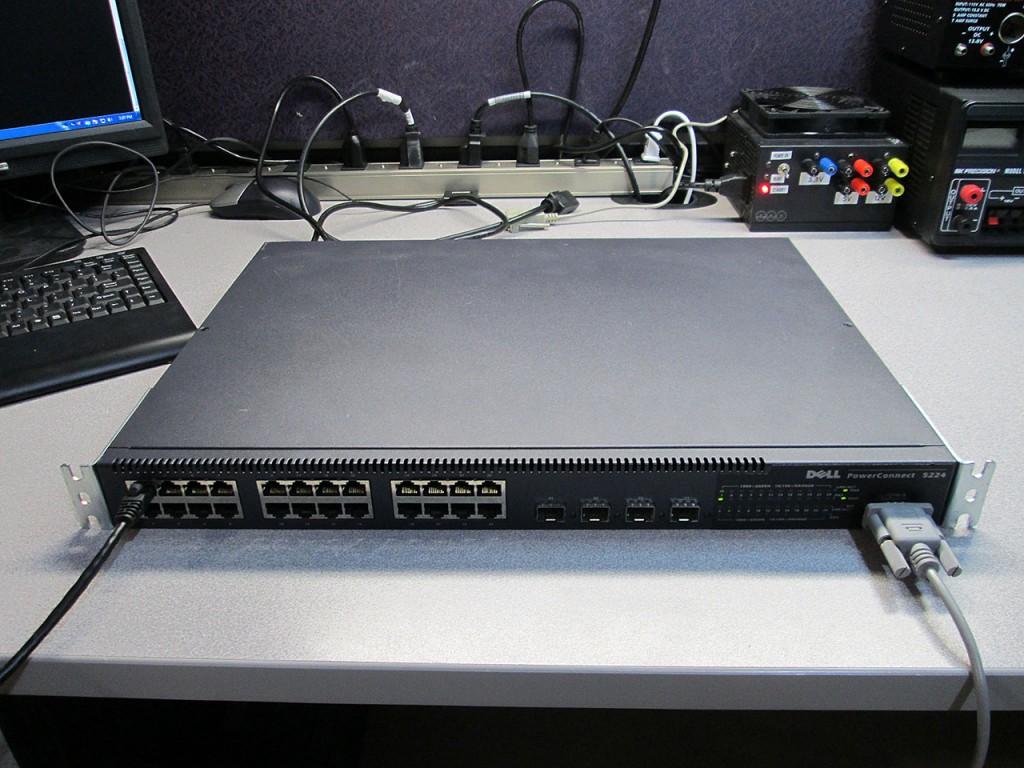
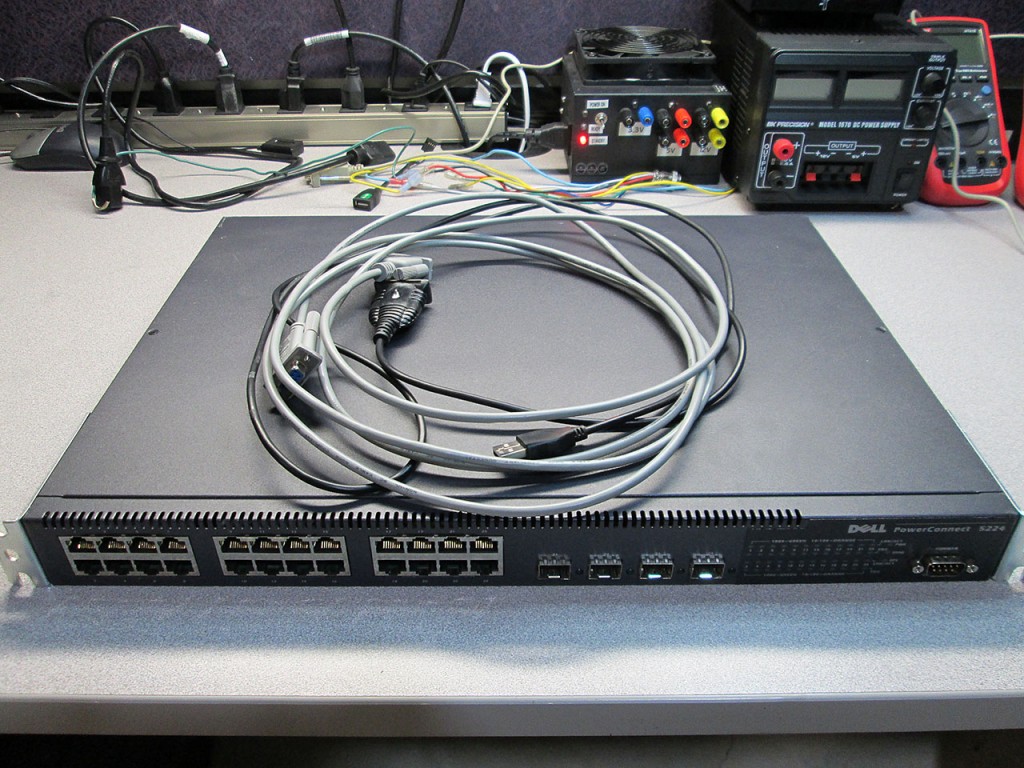
In my previous blog I started the process of swapping out the Dell network switches in order to replace an aging Netgear GS716T at one of my DC Racks. This time I need to reconfigure the swapped out Dell PowerConnect 5224 switch so that when I rack it up at the data center, only minimal configuration will be required.

This switch is massive compared to the Dell PowerConnect 5324. In my experience it is just as good as the 53 series switches. The feature set is about the same even though the Web UI is slightly different.

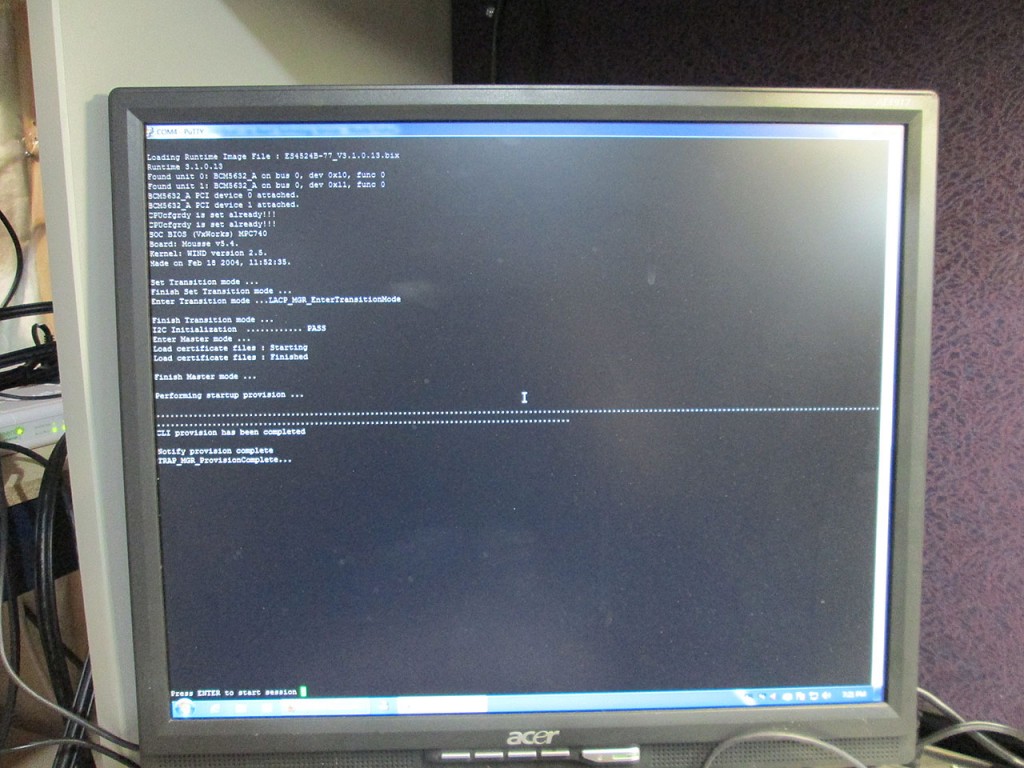
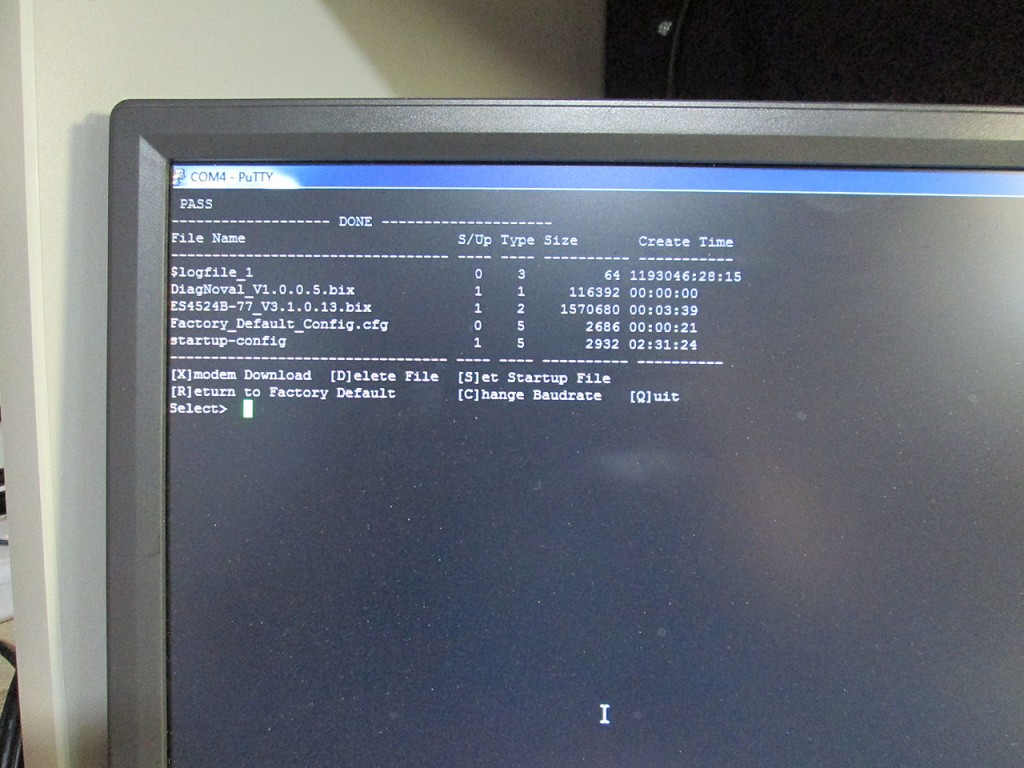
To factory reset the PowerConnect 5224 all that’s required is to repeatedly hit Ctrl-F as the switch boots up. It’ll go into a recovery menu. Then all that’s required is to delete the startup-config and set the Factory Default file as the start file

Once the switch is reloaded. Standard config commands will configure the switch for ethernet

Console#configure
Console(config)#interface vlan 1
Console(config-if)#ip address 192.168.77.192 255.255.255.0
Console(config-if)#end
Console#copy running-config startup-config
Console#reload

The switch is now ready to be configured via the Web UI.

Building pfSense Firewall

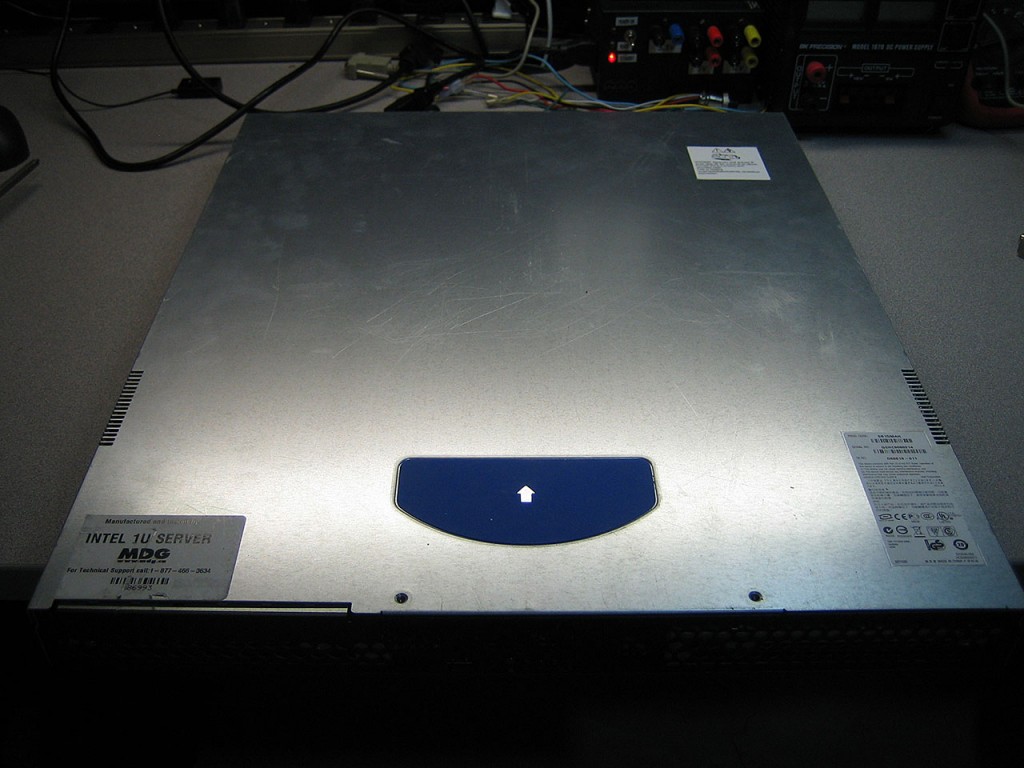
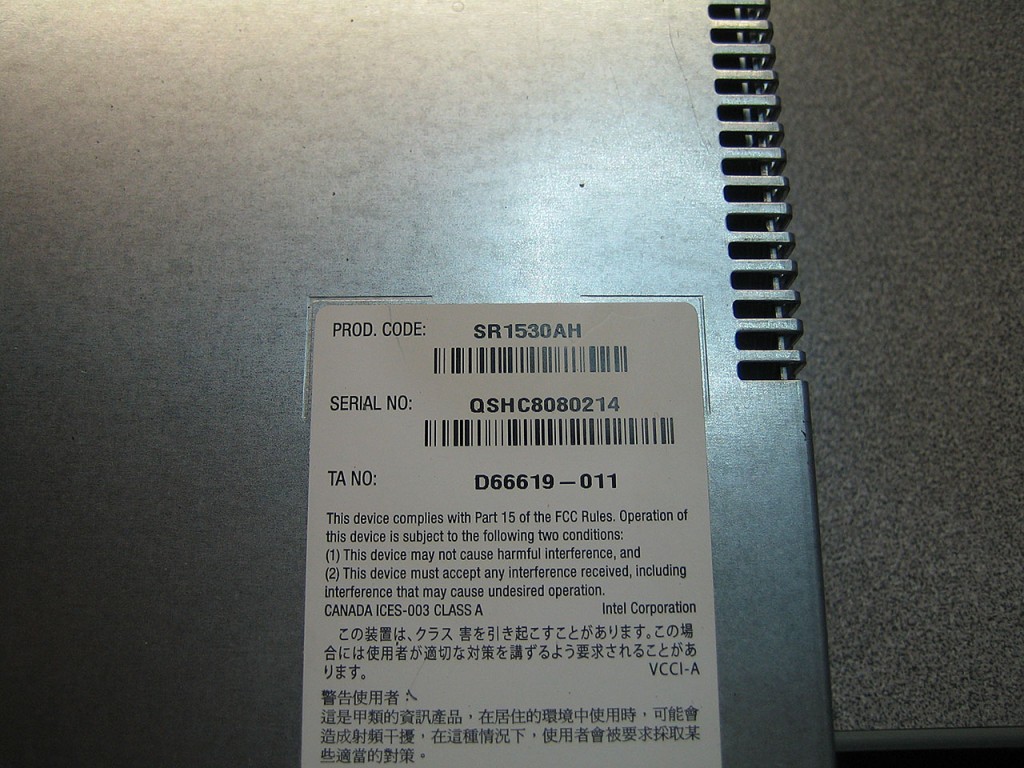
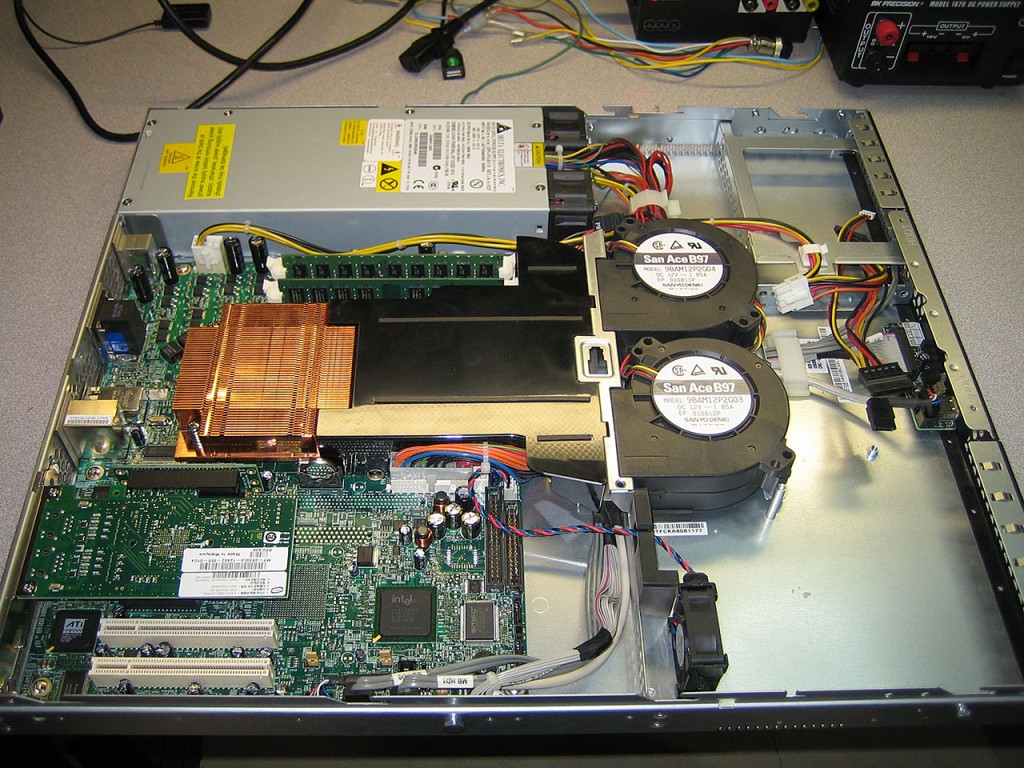
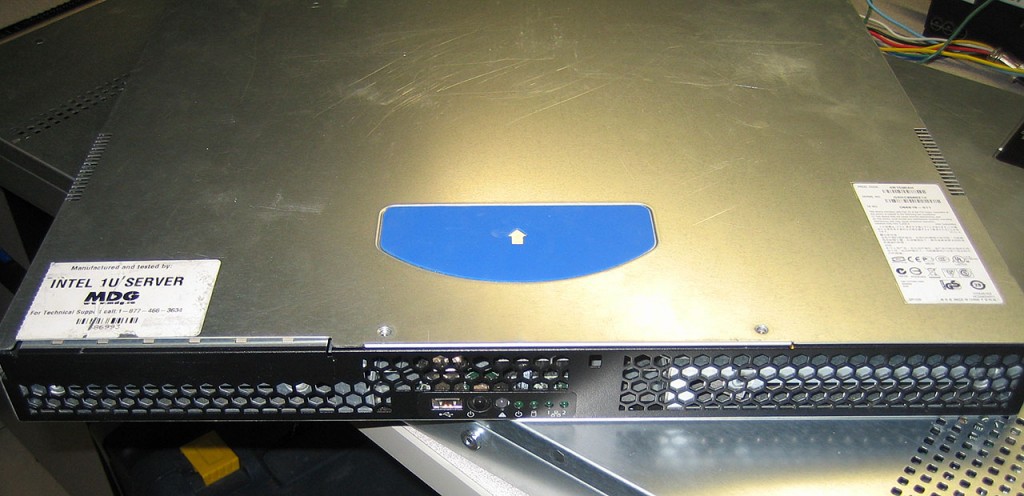
Few weeks ago I picked up this old Intel SR1530AH server. This server was picked up specifically to act as a firewall for one of my racks at a data center. This is a very basic, almost desktop level hardware. Intel Core 2 Duo 2.0Ghz CPU and 4GB of RAM. The only thing that is non-desktop is the fact that it is ECC ram.

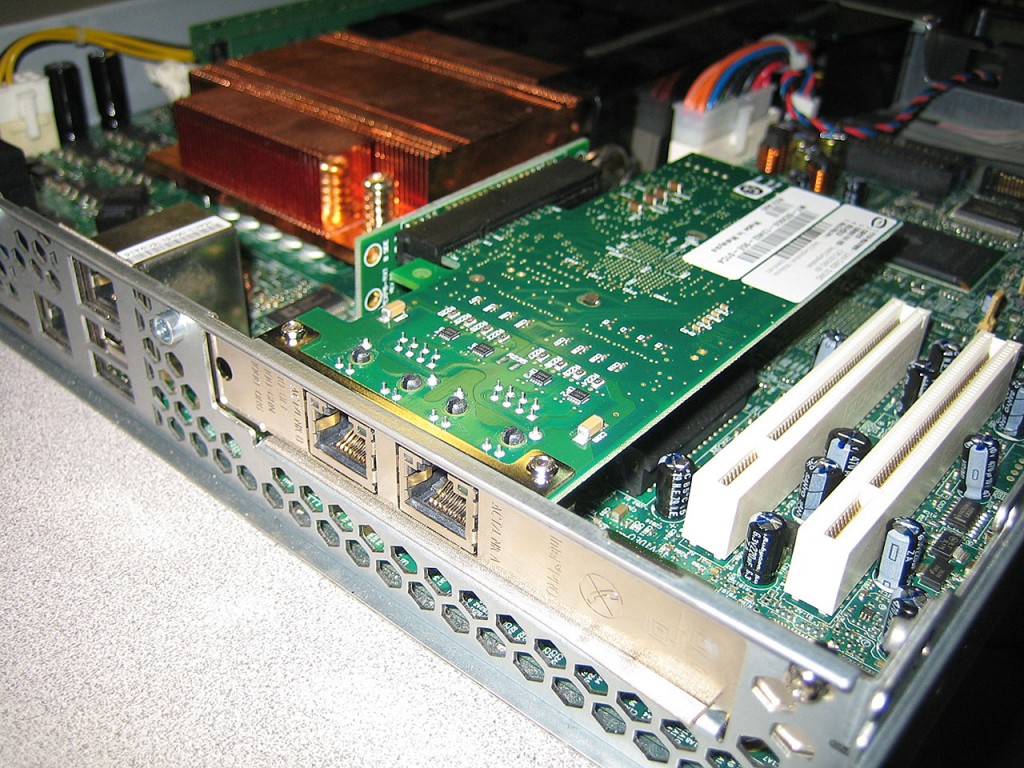
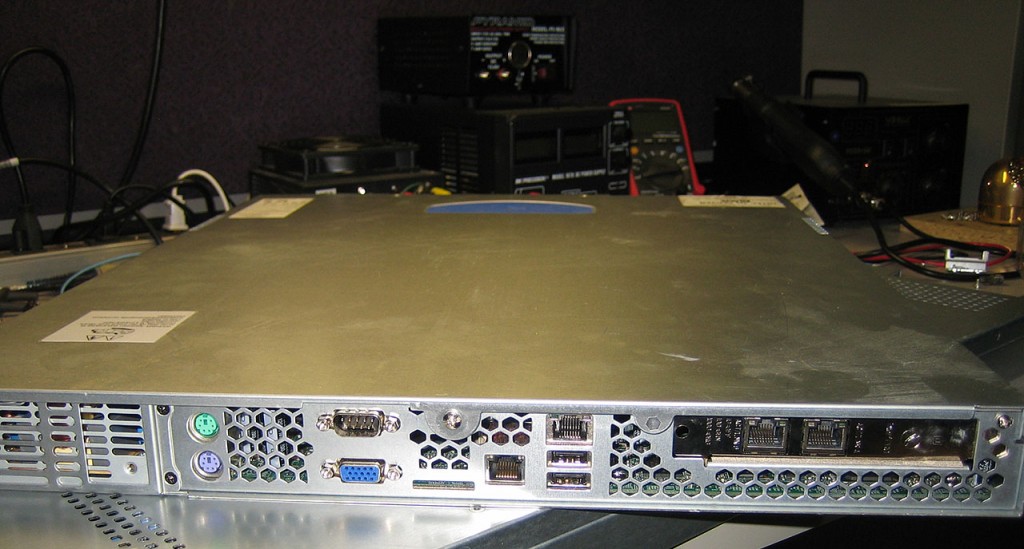
This is actually a very nice machine for the purpose. Based on previous experience with 2.0Ghz it should be able to sustain approx 300MBit/s unencrypted traffic across interfaces. Which is quite plenty since the uplink to the internet is only a 100Mbit connection. Now, because this server only comes with two onboard network interfaces, I needed to add an additional network card. I had an extra low profile riser in my junk drawer so couple of minutes later I added a dual port Intel Pro nic. This gives me the minimum 3 interfaces I require (WAN, LAN and DMZ). I could potentially use the third interface as a bridged DMZ for some of the VMs.

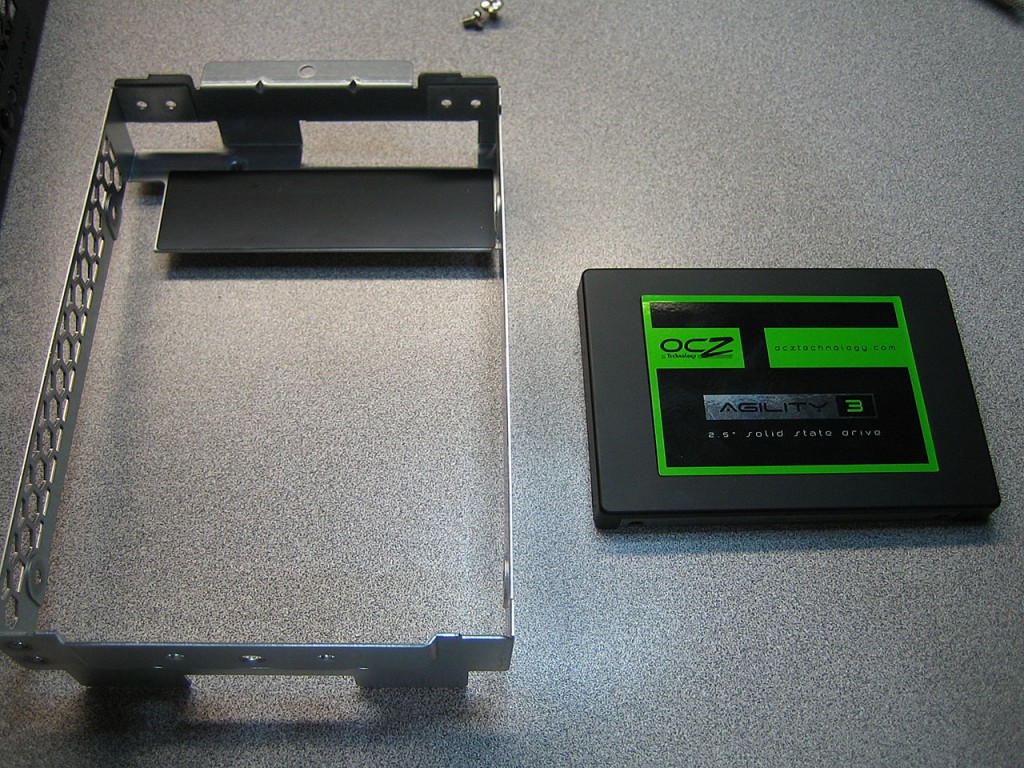
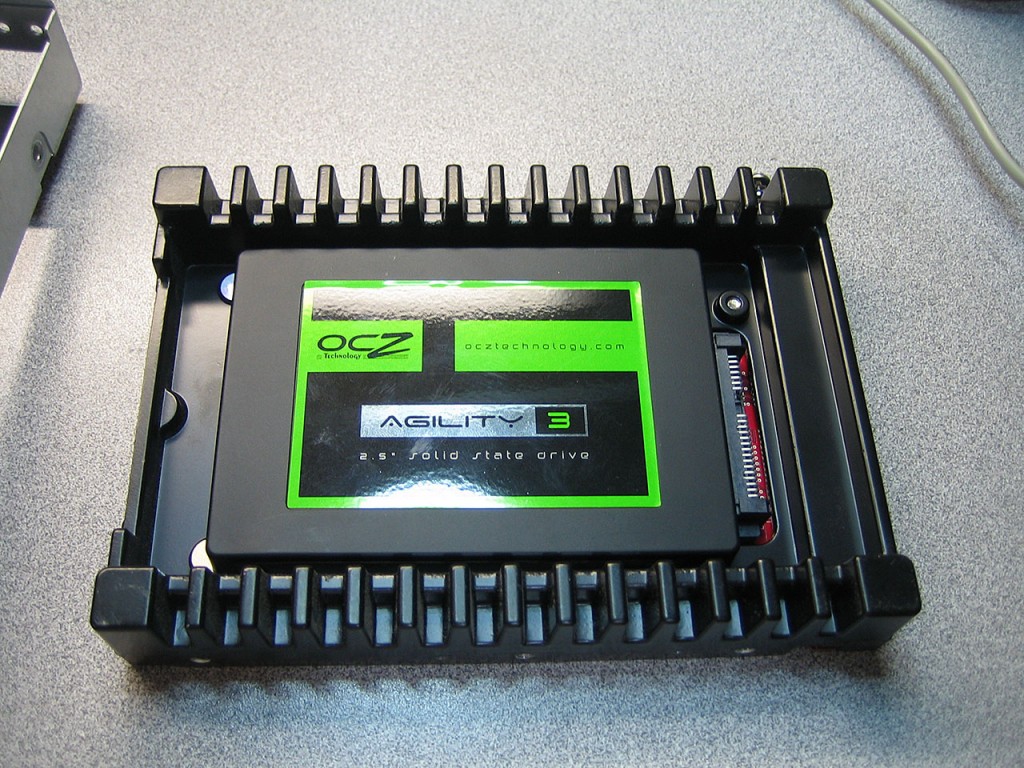
In order to install pfSense on the server, I needed persistent storage. I chose to go with the OCZ Agility 3 60GB SSD drive. Seems like overkill since the installation of the firewall is only about 6GB including swap space. But SSD’s are pretty cheap nowadays and since pfSense hardly ever writes to the local storage and the lack of moving parts should equate long drive life.

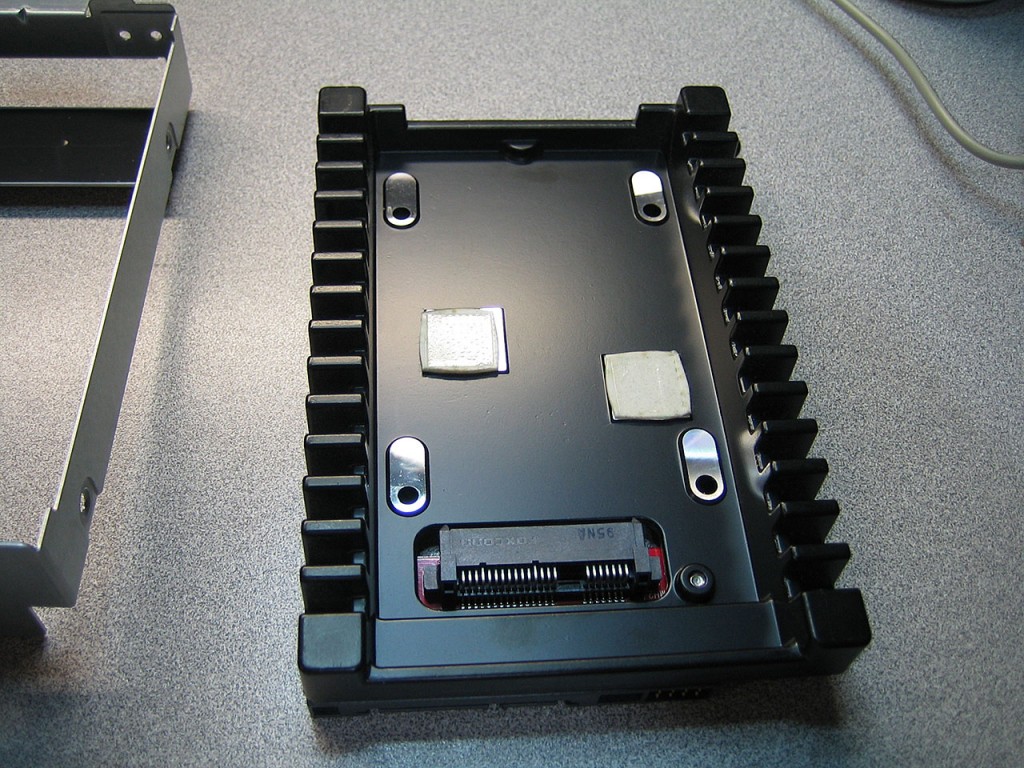
Ran into a small issue installing the 2.5″ SSD into the server as the adapter that comes with the drive is insufficient to mount it. Thankfully, I’ve had several of these “Ice Packs”. These came off of several Western Digital Velociraptors. While it looks like a heavy duty heatsink, it’s main purpose is to simply adapt the 2.5″ Velociraptor size to a 3.5″ hot-swap size.

Couple of screws and the Agility nicely sits in the Ice Pack, ready to be installed into the server.

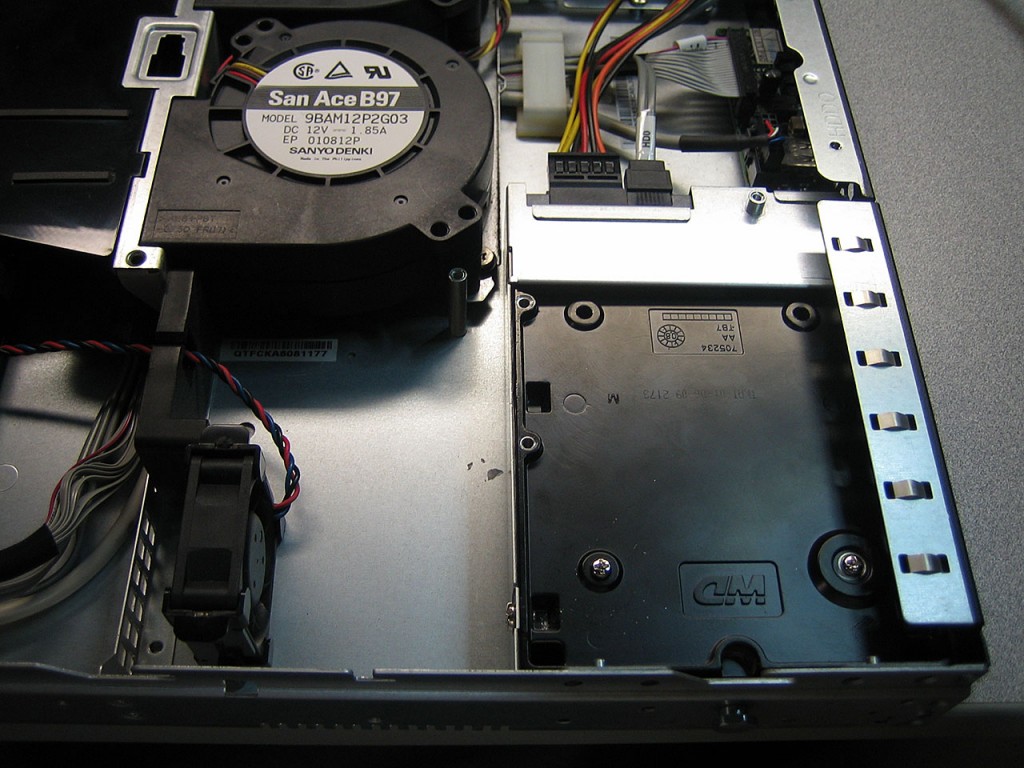
The disk drive now installed into the server. Hopefully it won’t have to leave it’s home for a very long time.

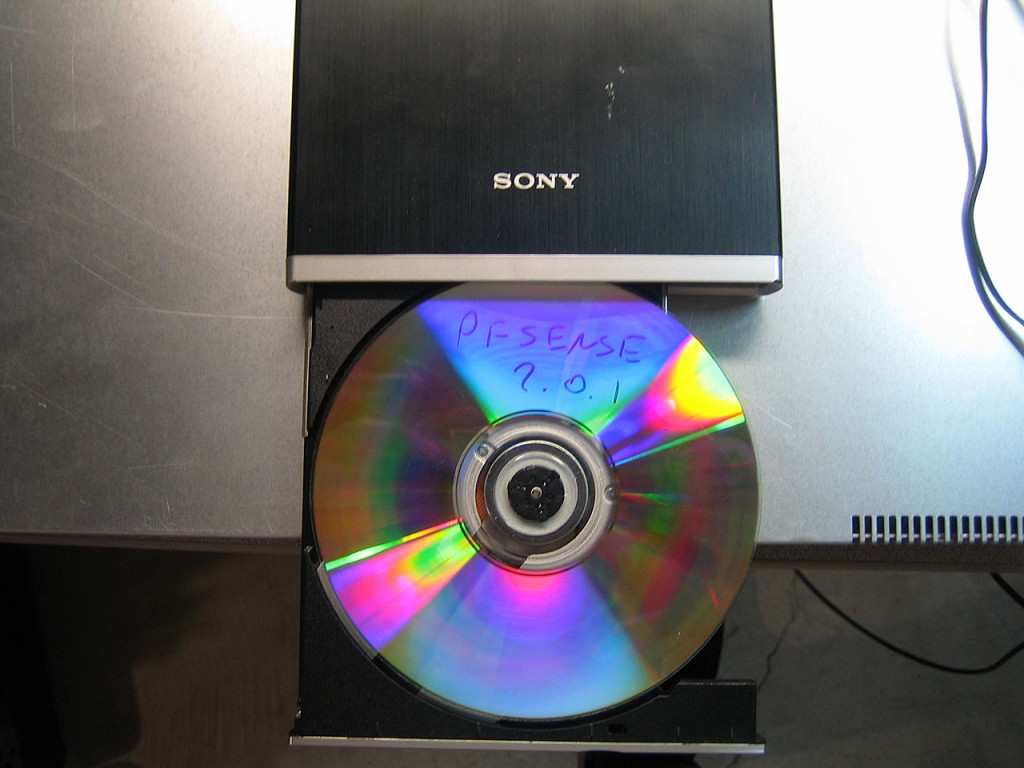
Time to install pfSense. This simply involves downloading the ISO image from the pfSense web site. Uncompressing it and burning to the CD. The uncompressed image is only 115MB so the burn process is very quick.

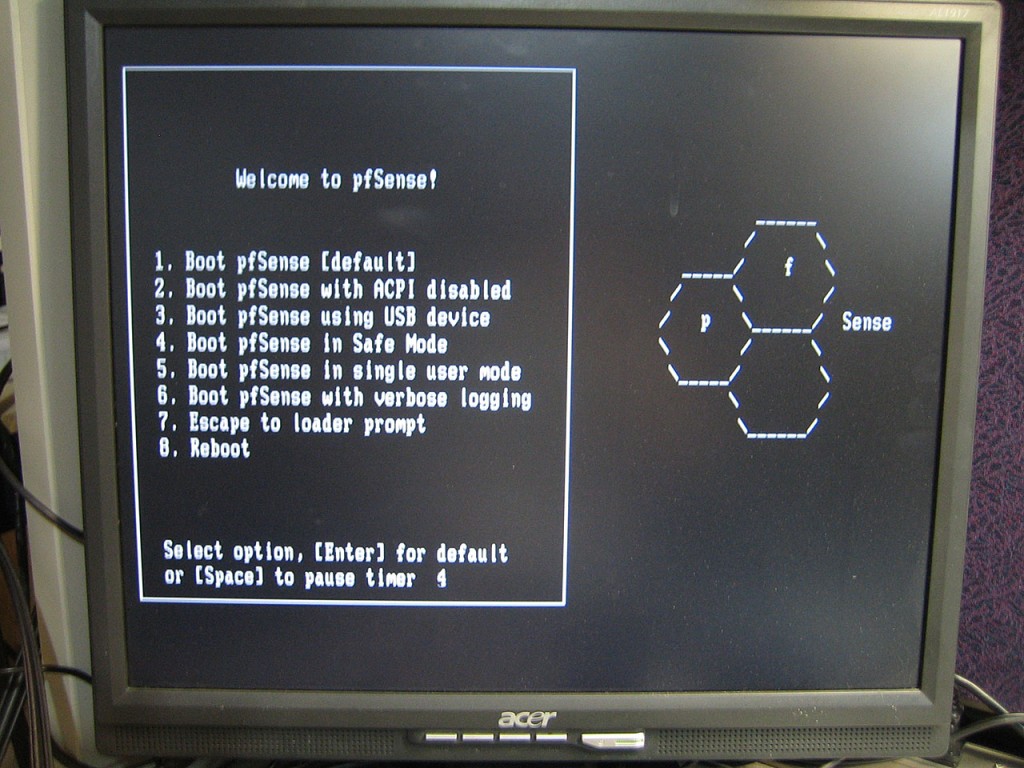
After that, simply connect the USB DVD Drive and pop the pfSense CD inside and boot-up the server.

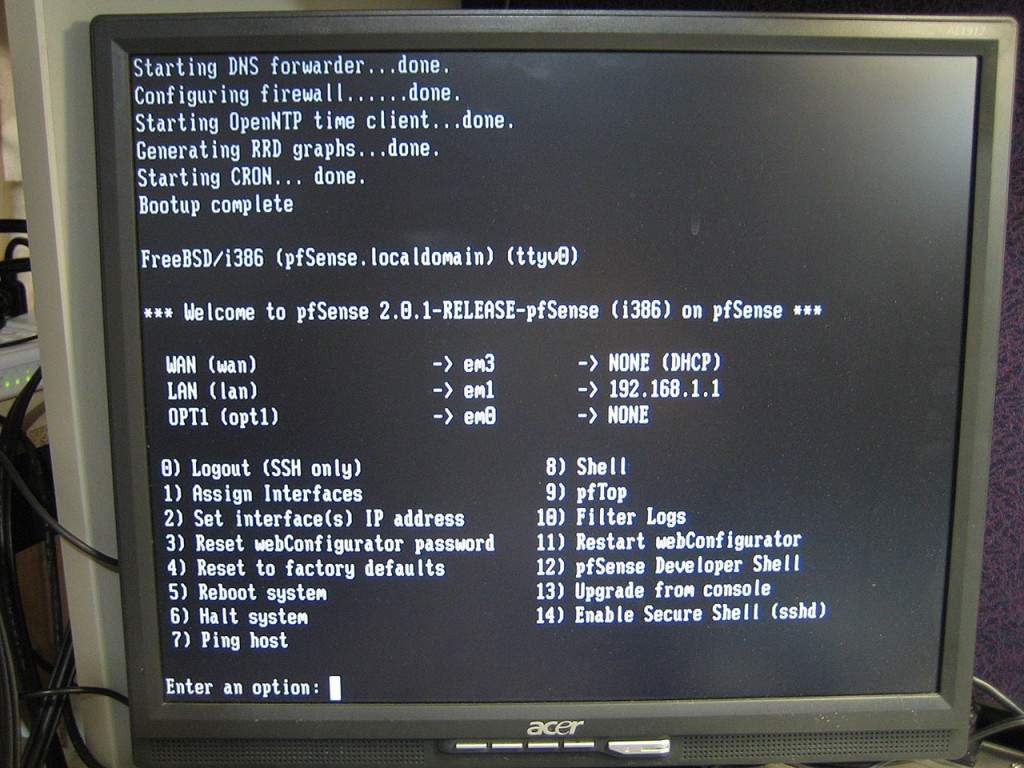
Couple of minutes and few wizard like questions and pfSense is ready to be configured via a browser.

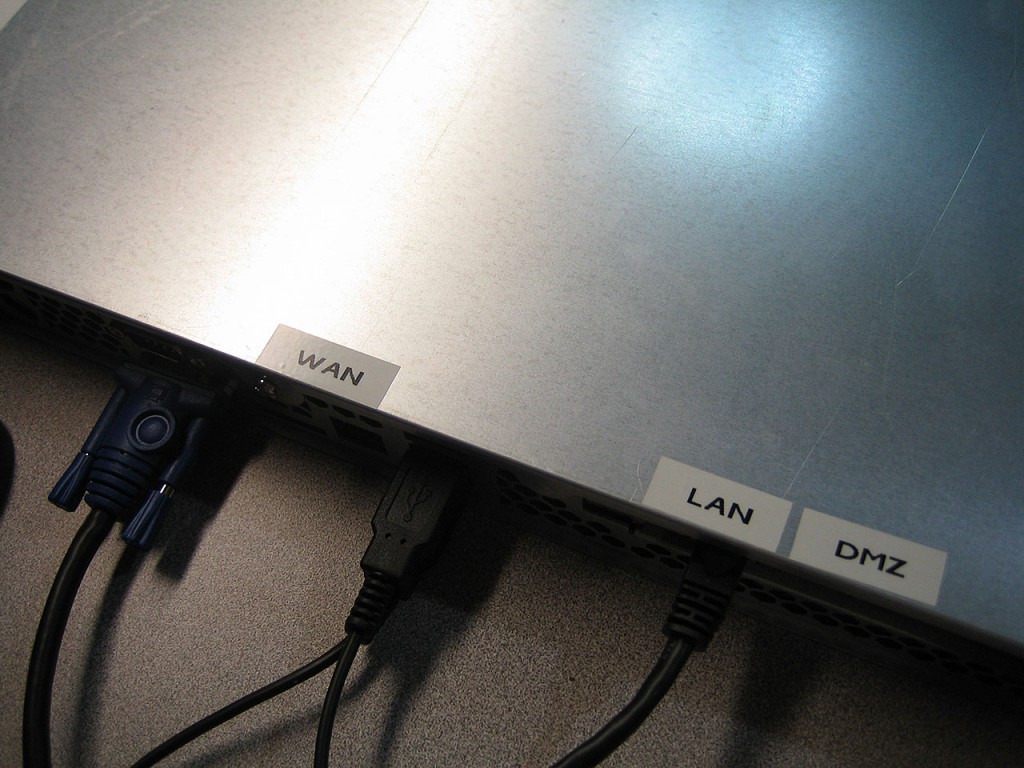
Last step is to label the network interfaces on the back of the server.

The server/firewall is now ready to be racked up. Should be going into the datacenter on Wednesday.

Blackberry 10 – Looks Kick-Ass

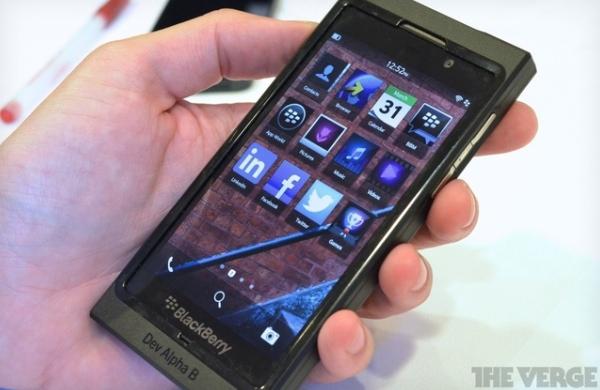
Over the last couple of days I’ve followed closely RIM’s second preview of the BlackBerry 10 OS and the new Dev Alpha (Beta?) phone. I gotta say I’m really impressed with what I saw. Looks like there’s still good chance that RIM will make a great comeback.

I’ve been holding on to my BlackBerry Bold 9900 since it came out. While I used iOS and Android I’ve always came back to my trusty BB to type emails and messages. I don’t like carrying two phones around all the time so it looks like BB10 will solve that issue for me. I might even take another look at developing for the BB10 platform. One of my biggest pet-peeves about iOS and Android is the really crappy on-screen keyboards. I’ve yet to find one that allows me to type fast without making tons of typos. I hate typing on the screen without real tactile feedback.
One of the greatest features of the BlackBerry has been one-handed operation. And based on what I’ve seen so far, the BB10 platform has been designed around that concept.

I was greatly disappointed when I found that that BB10 was delayed to early 2013, but I’m sure it’ll be worth the wait. I’ll definitely be buying it.

Dell PowerConnect 5324 or The Switch Switcheroo

One of my racks at a datacenter has been having some connectivity issues. There’s a possibility that the Netgear GS716T uplink switch is starting to flake out. So I wanted to replace the switch while it’s still running. Canada Post dropped off this little gem from eBay today. Dell PowerConnect 5324. 24 Port Gigabit Managed Switch. I’m running several of these switches with great success.
The idea is to take my existing PowerConnect 5224 from home and replace the datacenter GS716T with it. Then use the new 5324 at home. The PowerConnect 5224 has been proven very reliable and very low latency. If the GS716T is problematic, I know the Dell will show it.
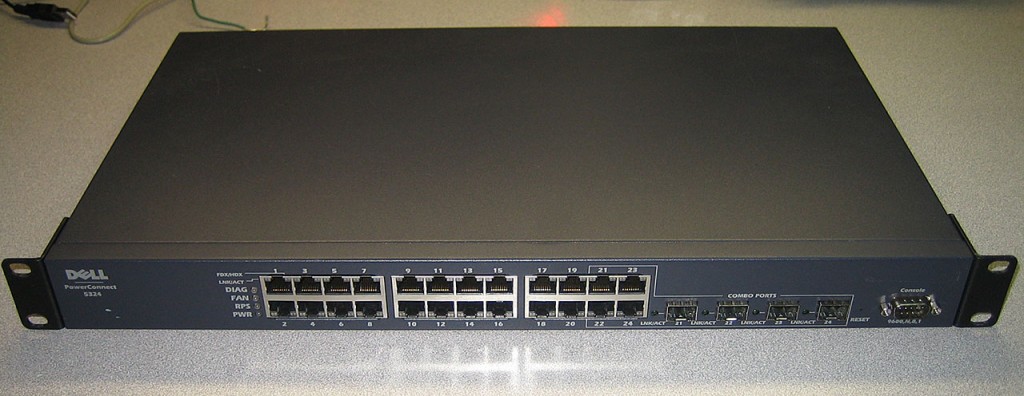
First step is to get this switch configured. This means resetting is to factory settings
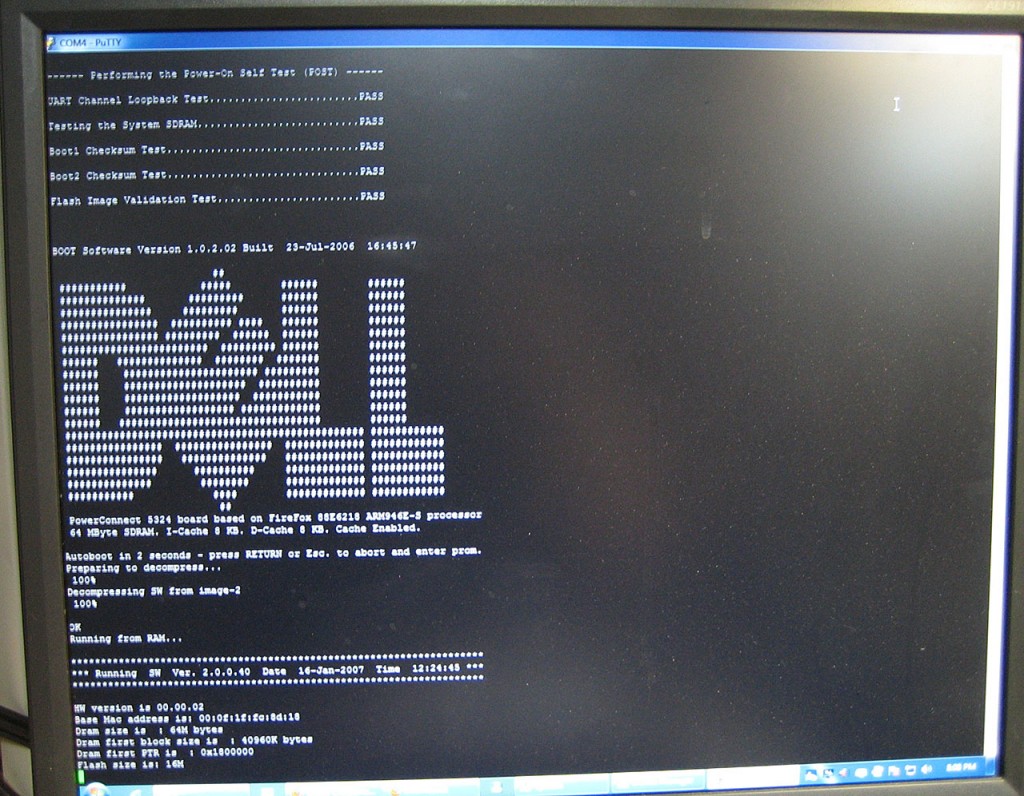
Reset To Factory Settings

> enable
> config
> delete startup-config
> reload

Configure IP Address

> enable
> config
> interface vlan 1
> ip address 192.168.77.250 /24
> ip default-gateway 192.168.77.1
> exit
> exit
> copy running-config startup-config

Reload to make sure it saved properly

> reload

Create a web UI user

> enable
> config
> username admin password admin level 15
> copy running-config startup-config

A quick check in the browser and looks like we’re fully operational.

Always a good idea to update the Firmware before it’s put into production. So next step is to hit the Dell Support Site, punch in the Service Tag number and get the latest firmware.

To load the firmware onto the switch, I need a TFTP server running. Over the years I’ve been using this software. No install required, just execute and drop files into its root. I simply renamed the Dell firmware files, boot file to boot.rfb and image file to image.ros and copied right into the TFTP root.

Then from the console

> copy tftp://192.168.77.6/image.ros image
> copy tftp://192.168.77.6/boot.rgb boot
> The copy operation has failed
Copy:
Due to boot initial state, update should be done twice.
Please download the same file again to complete the process.
> copy tftp://192.168.77.6/boot.rgb boot
The copy operation was completed successfully

Now we need to change the boot flash block. Uploading files to the switch always uploads to the non-active block.

> show bootvar
Images currently available on the FLASH
image-1 not active
image-2 active (selected for next boot)

in this case, it was already defaulting to image-2 so we now need to boot to image-1

> boot system image-1
> reload
> enable
> show version
SW version 2.0.1.4 ( date 01-Aug-2010 time 17:00:12 )
Boot version 1.0.2.02 ( date 23-Jul-2006 time 16:45:47 )
HW version 00.00.02

Now all that’s left is to configure the VLAN’s and Trunking to mimic the existing configuration and just do a straight swap.

Incidentally, I logged onto my GS716T at home while mapping ports and was greeted with this:
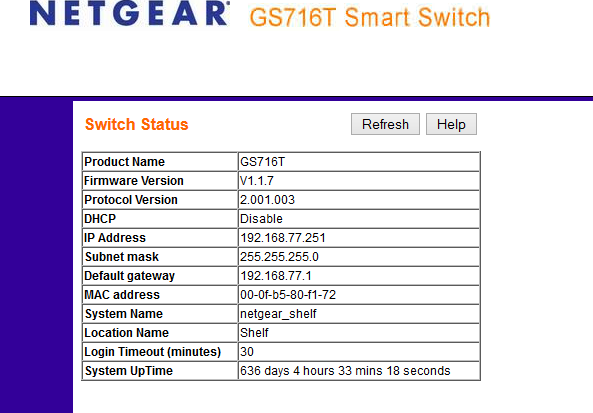
I guess I haven’t fiddled with that switch in a while, if it ain’t broke….
Windows 8 – Round 2

My new computer parts came in today. Nothing too fancy. Just an Intel I5 3570K + Asus P8Z77-V LK. The big thing for me is that the new motherboards supports 32GB of RAM so now running a beefy 8GB RAM Disk for Temp storage, and still plenty of RAM left to run several virtual machines. The only fancy component is an EVGA GTX 670 video card that drives 2 of my 3 monitors.
As part of the new machine build process I installed Windows 8 RTM. And I’m pleased to say, the install process was much smoother this time. Most of installers had to be set to Windows 7 Compatibility Mode to successfully install but most software and drivers so far work fine. Originally I was using a Creative X-Fi Card for sound, this time around I used the Auzentech X-Fi Prelude card that I recently pulled from my media PC. The Windows 7 drivers off the web site seem to work fine so far.

Glad to see that VPN is also fixed, which was a deal breaker for me in the RC version.

Couple of things still irk me. UAC can not be fully disabled without a registry tweak. Video files default to launch with a Video app that doesn’t seem to exist. Start Up folder no longer clearly acessible and of course the start screen gets populated with TONS of garbage shortcuts as software gets installed.

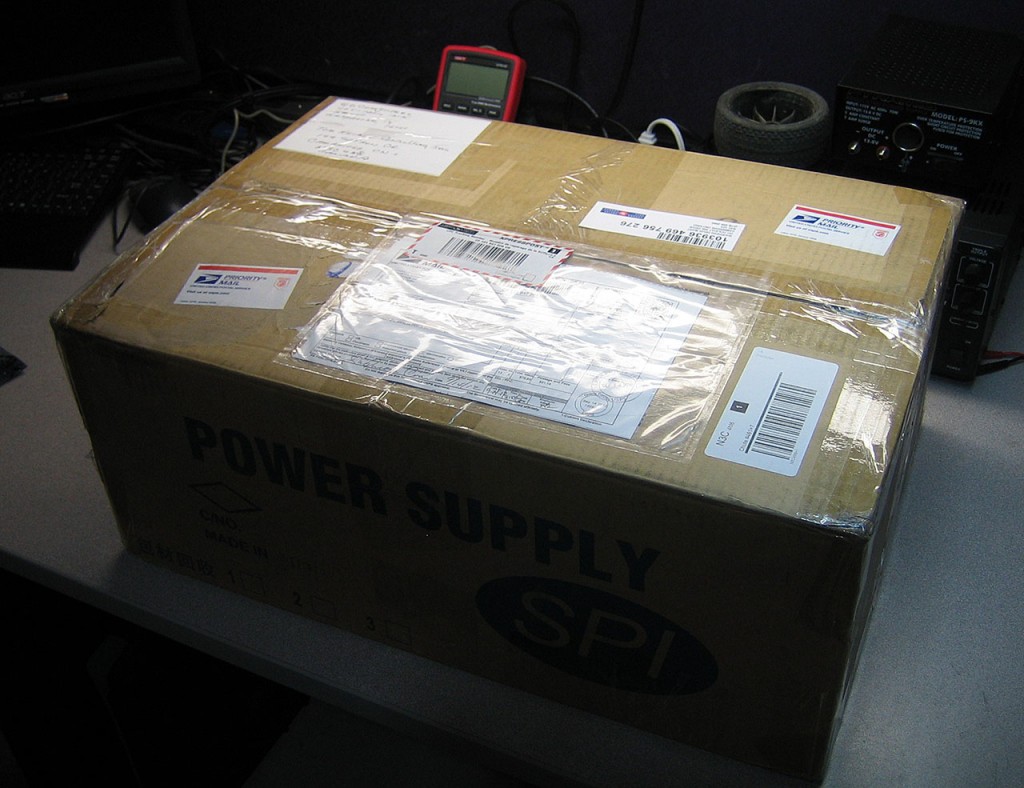
High Power – Modified Power Supply

Overview

A buddy of mine asked me to convert an old computer power supply to a bench supply that he can use with a LiPo charger to charge his Traxxas Slash batteries. Because these LiPos often come in between 4000mAh and 12000mAh ratings, even just charging them at 1C would easily require 10A per battery. A typical linear power supply can only provide between 500mA and 2A where a switching computer supply can easily supply 20A per rail with 2 to 3 rails. Computer power supplies are also relatively cheap which makes them a perfect candidate for this project.

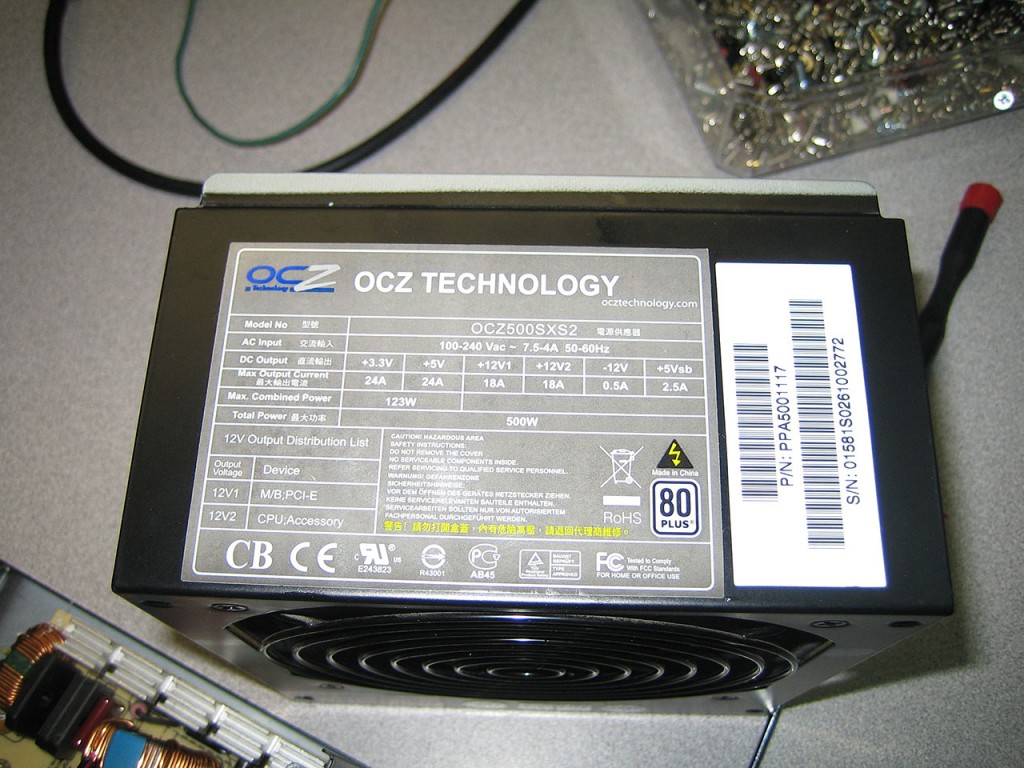
The victim for this modification is an OCZ 500W power supply. Comes with two 18A 12V rails and 24A 5V rail. The two 12V rails can be combined for greater power.

UT70B Teardown a.k.a. UltraDMM Development

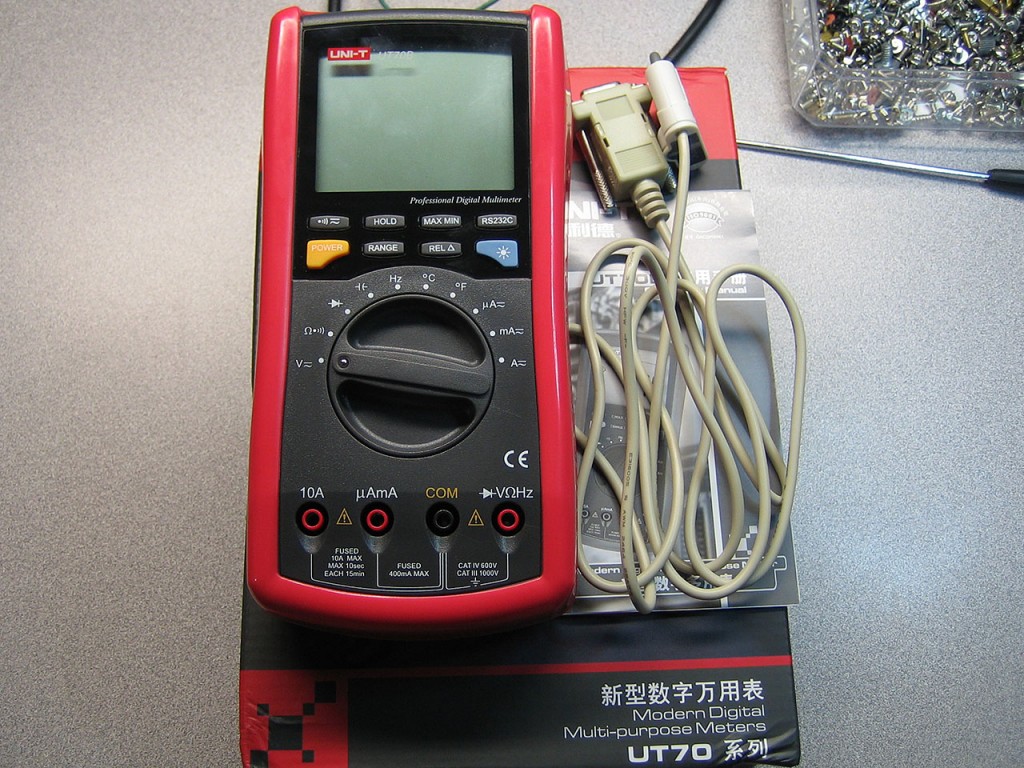
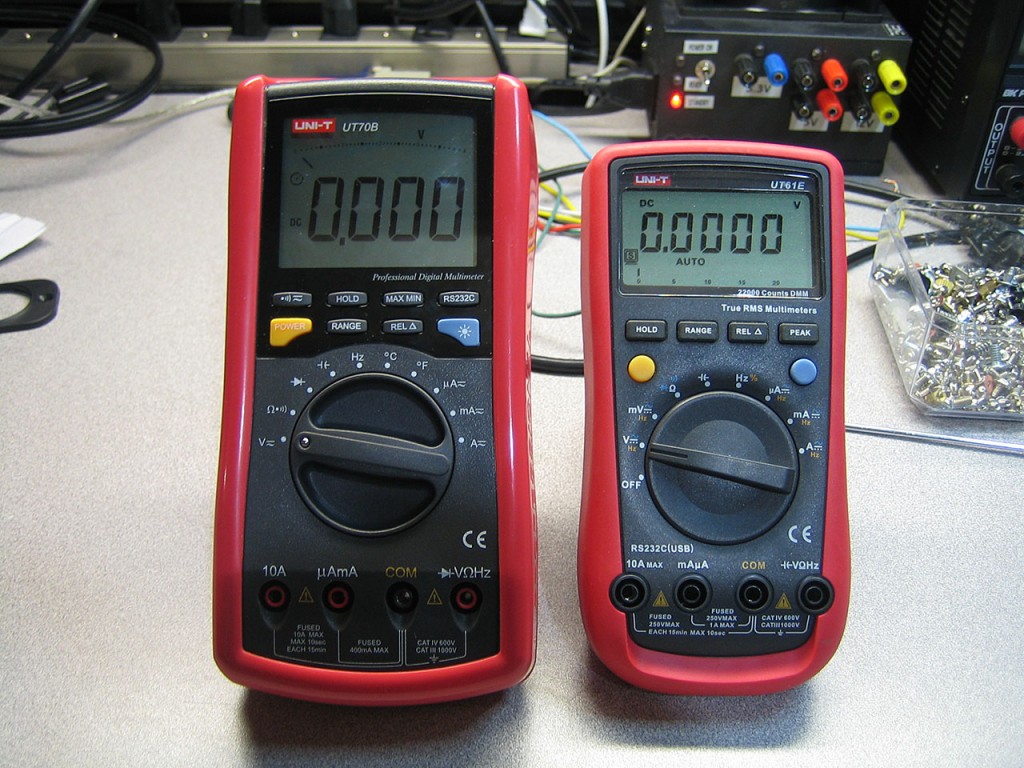
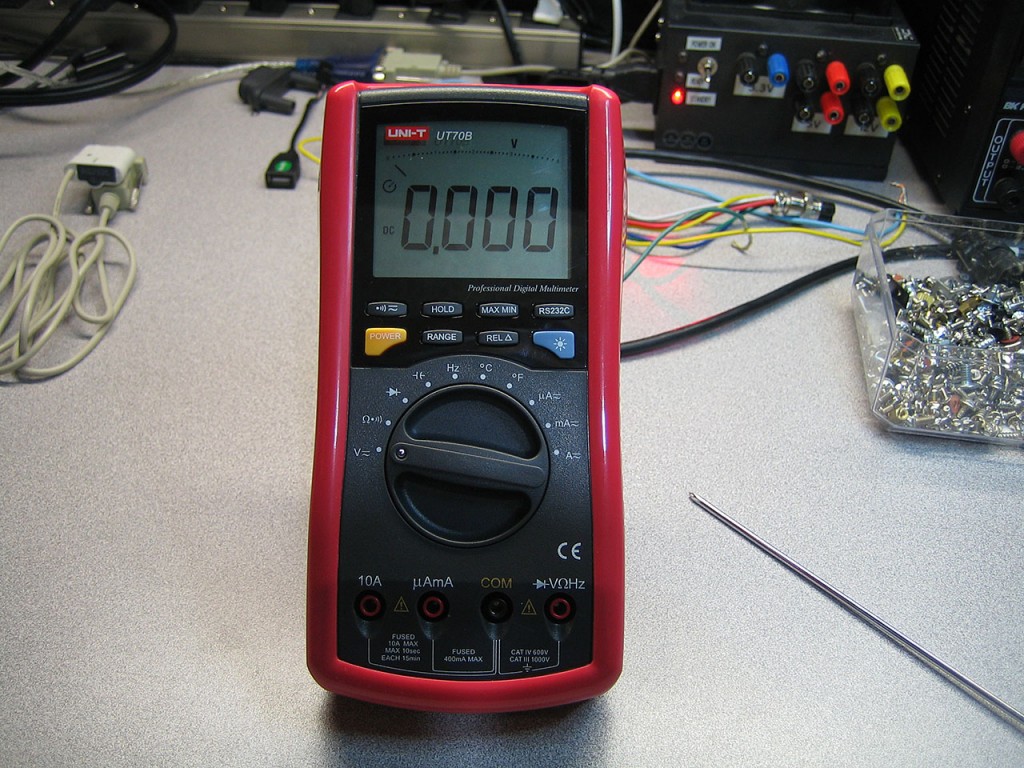
As part of my development process. I ordered another Uni-Trend Multimeter from eBay. This time I got the UT70B model. I’ve seen it mentioned a few times online but I could not find any technical information regarding it. Specifically the type of chip that it uses. Additionally, because this meter offers features that the UT61E doesn’t, it’ll be a nice addition to the lab.

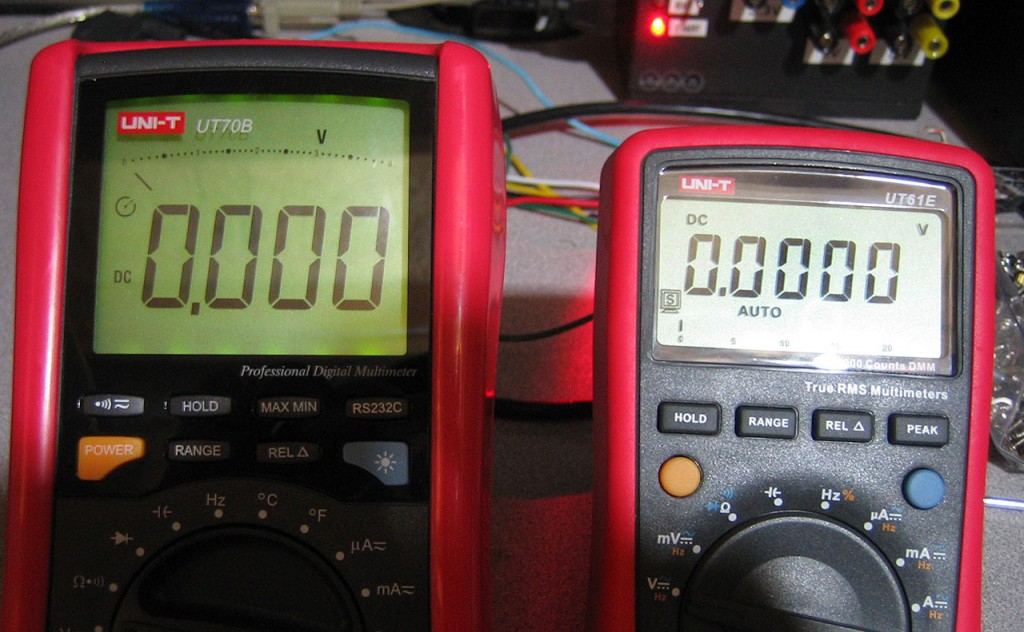
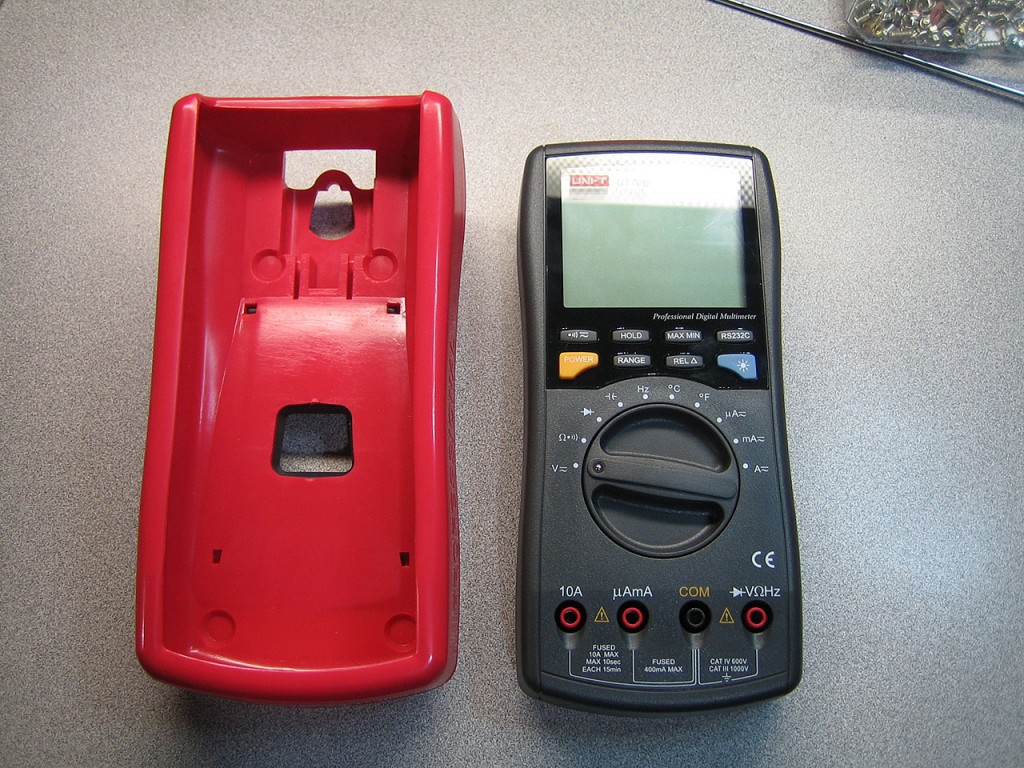
The UT70B model is quite a bit heftier than it’s UT61E brother. One of the features missing in the UT61E is the backlight feature, though it’s not quite near as bright as I thought it would be.

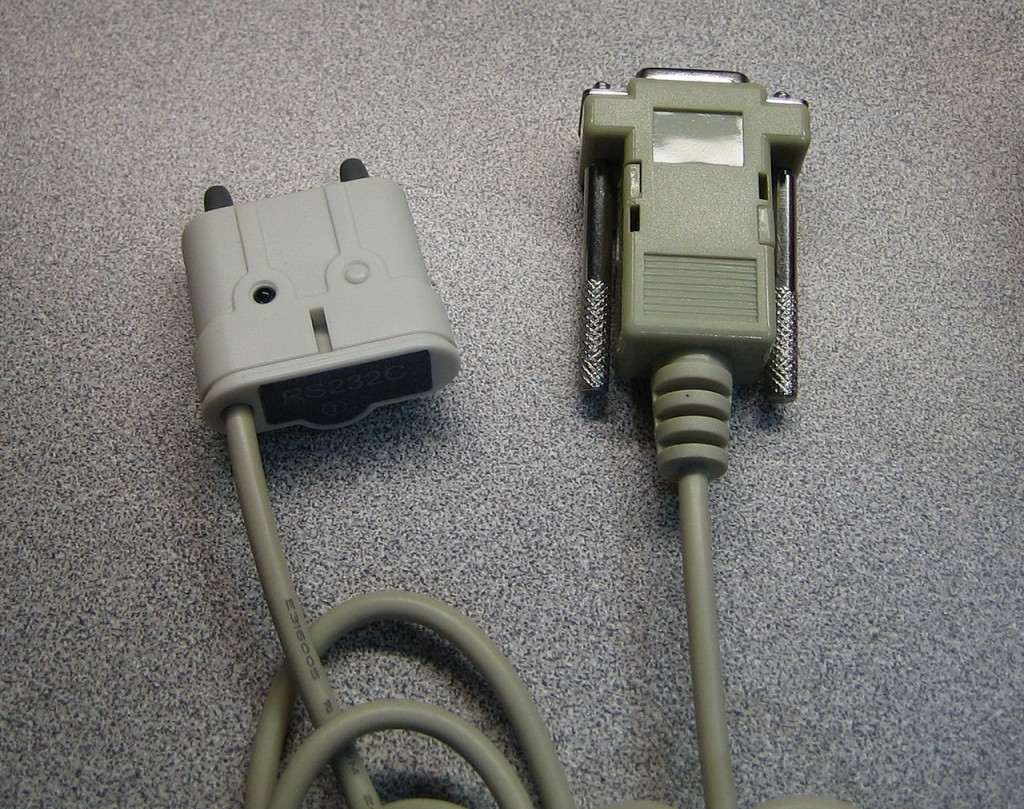
The RS232 interface is also slightly different from the one that comes with the UT61E. Though both meters offer electrically decoupled serial port connectivity which is great.

But enough talk. Let’s take this sucker apart and see what makes it tick. First step is to remove the plastic (latex?) sleeve. Interestingly, the foot stand for the meter is actually built into the sleeve and not the meter itself and so is the pocket for the RS232 interface, meaning it’s actually impossible to use the RS232 interface without it.

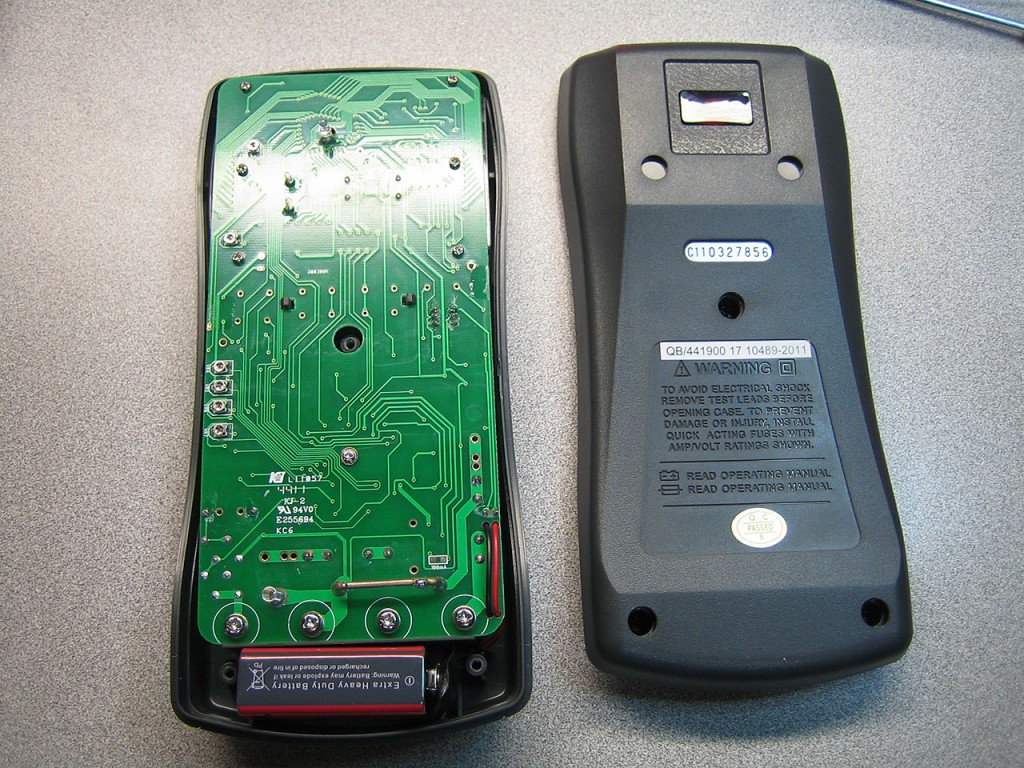
Just 3 screws hold the rear cover on.

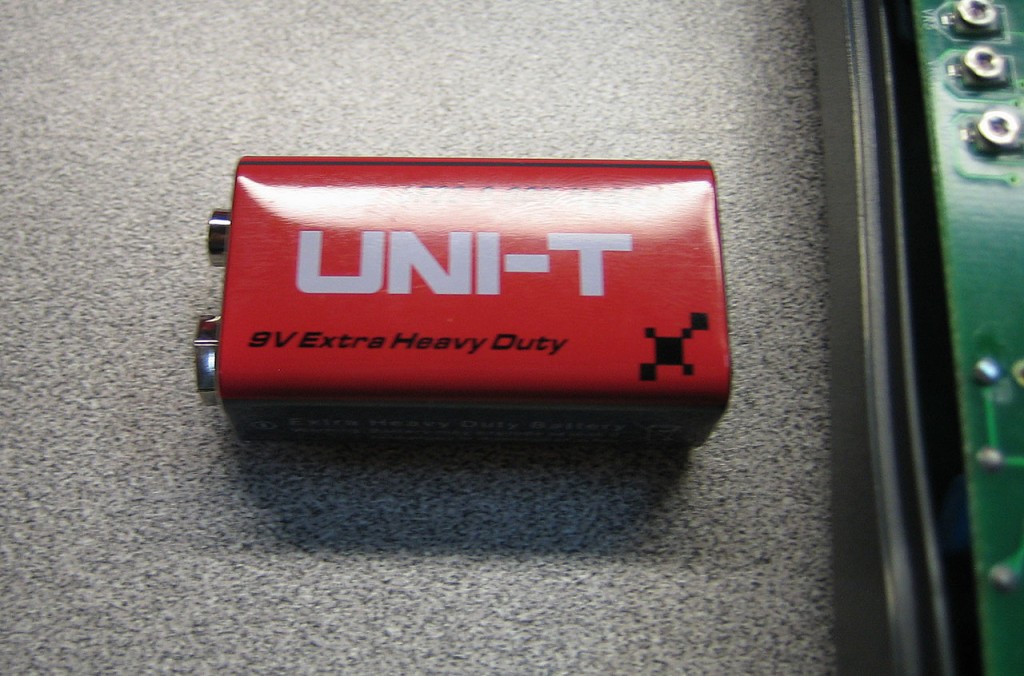
Interestingly enough, Uni-Trend brands their own batteries. Nice touch.

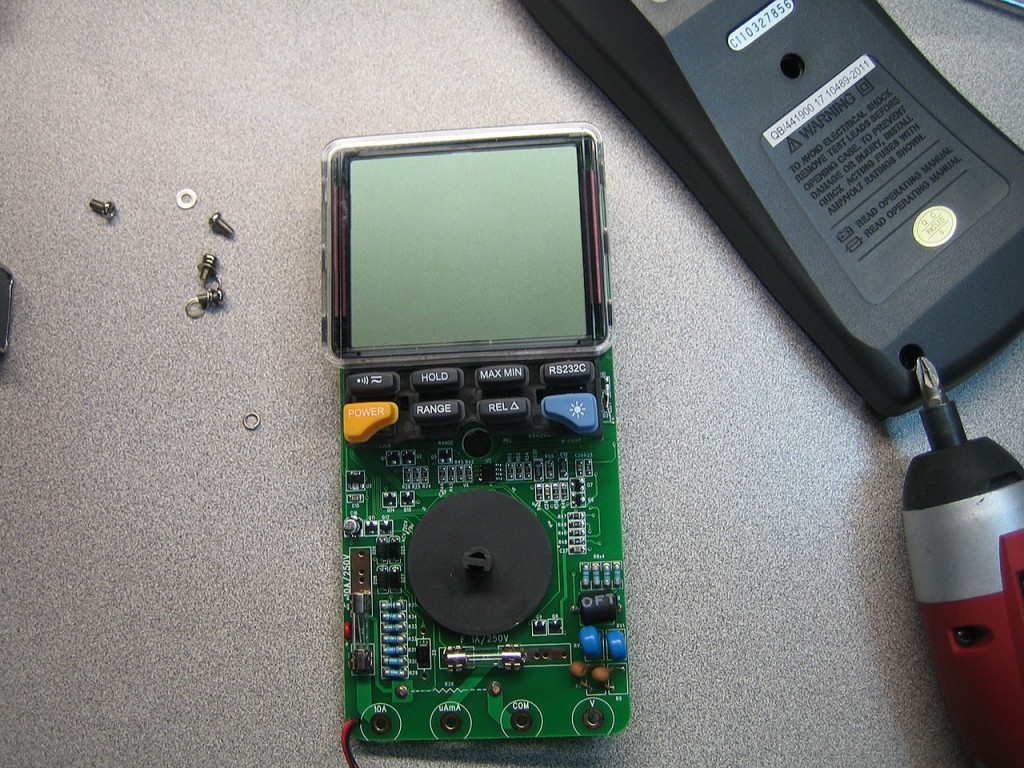
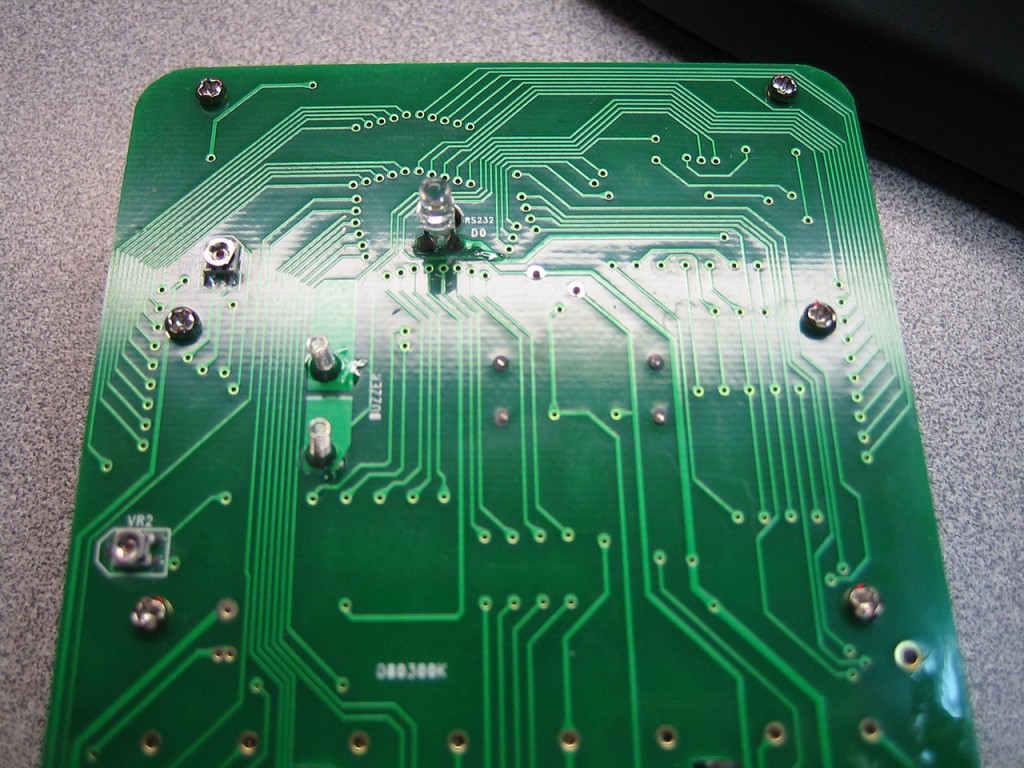
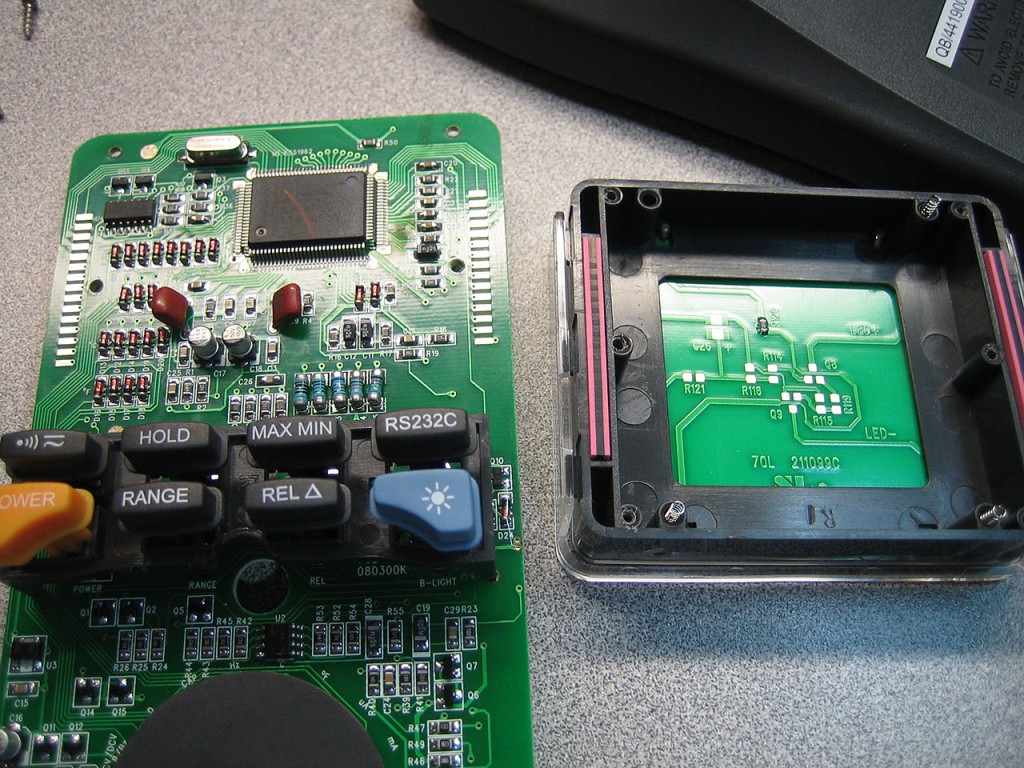
The PCB is attached to the case by just the binding post screws. Easy enough to remove. Unfortunately, looks like the chip is buried underneath the LCD module itself.

The LCD module is held onto the PCB via 6 screws. The IR serial transmitter LED is clearly visible. Since the meter only transmits data and does not receive any input only TX led is required, no RX IR detector is present.

Carefully removed the screws and with just a little bit of force the rubber silicon connectors come off the PCB and off comes the screen.

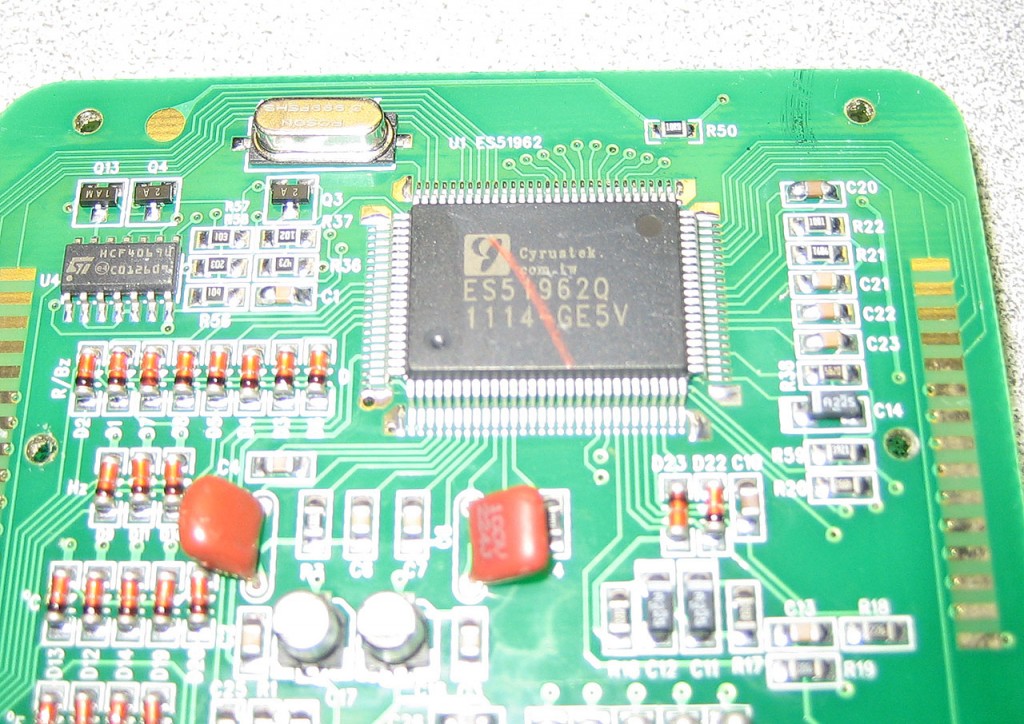
And there it is. Cyrustek E51962Q is what drives this meter.

A quick Google search turns up the datasheet for this meter

Couple of minutes and the meter is nicely reassembled. Back to full working condition.
.

Now to implement the ES51962Q interface in UltraDMM.

Busy Weekend

Had a quite productive weekend. Had to put UltraDMM development on hold for a while as I had to deal with some home network/server issues and catching up on some development for clients.

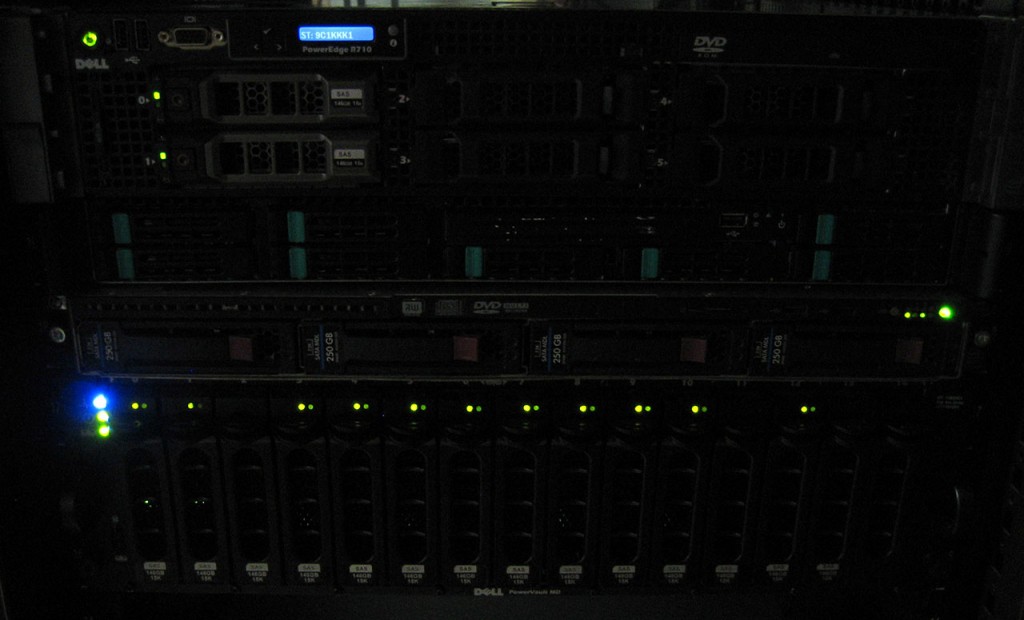
Picked up an HP (yeah I know) DL160 G6 server from Kijiji. This server has replaced a Dell PowerEdge 2950 II as my NexentaStor server. With 40GB of RAM, a faster CPU it should make the use of deduplication a lot more enjoyable, with the limited 16GB RAM of the PowerEdge 2950, large file deletions would hang the box for quite a while. The DL160 is connected to the Dell PowerVault MD1000 via a Dell H200 6Gbps HBA. Using an old OCZ Vertex as SSD Read Cache. This makes for a very speedy combination. Presenting the datastores to the vSphere server using a combination of iSCSI and NFS pools.

Also picked up this “older” Intel SR1350 server. These make absolutely great pfSense firewall boxes. I’ve tried many firewalls over the years. From simple software based routers to dedicated hardware firewalls (insert Sonicwall Pro 2040 rant here). Once I found pfSense and all the features that it offers, I pretty much stopped looking at anything else. Not only the firewall comes with pretty much every possible feature, it’s extensible via plugins. And with this server, I should be able to easily attain 50MB/s throughput between zones which is perfect for small virtual environment.

The server comes with two on-board Intel NIC’s. I’ve added an additional dual port Intel PRO/1000 nic. This gives me 4 full speed zones (WAN, LAN, DMZ and Bridge). The only thing I need is a small SSD that I use for the boot drive.

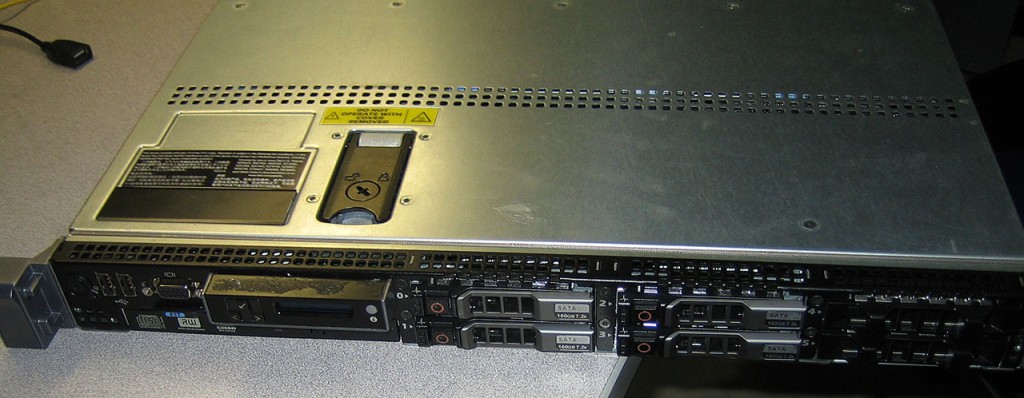
Also picked up this Dell PowerEdge R610. To be honest, I haven’t figured out a good use for it yet, but it was a great deal worth snagging. For now I’ll probably install Windows 2012 Storage Server and attach some eSATA boxes to it for testing.

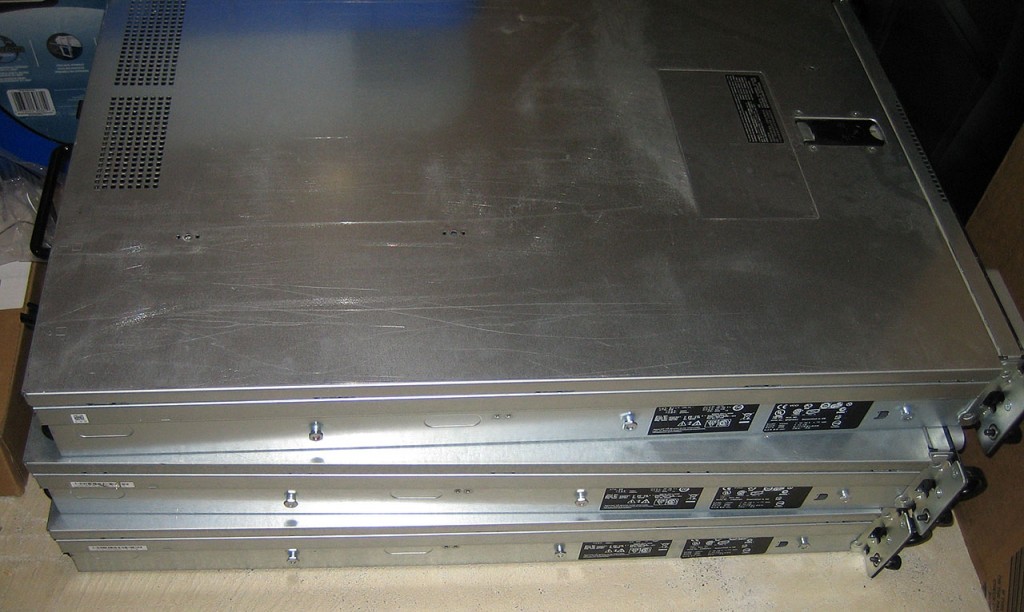
In the last few days I picked up enough servers to retire my last batch of Dell PowerEdge 2950’s. These will be going on Kijiji for sale, hopefully someone will give them a good home.

Now back to UltraDMM development.

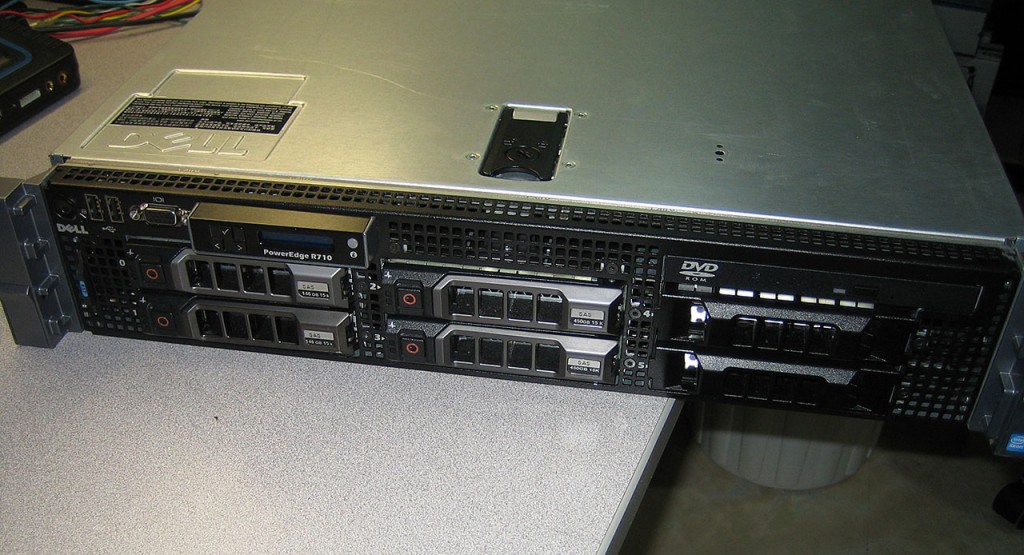
Dell PowerEdge R710 (yet again)

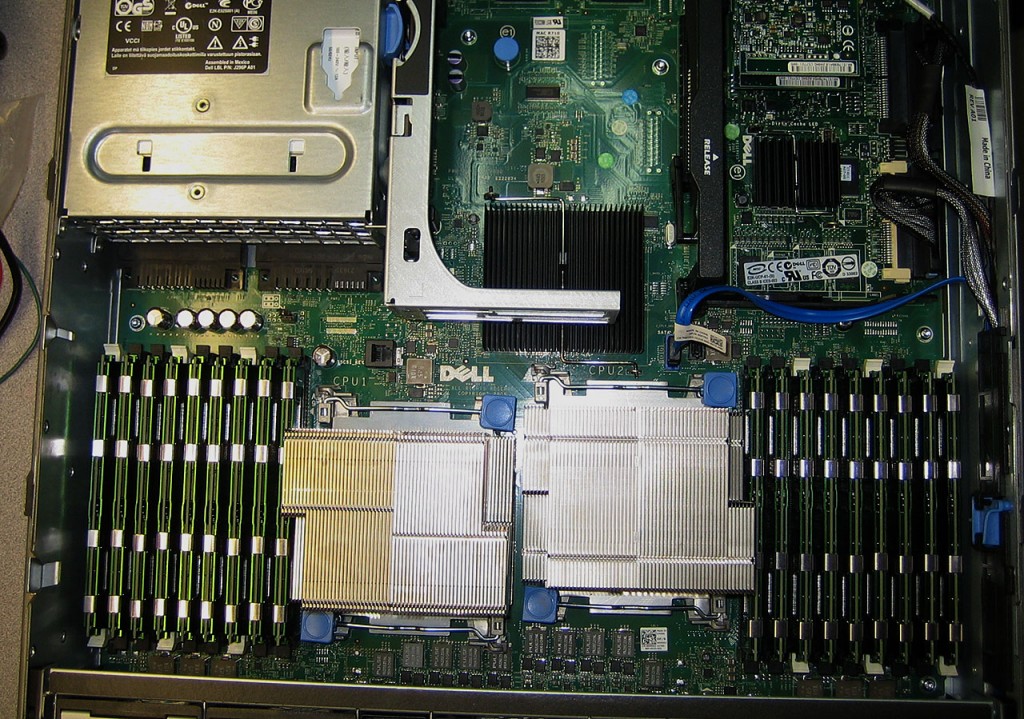
Another decent Kijiji score. Picked up this nicely loaded R710 for a great price. The guy even delivered it.

I asked the guy to swap a few drives for a pair of 450GB 15K SAS drives. I’ll then use these drives to complete the 6 drive array of my last R710 I got.

The server is filled with 4GB modules for a total of 72GB. This will be the perfect server to try Windows Server 2012 and Hyper-V 3.0. I’ve been really looking forward to Hyper-V 3.0. It’s supposed to be the vSphere killer and there are quite a few things that really annoy me about vSphere. If Microsoft has these covered, I just might switch.

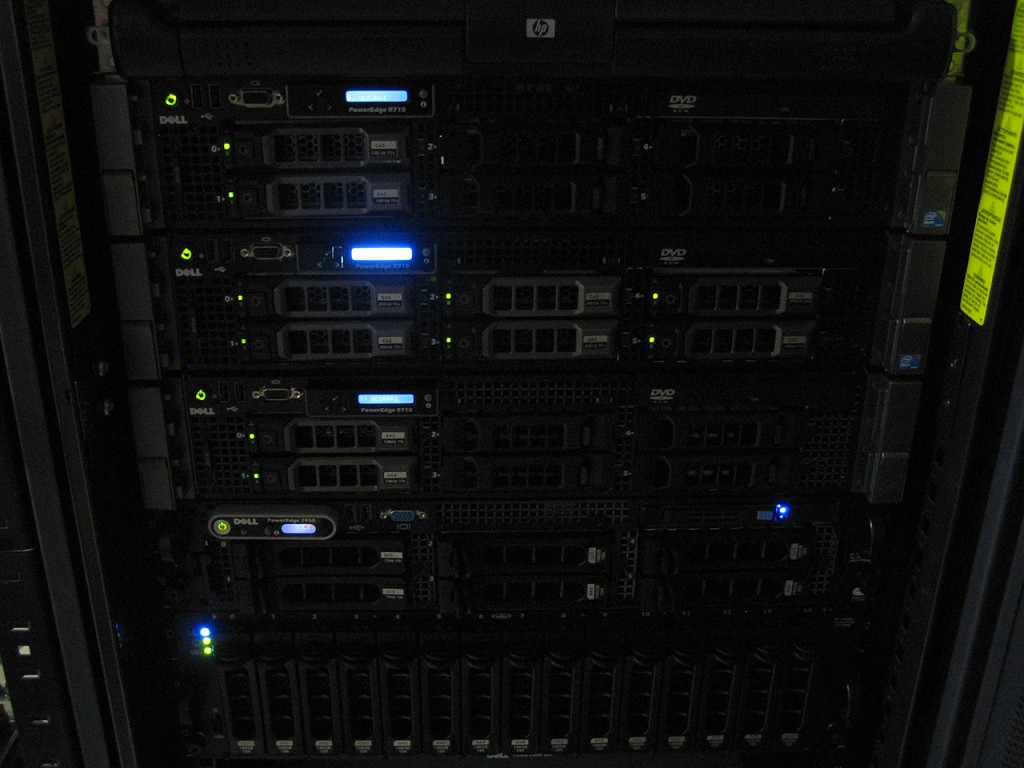
The new server racked up and getting ready to run a burn-in test. I usually run all servers I get with at least a few hours of CPU/Memory Stress test.

This is a perfect opportunity to retire a couple of servers at one of the data centers. Gone will be another PowerEdge 2950 III and an Intel SR1550 Server.
I actually might re-purpose the SR1550 as my NexentaStor file server at home. With 8 2.5″ SAS bays, it’ll be perfect addition to the home storage. This will also free up yet another 2950, though this one is only Gen 2.