GaugePod – Rev 2

I’ve been spending a lot of time lately thinking about how to best redo my GaugePod program for my Carputer project.

Existing Problems (and potential solutions):

Program sometimes crashes on resume from hibernate.
Need to determine what causes this. This started when upgraded from Atom to I3 Motherboard/CPU. Perhaps Mobo not sending proper signal to Windows?

Current Arduino implementation isn’t very accurate.
This one is major. Had to fudge the voltage numbers to get semi-accurate reading. This needs a rewrite. Right now the Arduino box simply sends the raw value from the ADC (0 to 1023) as input into GaugePod. Perhaps a better solution would be to have the Arduino send the actual voltage. In fact, I could monitor the reference voltage to make sure it doesn’t drop below 5V. Arduino could detect any drop in reference voltage and adjust reading before sending to the Carputer. Could even add an LED to indicate a condition where reference voltage is not 5V, though it wouldn’t know if input voltage is >5V. Though that is highly unlikely as the reference voltage is coming from a 5V voltage regulator.

Change how GaugePod stores settings locally.
Right now the settings are stored in a DataSet that’s stored in the user profile. Can’t migrate settings or even hand edit. Need the ability to import/export settings. Switch to XML Format. Will have to write a custom library to deal with this. Won’t be difficult. Already did this kind of implementation in the UltraDMM project.

The Arduino box is too big and wiring too complex.
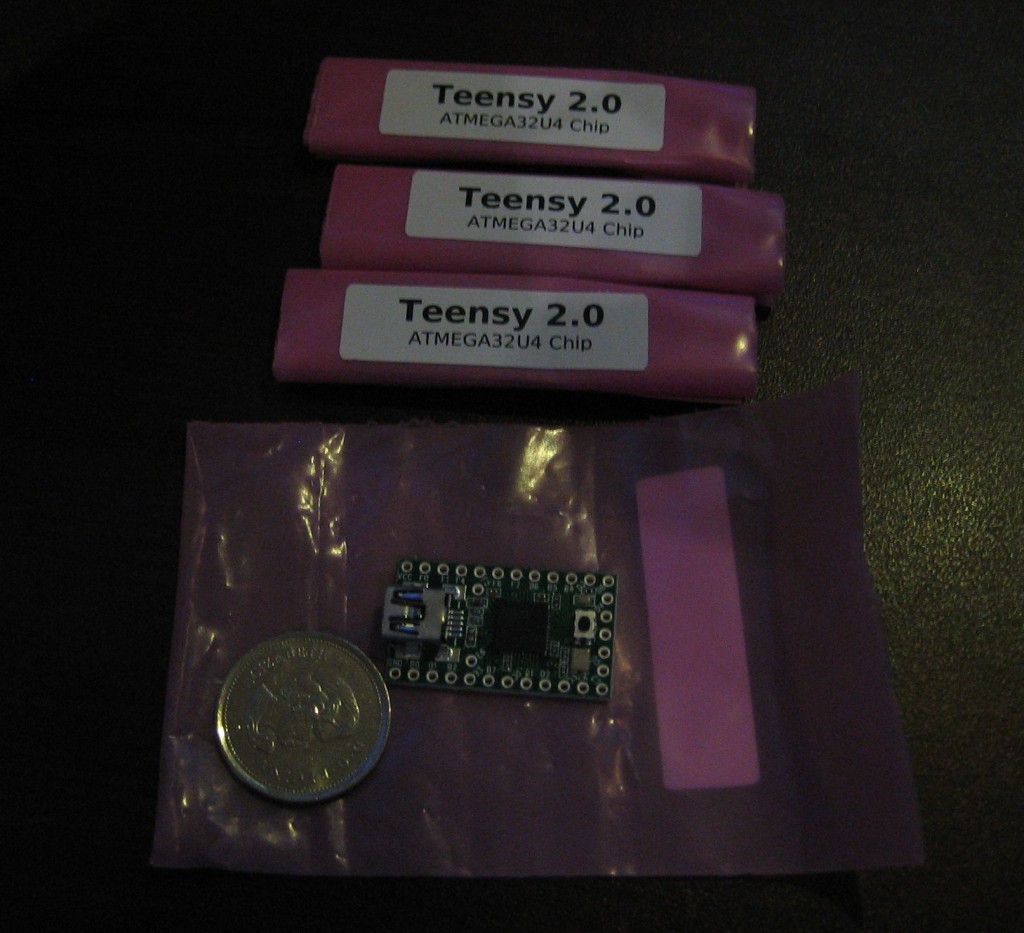
Need to simplify wiring, switch to Teensy for smaller footprint. Perhaps add chokes to eliminate electronics noise. Rev 2.0 of the Arduino box uses Molex connectors for the sensors.
Better to use barrel connectors. Need 3 Pins.
1 – 5V Input
2 – Ground
3 – Sensor Return
Something like this would work:
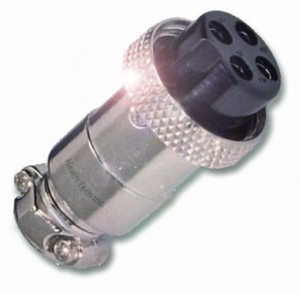
Additional advantage of using round connectors. Easy enough to drill holes for them rather then cut square holes for the Molex connectors. The enclosure would be nicer looking. The screw-in connectors would deal better with vibration in the car.

Program runs in foreground, blocks access to Centrifuse
Possible solution to implement as plugin for Centrifuse. Though it might be possible to simply run the program inside a Centrafuse window. I vaguely remember reading that this can be done. Drawback of this approach is reduced screen real-estate.

To Be Continued…..

Blackberry 10 – Looks Kick-Ass

Over the last couple of days I’ve followed closely RIM’s second preview of the BlackBerry 10 OS and the new Dev Alpha (Beta?) phone. I gotta say I’m really impressed with what I saw. Looks like there’s still good chance that RIM will make a great comeback.

I’ve been holding on to my BlackBerry Bold 9900 since it came out. While I used iOS and Android I’ve always came back to my trusty BB to type emails and messages. I don’t like carrying two phones around all the time so it looks like BB10 will solve that issue for me. I might even take another look at developing for the BB10 platform. One of my biggest pet-peeves about iOS and Android is the really crappy on-screen keyboards. I’ve yet to find one that allows me to type fast without making tons of typos. I hate typing on the screen without real tactile feedback.
One of the greatest features of the BlackBerry has been one-handed operation. And based on what I’ve seen so far, the BB10 platform has been designed around that concept.

I was greatly disappointed when I found that that BB10 was delayed to early 2013, but I’m sure it’ll be worth the wait. I’ll definitely be buying it.

High Power – Modified Power Supply

Overview

A buddy of mine asked me to convert an old computer power supply to a bench supply that he can use with a LiPo charger to charge his Traxxas Slash batteries. Because these LiPos often come in between 4000mAh and 12000mAh ratings, even just charging them at 1C would easily require 10A per battery. A typical linear power supply can only provide between 500mA and 2A where a switching computer supply can easily supply 20A per rail with 2 to 3 rails. Computer power supplies are also relatively cheap which makes them a perfect candidate for this project.

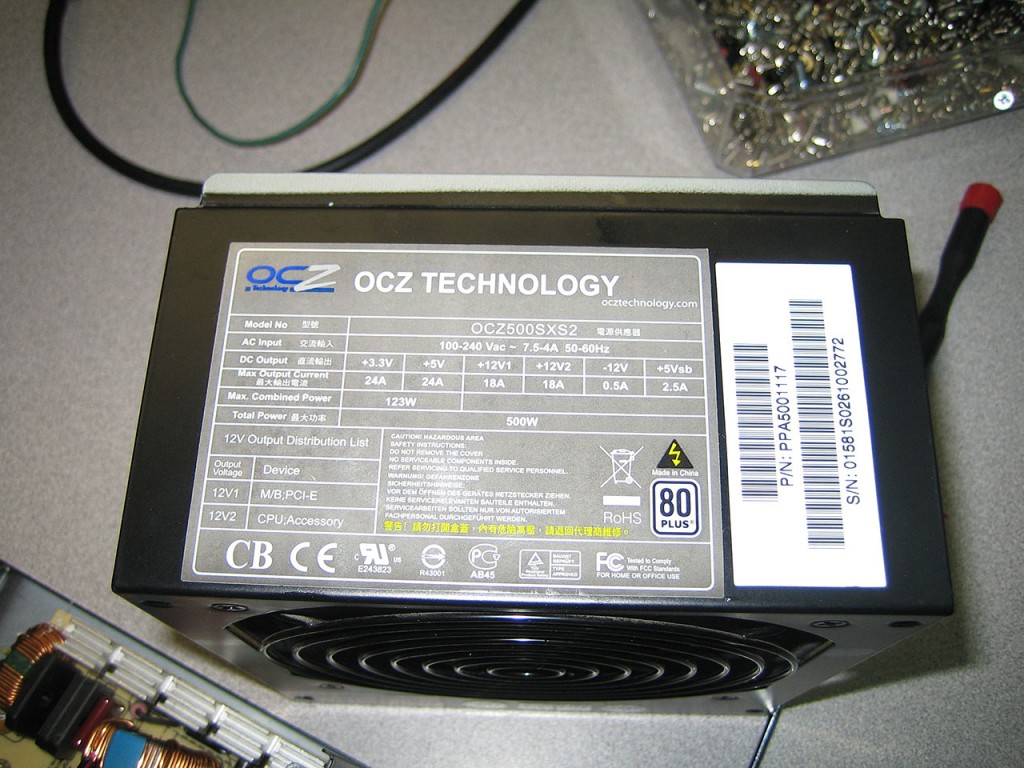
The victim for this modification is an OCZ 500W power supply. Comes with two 18A 12V rails and 24A 5V rail. The two 12V rails can be combined for greater power.

UT70B Teardown a.k.a. UltraDMM Development

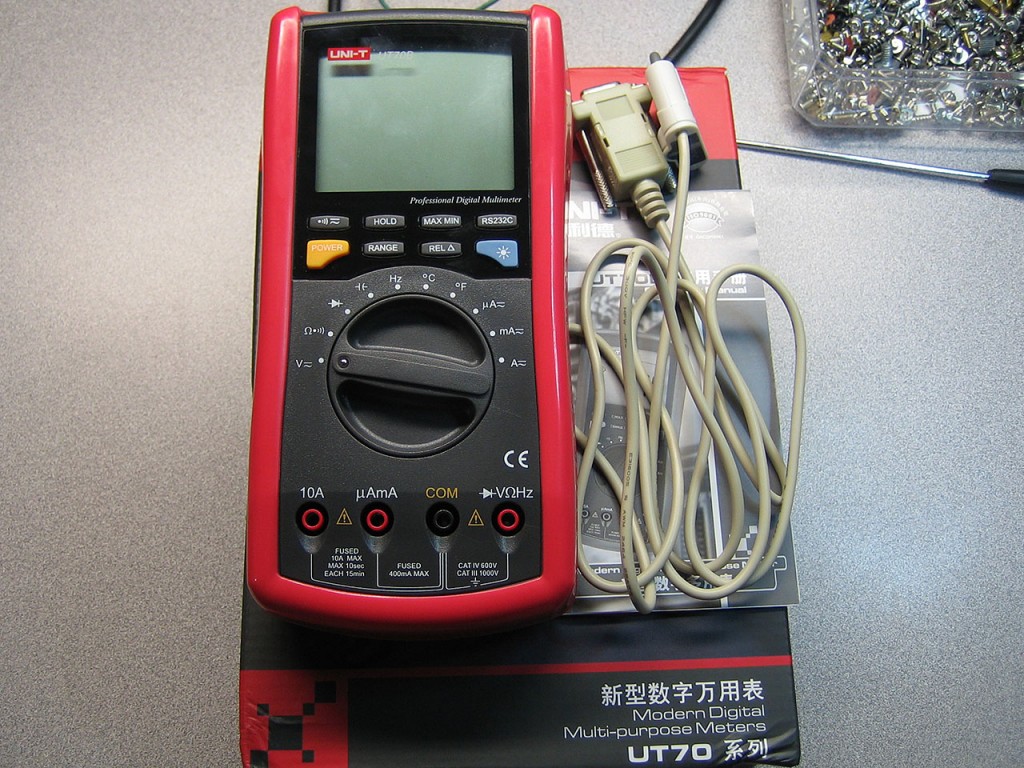
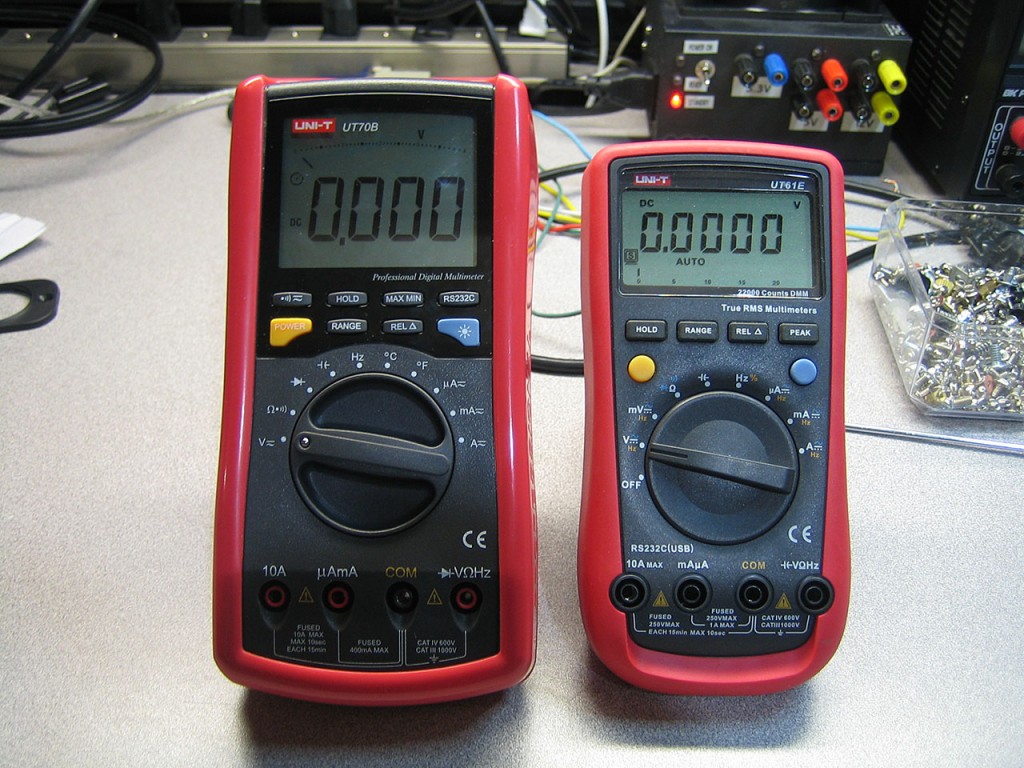
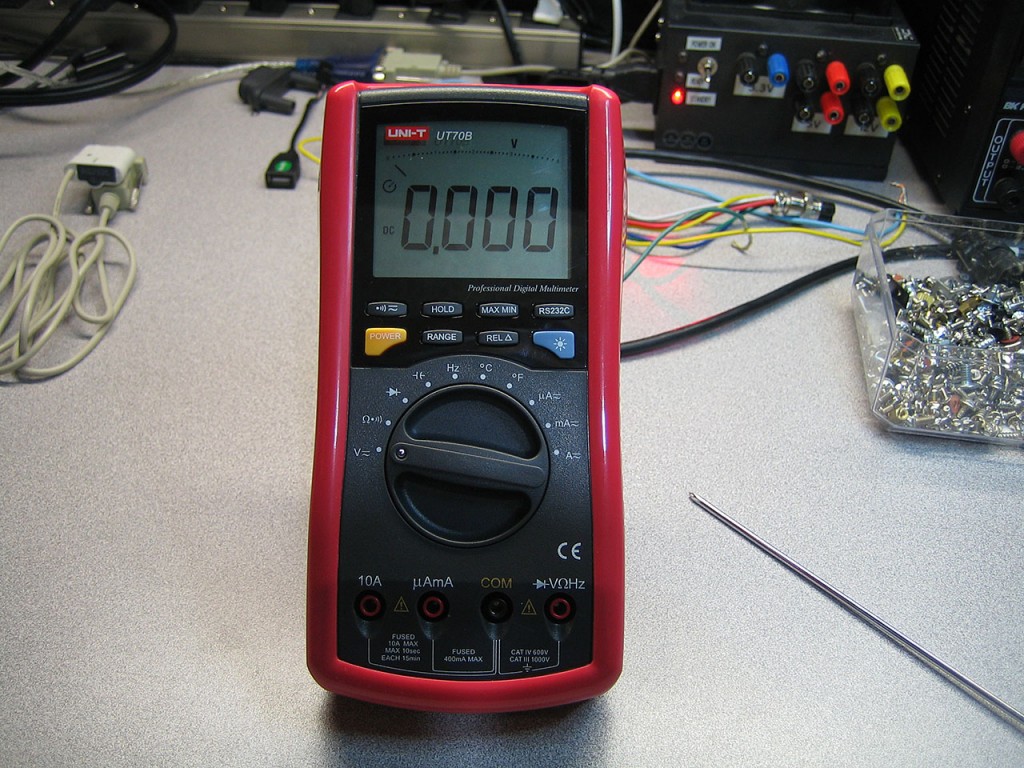
As part of my development process. I ordered another Uni-Trend Multimeter from eBay. This time I got the UT70B model. I’ve seen it mentioned a few times online but I could not find any technical information regarding it. Specifically the type of chip that it uses. Additionally, because this meter offers features that the UT61E doesn’t, it’ll be a nice addition to the lab.

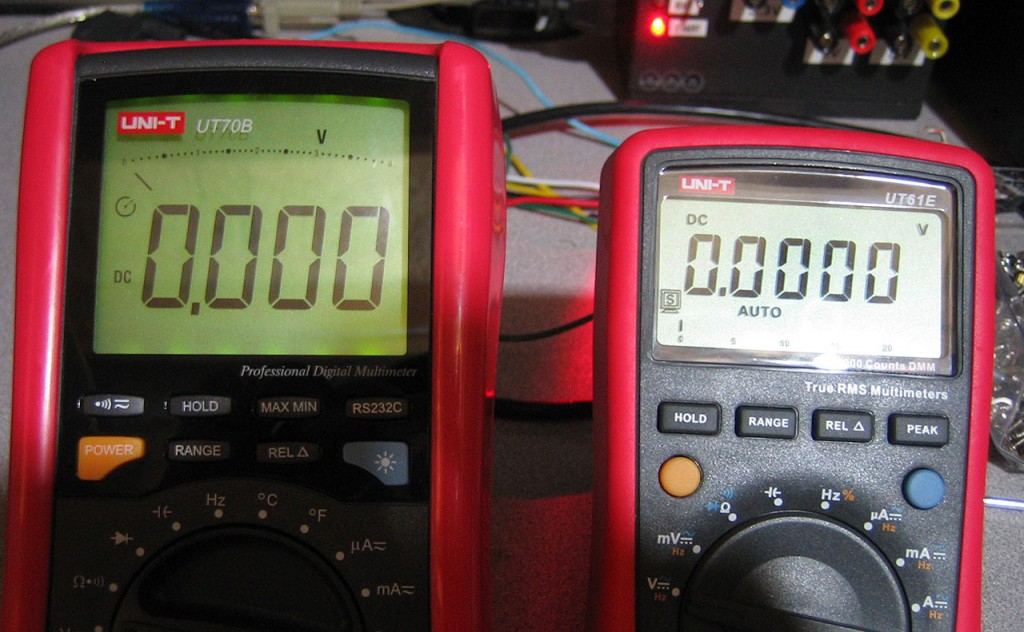
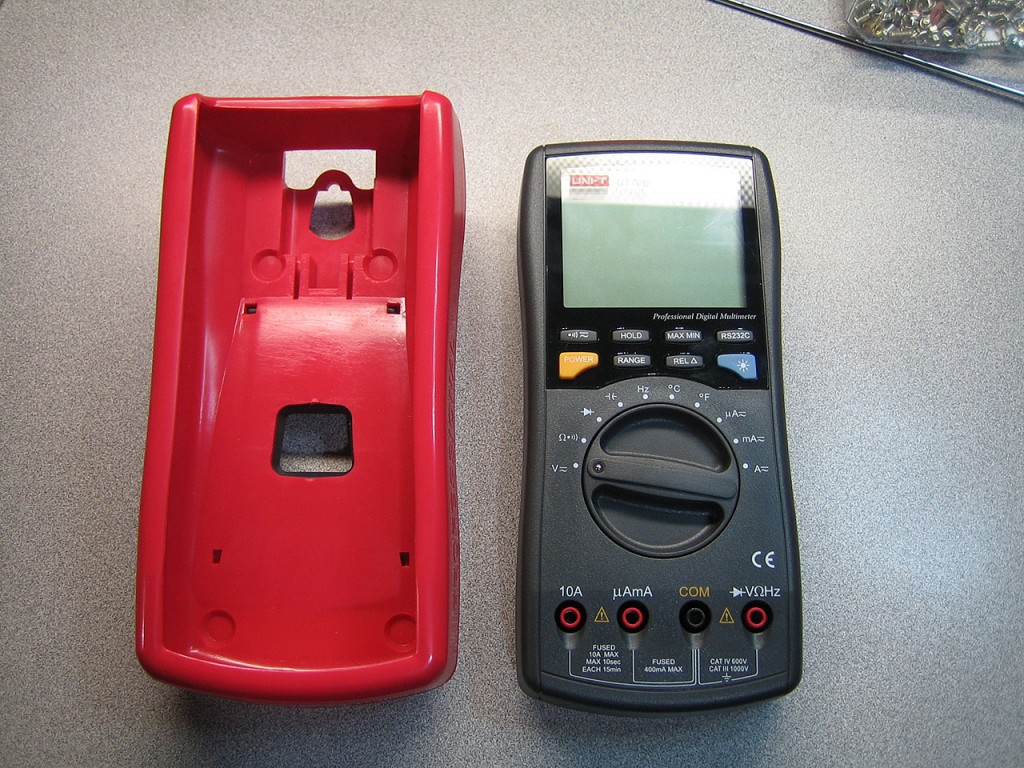
The UT70B model is quite a bit heftier than it’s UT61E brother. One of the features missing in the UT61E is the backlight feature, though it’s not quite near as bright as I thought it would be.

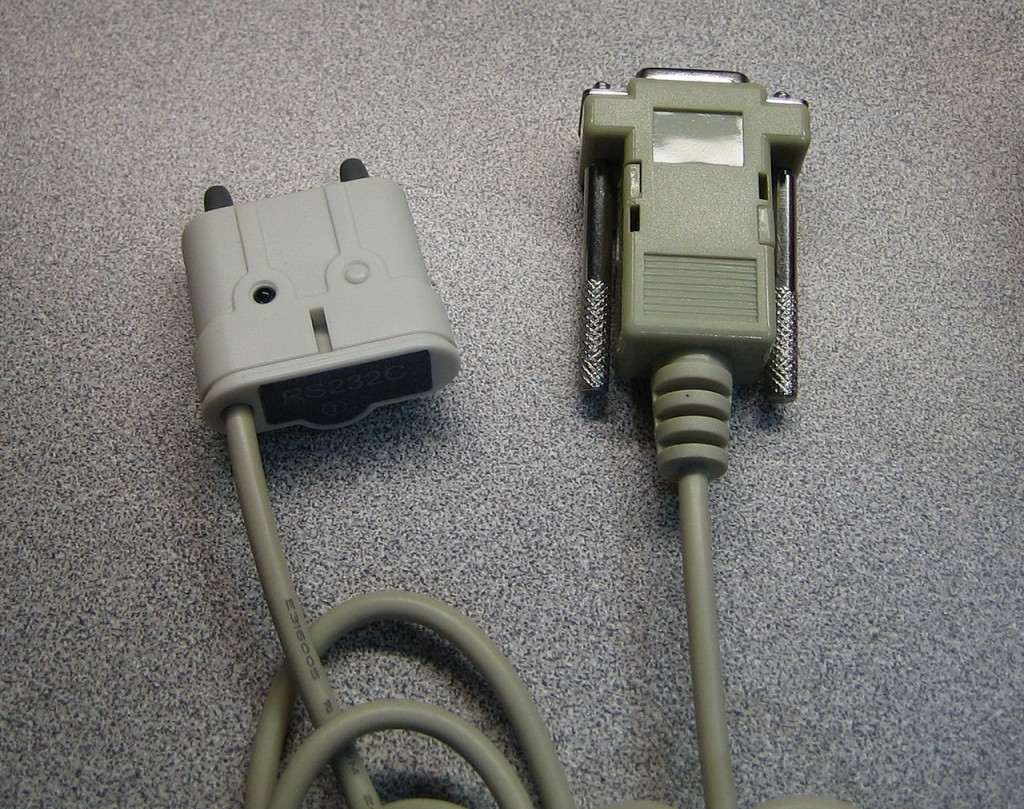
The RS232 interface is also slightly different from the one that comes with the UT61E. Though both meters offer electrically decoupled serial port connectivity which is great.

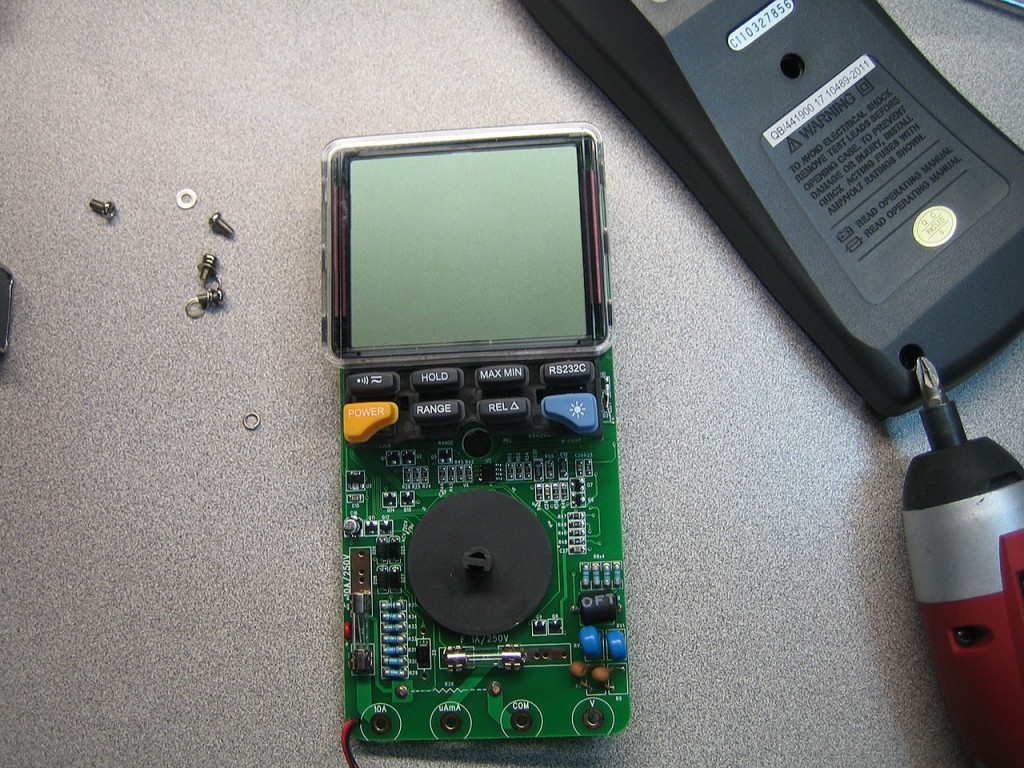
But enough talk. Let’s take this sucker apart and see what makes it tick. First step is to remove the plastic (latex?) sleeve. Interestingly, the foot stand for the meter is actually built into the sleeve and not the meter itself and so is the pocket for the RS232 interface, meaning it’s actually impossible to use the RS232 interface without it.

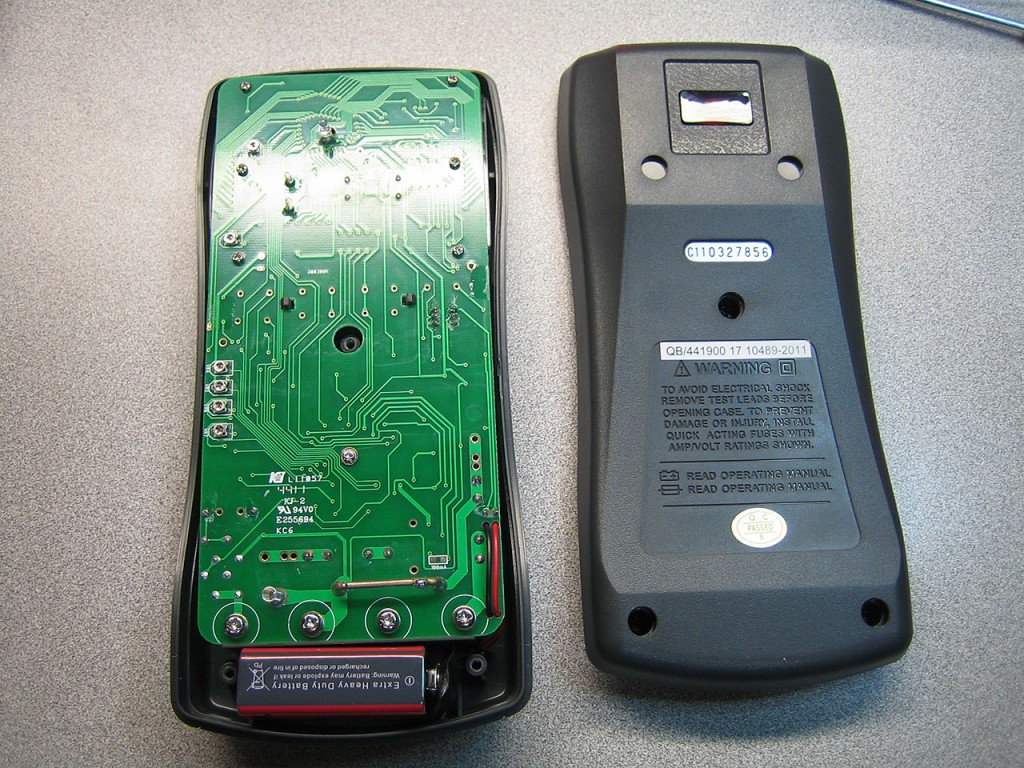
Just 3 screws hold the rear cover on.

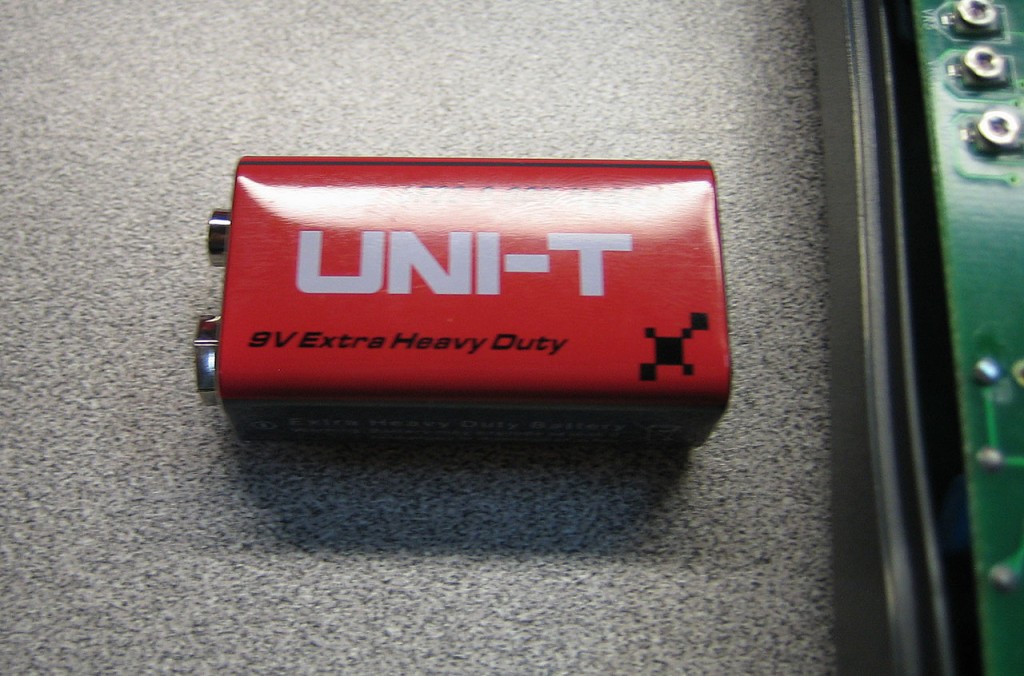
Interestingly enough, Uni-Trend brands their own batteries. Nice touch.

The PCB is attached to the case by just the binding post screws. Easy enough to remove. Unfortunately, looks like the chip is buried underneath the LCD module itself.

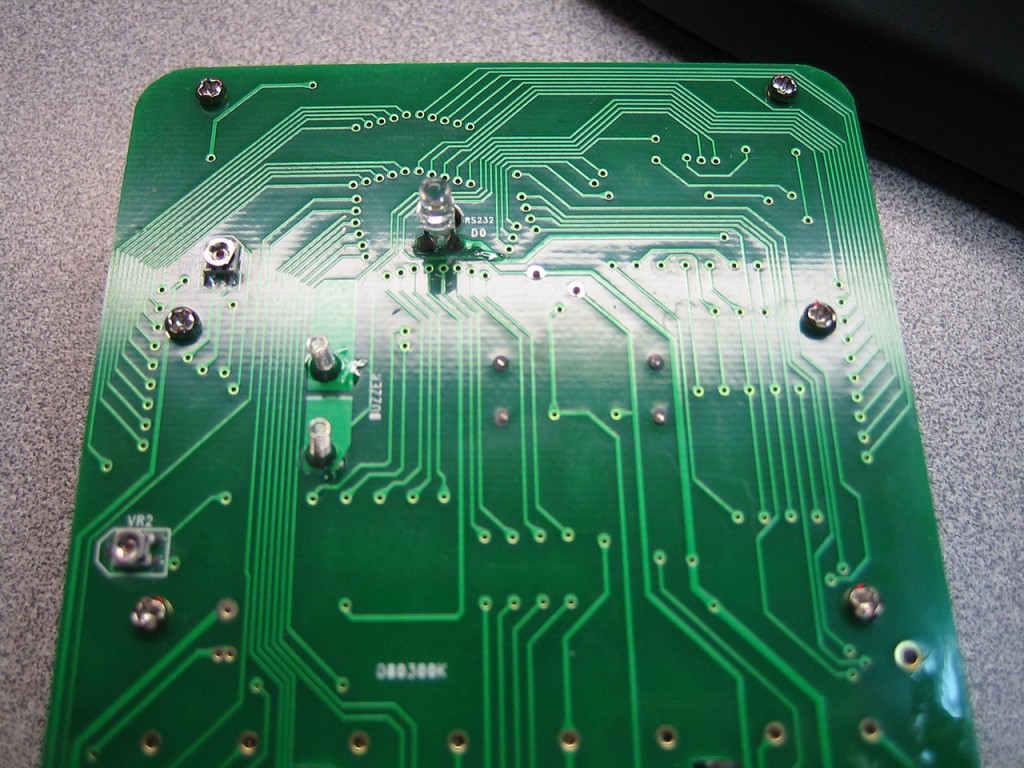
The LCD module is held onto the PCB via 6 screws. The IR serial transmitter LED is clearly visible. Since the meter only transmits data and does not receive any input only TX led is required, no RX IR detector is present.

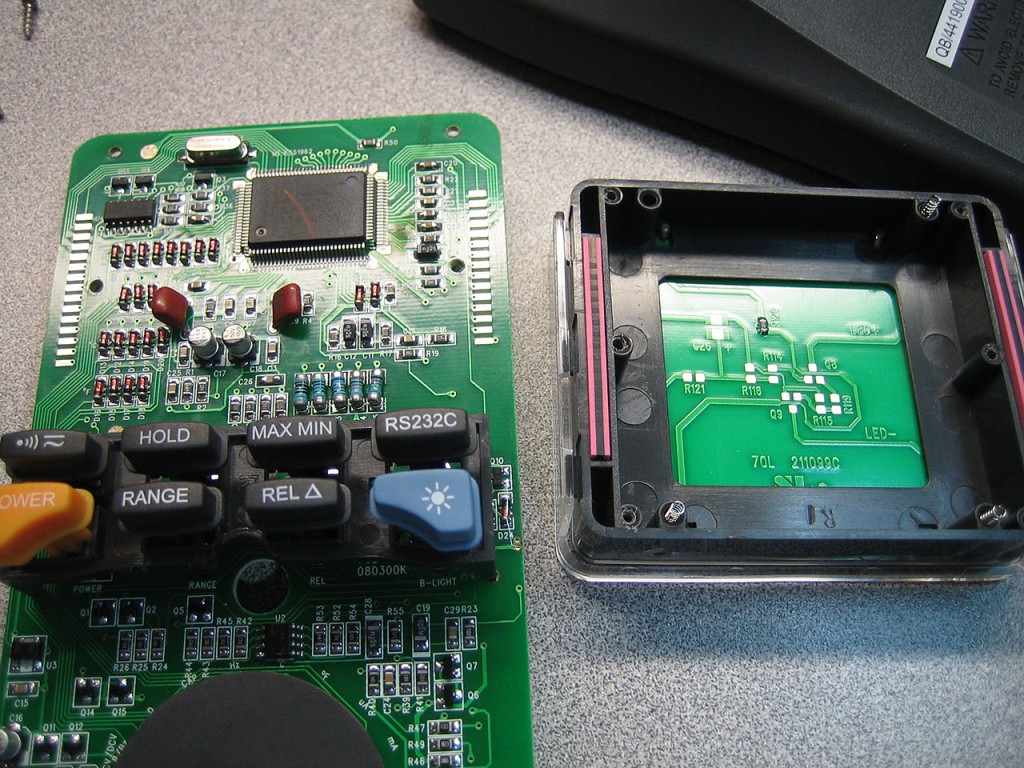
Carefully removed the screws and with just a little bit of force the rubber silicon connectors come off the PCB and off comes the screen.

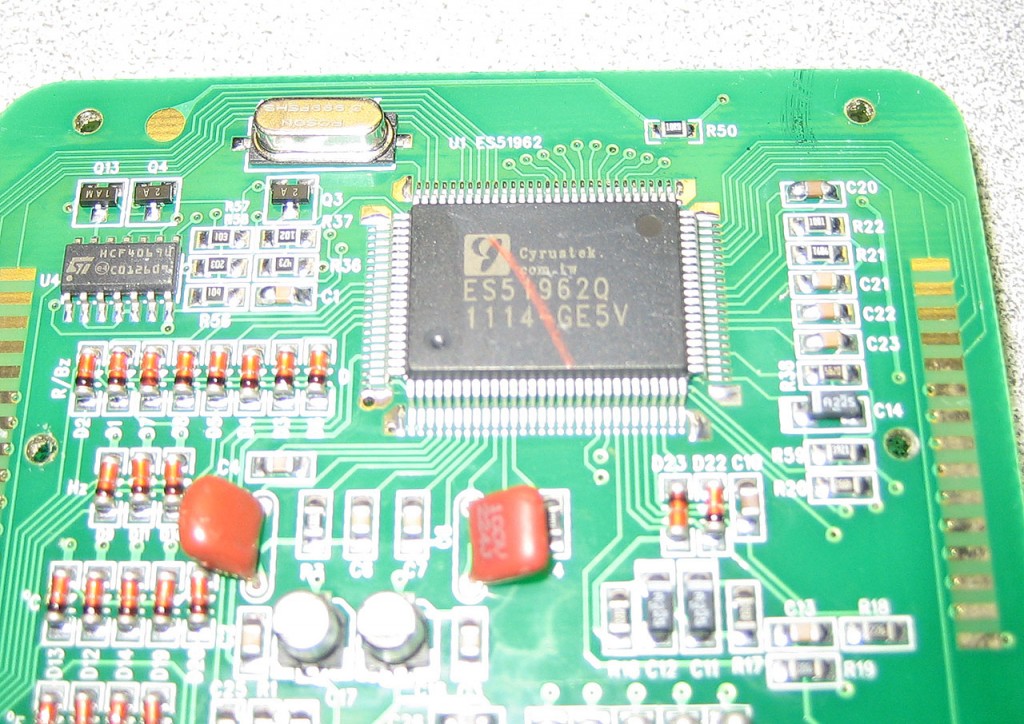
And there it is. Cyrustek E51962Q is what drives this meter.

A quick Google search turns up the datasheet for this meter

Couple of minutes and the meter is nicely reassembled. Back to full working condition.
.

Now to implement the ES51962Q interface in UltraDMM.

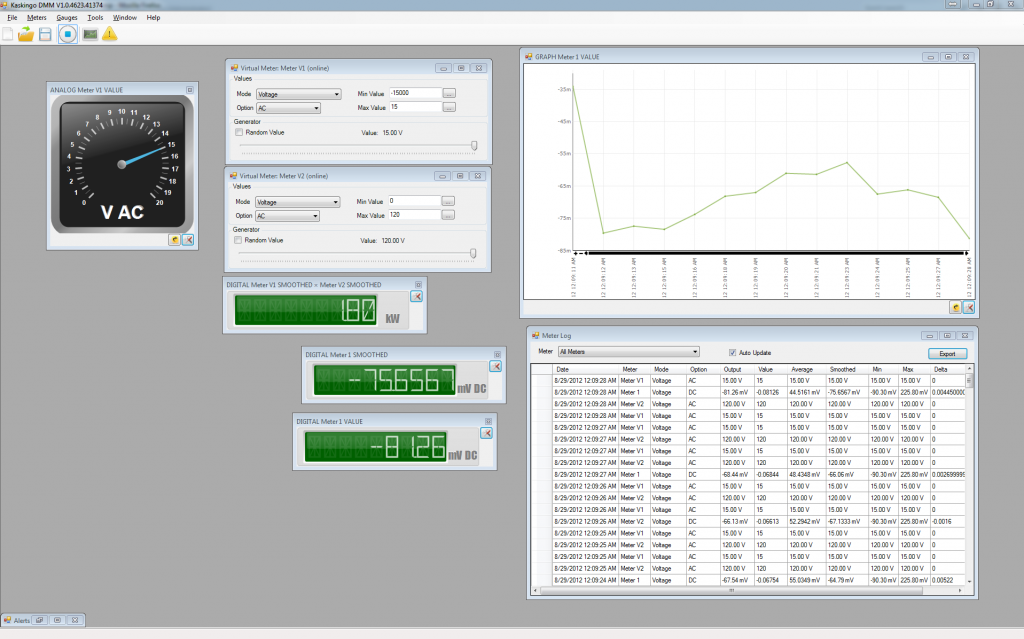
KaskingoDMM Update

I’ve released an update to the multimeter application. Grab the latest version here.

Changes since last release:
– Added Chart Display
– Added Temperature Mode support
– Added AC/DC Display to Voltage/Current Gauges
– Added Hz/Duty % to Frequency Gauges
– Added Export to Excel in Meter Log
– Added Trigger Disable feature
– Performance Improvements
– Several Small Bug Fixes

I also ordered a UT70 Series multimeter to do some testing with. I’ll probably contact Uni-Trend at some point to see if they’re interested in helping adding support for more multi-meter models.

UT61E – Custom Software

Success!

After a bit of research, I discovered that the Uni-Trend UT61E uses an all-in-one chip that also handles the serial communication. It’s a Cyrustek ES51922 Chip and a bit of googling I found the technical documentation that also describes the serial protocol and data encoding in the serial stream.

ES51922

Took me a bit of work to get the data to flow from the UT61E and after a fair bit of bit-twidling. I was able to successfully translate the raw data from the multimeter to a useful format.

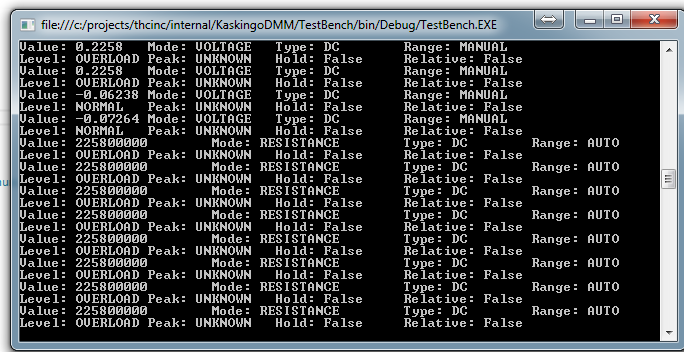
After I wrote the communication library, I wrote a quick console app to dump the values from the meter.

The meter feeds about 2 samples per second (except in Frequency mode where it seems to slow to 1 sample per second). Not the fastest feed but good enough for most application.

Next step is to write the logic engine to deal with all the features I want to implement.

Uni-Trend UT61E

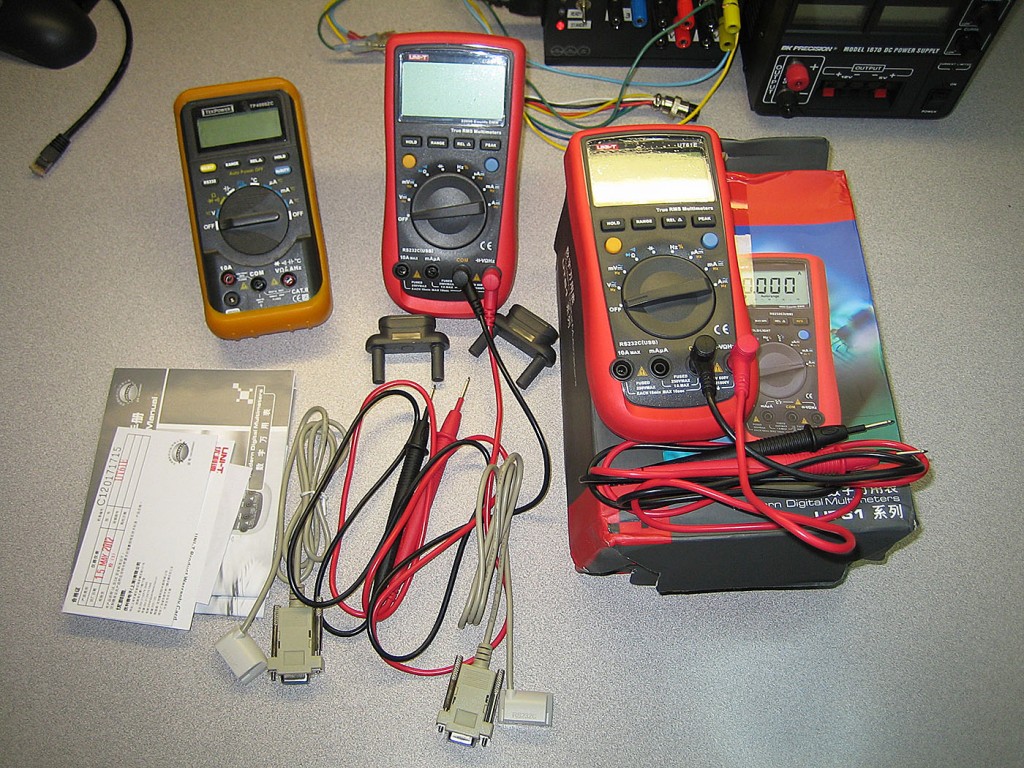
Couple of new toys came in today. A set of Uni-Trend UT61E Digital Multi-Meters. I ordered these to replace my now aging and underpowered TekPower DMM. I ordered two of these so that I can measure both current and voltage at once.

The UT61E is probably the best bang-for-the-buck multimeter one can find. It’s incredibly accurate for the price, very fast ranging and overall has a great feature set.
These meters go on eBay for about $60 which is incredibly cheap for what you get. I ordered mine from eBay and they took about 4 weeks to get here (from China).

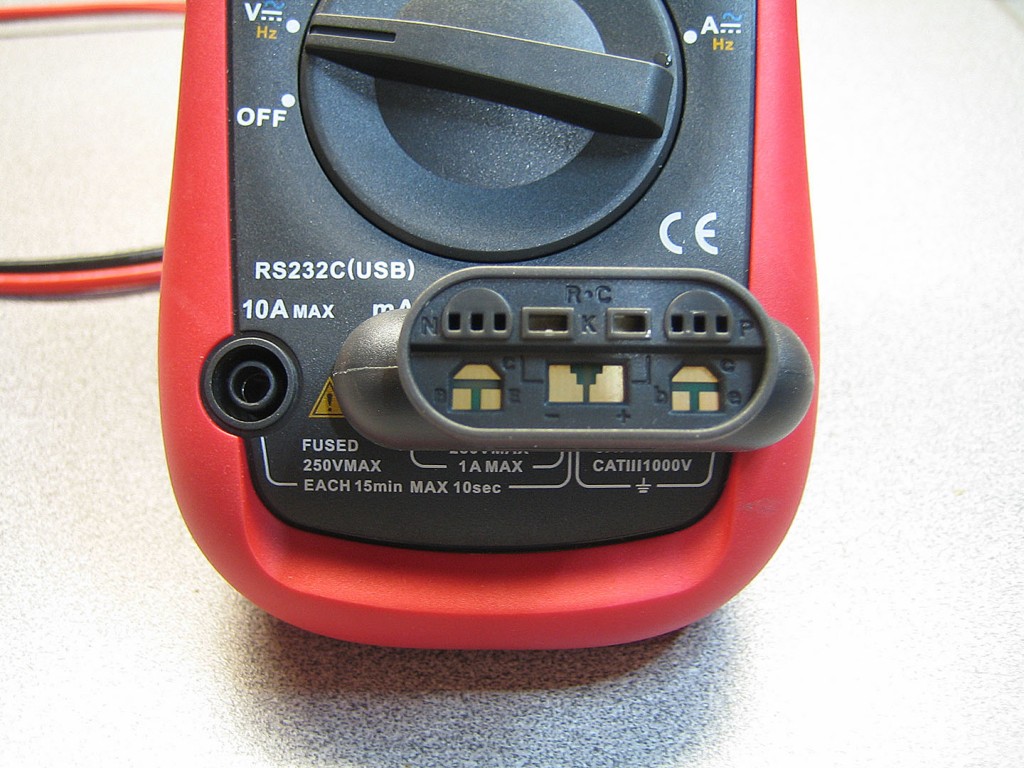
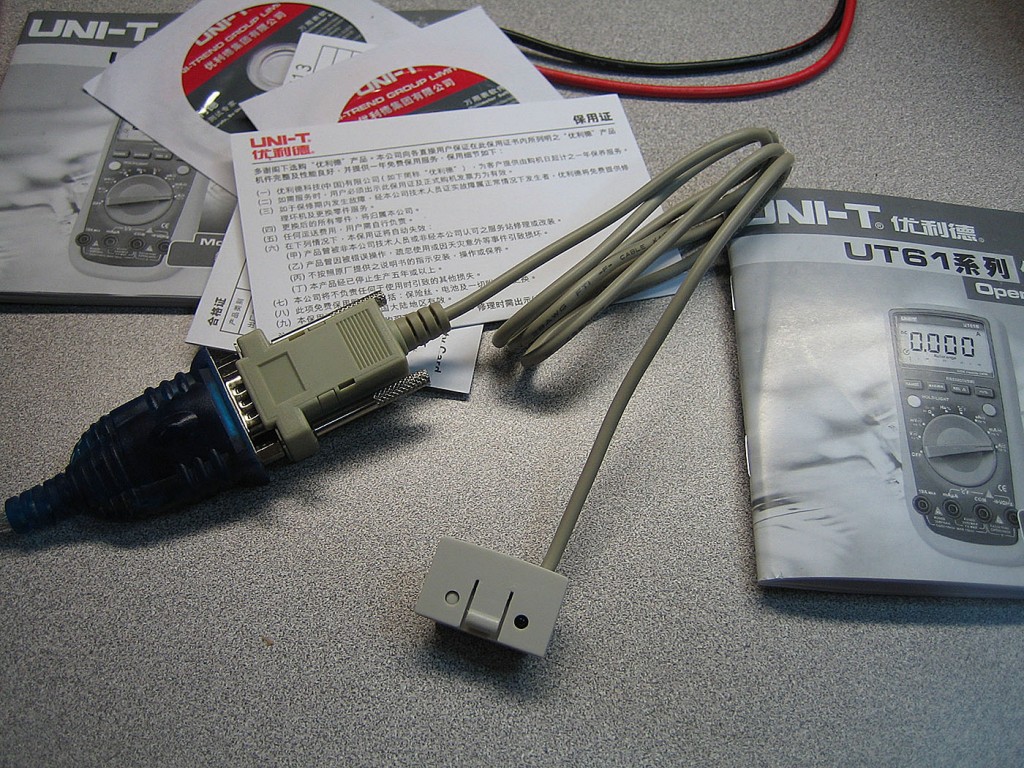
The meter comes with a pretty nifty attachment that allows you to easily test various components like Resistors, Capacitors, Diodes and Transistors. Except, with the UT61E model, transistor checking is not available. Very odd considering this is one of the more feature-rich models.

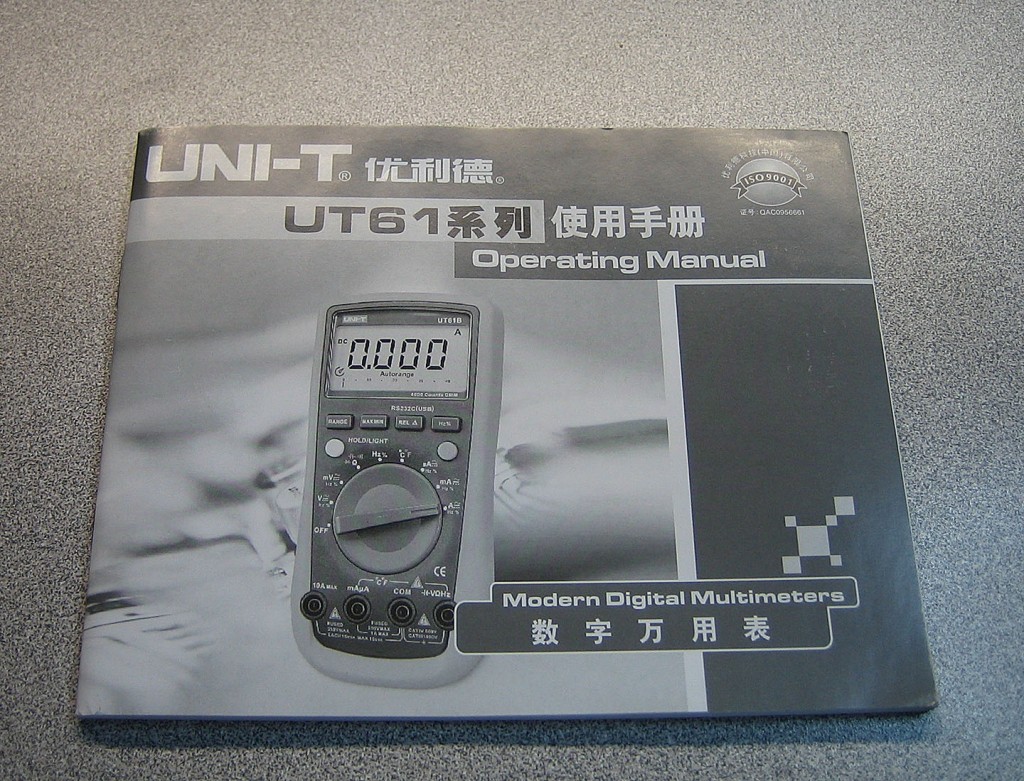
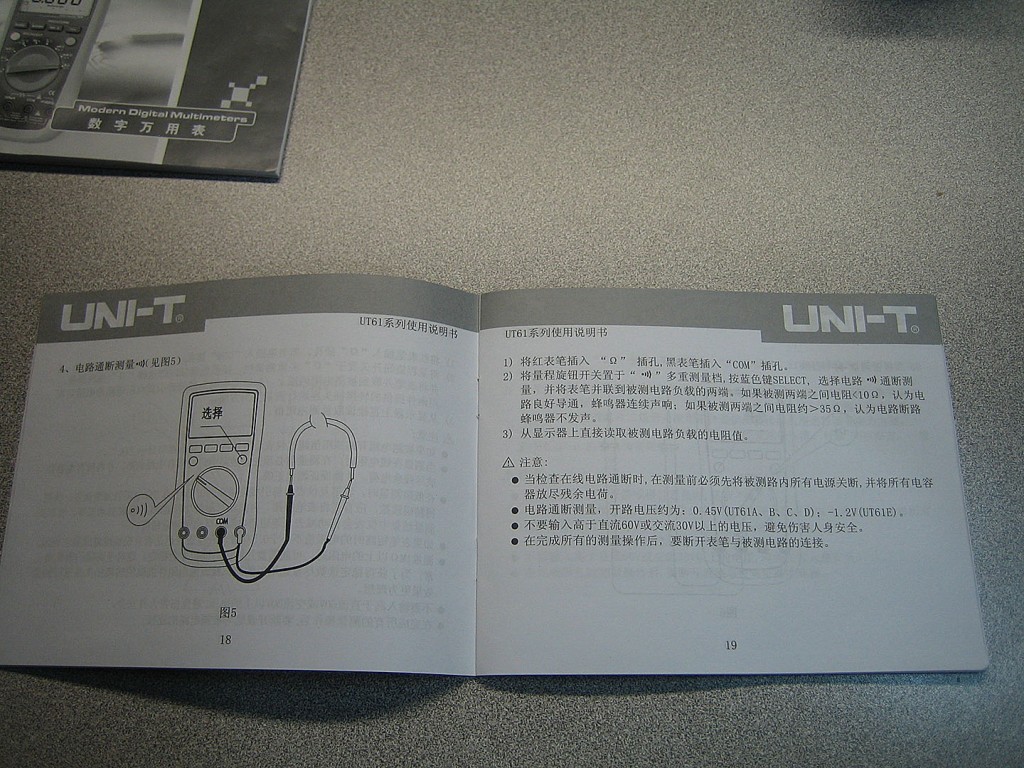
The DMM came with a manual booklet. Except…

…it’s not in English. Fortunately I found a copy of the English manual online. Here‘s a locally hosted version.

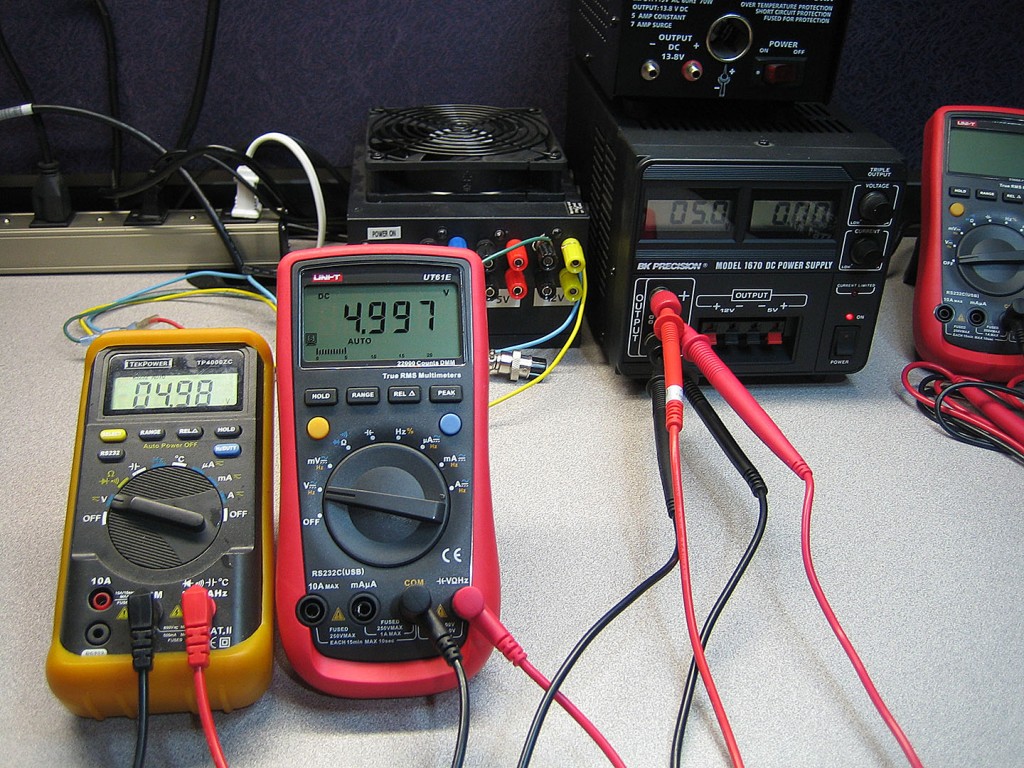
A quick test of the multimeter. Connected my trusty TekPower and the new UT61E to my lab power supply, set the voltage at 5V and see how the new meter performs compared to the old meter. First impressions definitely positive. The auto-ranging is VERY quick, the added accuracy of the meter is also an added bonus. I’ll get into more testing in the future once I have an actual project to build. So far though, the impressions are mostly positive.

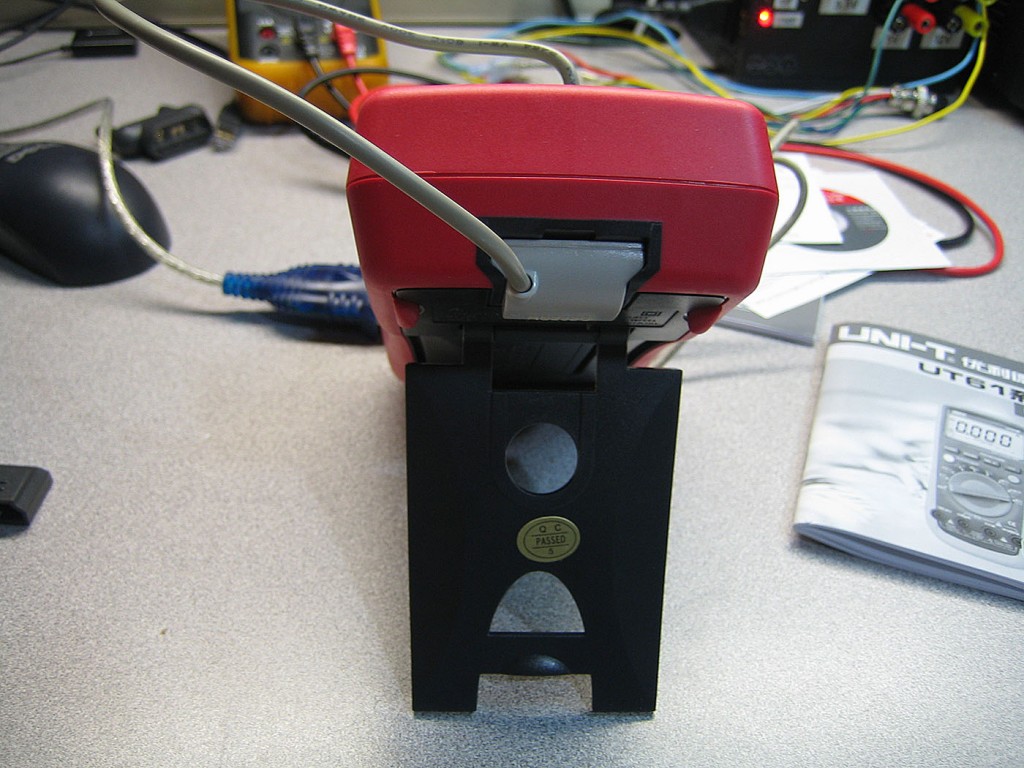
A really cool feature of this multimeter is the serial out function. Which by itself is not that unusual since even my 8 year old DMM has it. The really cool part is that the serial connection is electrically uncoupled from the meter. The meter uses IR transmitter to optically connect the serial cable to the UT61E. This is a great safety precaution since an accidental high voltage damage to the U61E will not travel up to the computer causing more damage.

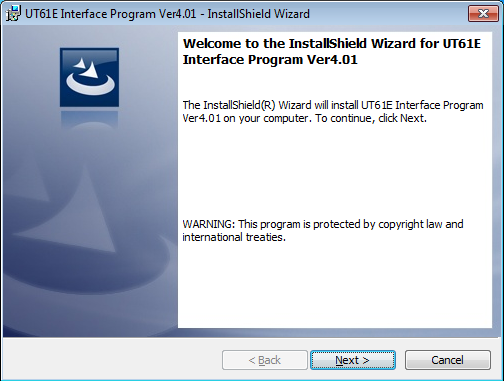
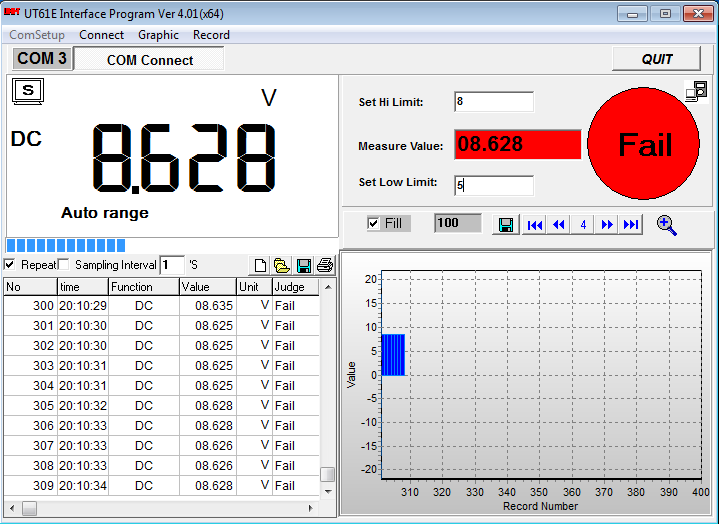
Next step was to install the included software on the Lab computer. Standard install process here, nothing unusual.

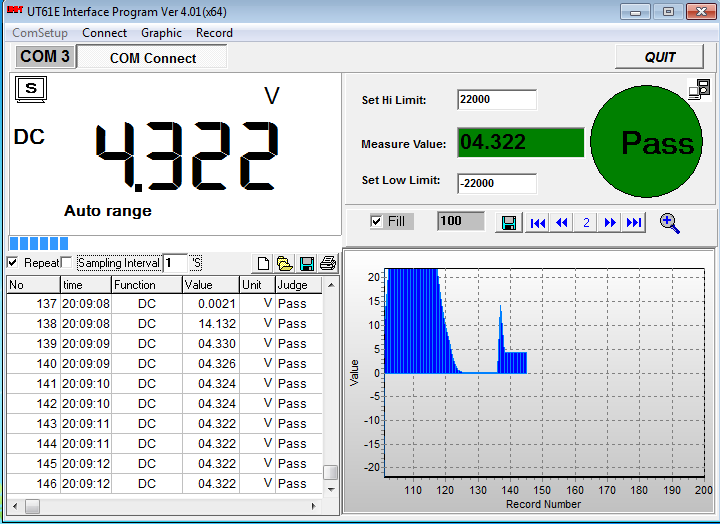
The software itself is extremely simple. Does pretty much the same thing as the meter itself with the added ability to log the values and set min/max ranges, print and export the results, etc. This does bring up an interesting challenge though. Can I do better than this? As a developer, it would be relatively easy to write a very nice feature-rich UI for these meters.

I’ve decided that I’ll make this my next project. This is the perfect time to jump into Visual Studio 2012 and .net 4.5. I’ll also take this opportunity to dive deeper into WPF. While the future of WPF is currently unknown, it’s still worth digging into.

Yihua 852D+SE Rework Station

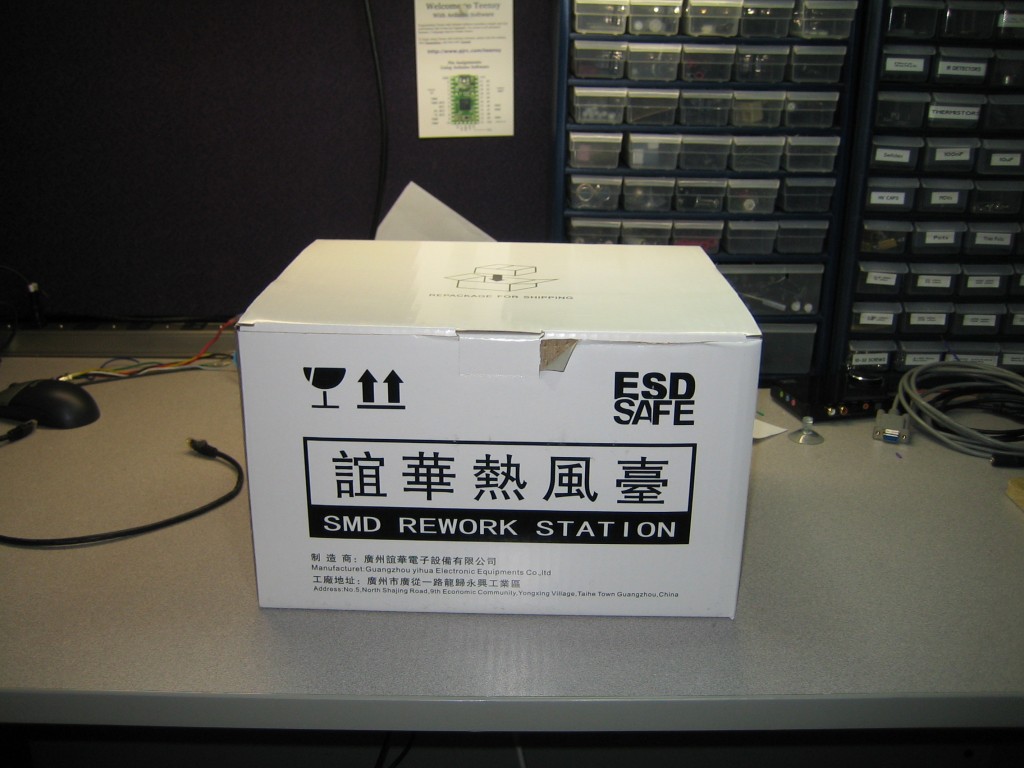
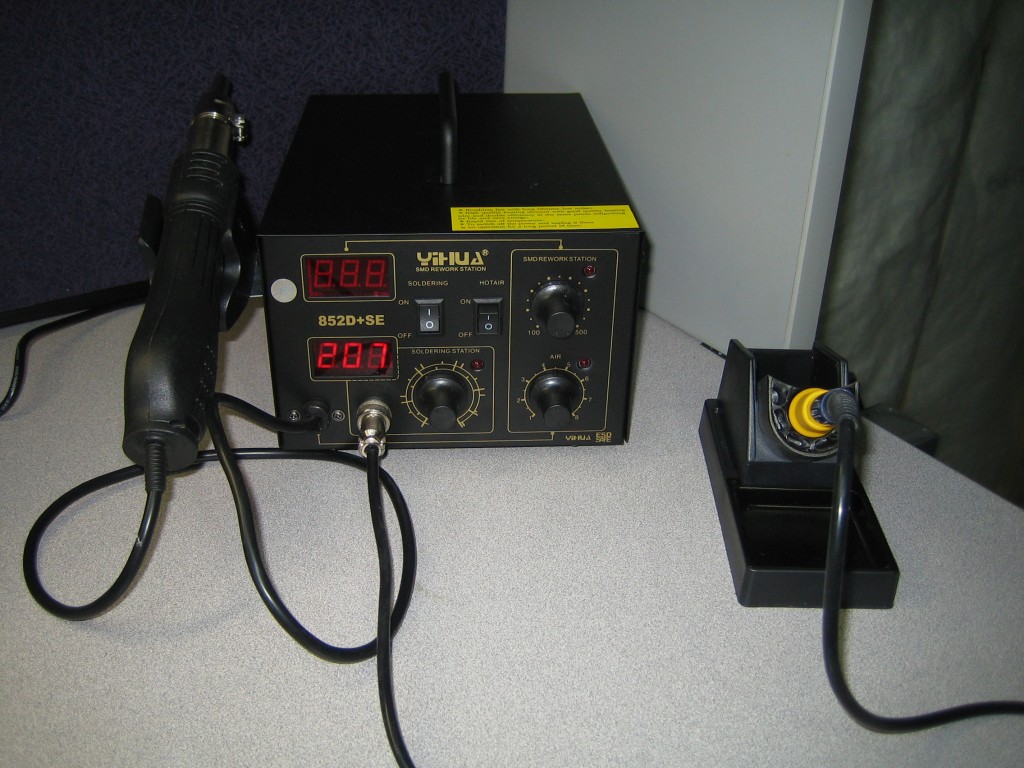
Picked up this solder station on Kijiji yesterday. Seen those units on eBay prior, figured might as well pick up locally and save myself the shipping fees and the 3 week lead time.

Been reading about these units online for a while. Basically same factory cranks these out under various brand names (Hakko, Yihua, Xytronix, etc).

The premise is all the same. Ability to solder SMD/SMT and of course ability to remove components.

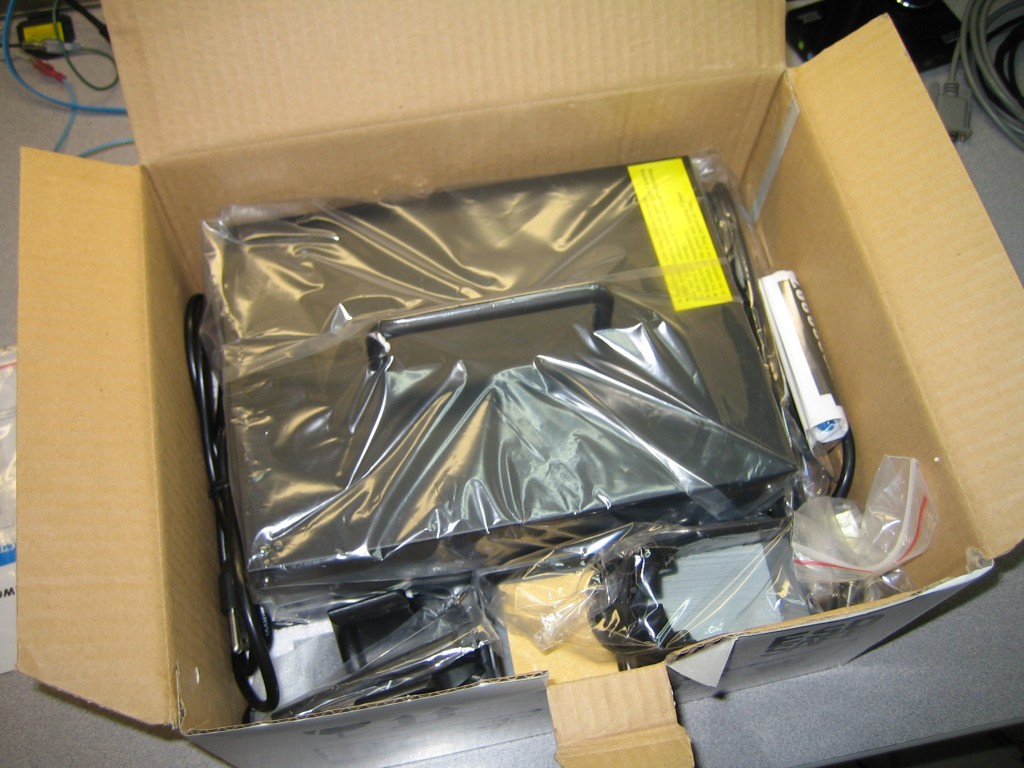
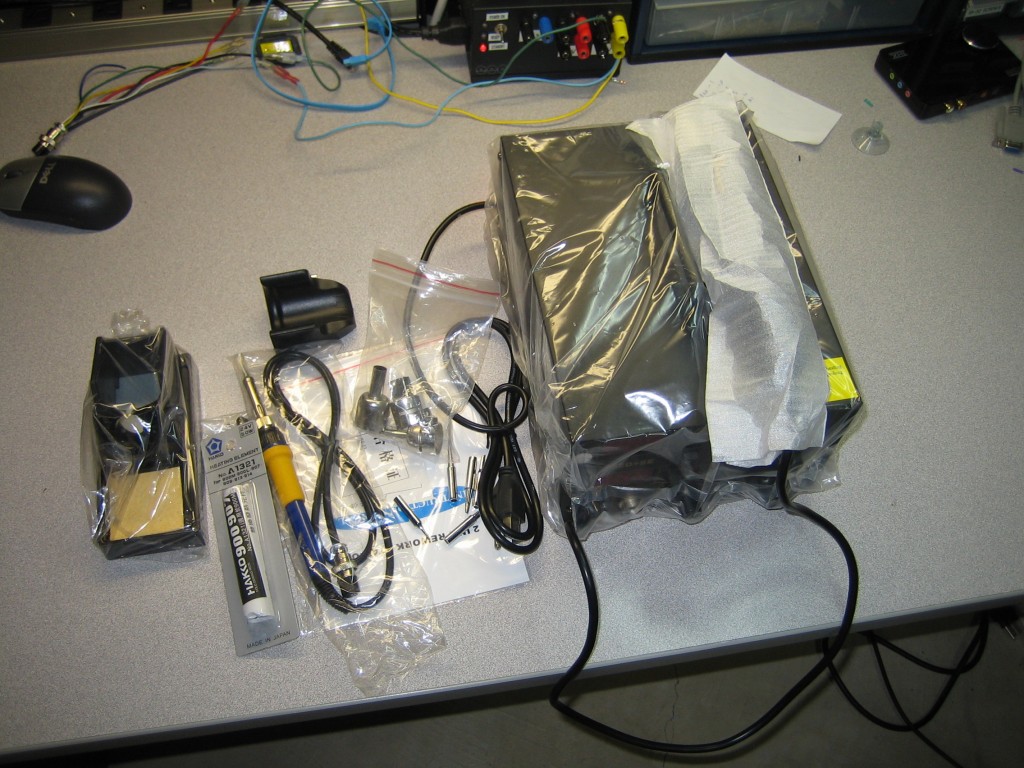
The unit came nicely packaged. The guy I bought it from also threw in an additional ceramic heating element and 5 more soldering tips. Additional focus heads would would be nice, but I’m sure I can find those on eBay for cheap.

The soldering iron itself does feel a bit cheap. Haven’t tried soldering with it yet, so will have a more accurate opinion of it at that time.I wish the soldering iron base was a bit heavier though. I don’t like when they slide around when trying to park the iron it on. Will see if I can weigh it down a bit since the inside of it is hollow.

The air gun is rather nice though. It heats up quickly and moves fair bit of air on high setting. Again, I haven’t tried it on an actual board yet, but I’m really looking forward to it. The air gun does shut off automatically when placed in the cradle which is a nice feature, but considering the source, I’ll be sure to shut off the unit when I’m not using it.

Overall, this is a pretty decent unit for what I costs. Hopefully the soldering tips will last a fair bit, I used to have a cheapie soldering iron and it was going through tips so much that it was just more cost effective to buy a more expensive soldering iron with a tip that lasted a very long time.

Awesome Logitech Speakers (X-140)

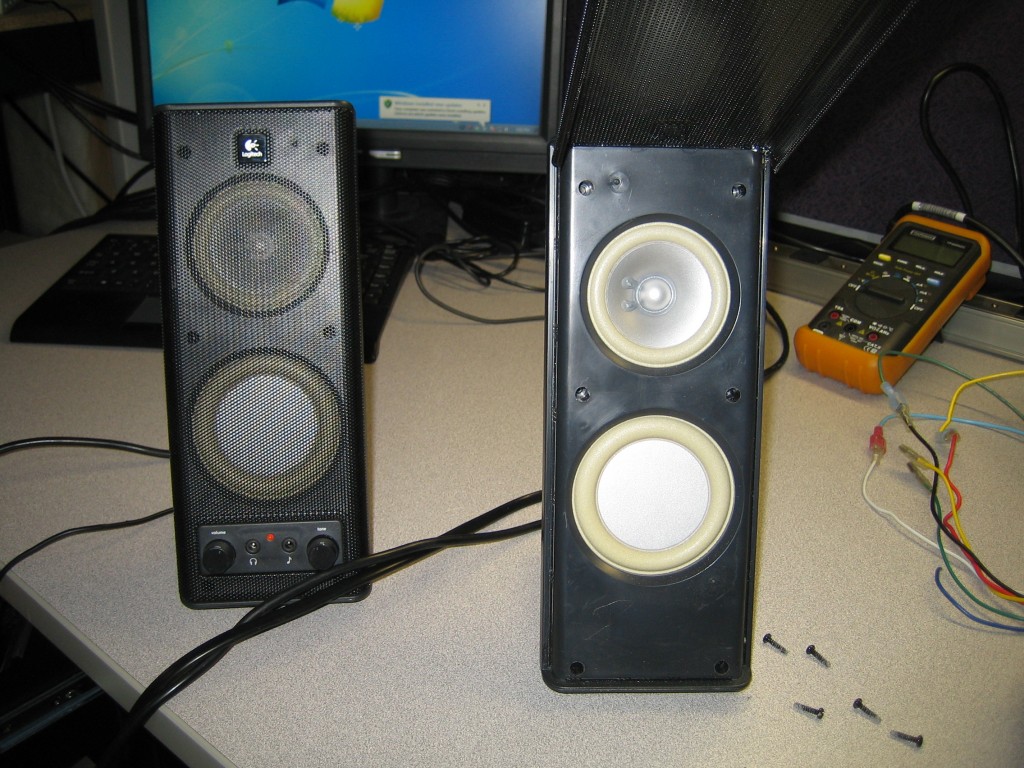
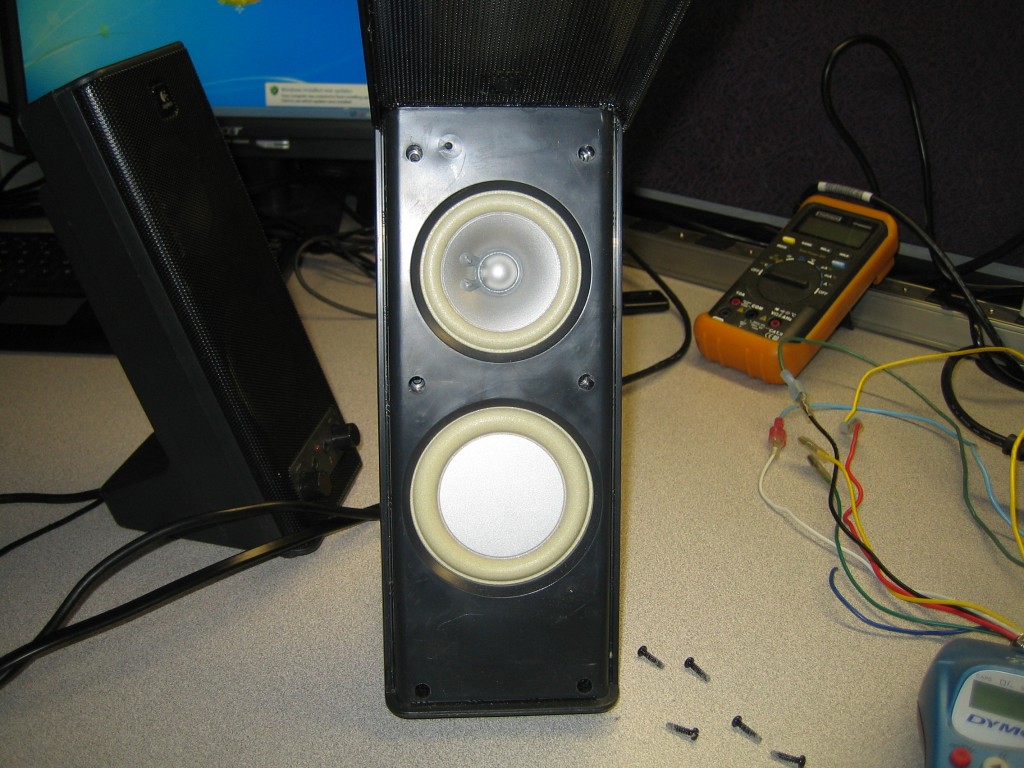
A while ago I picked up a pair of Logitech X-140 speakers, mainly to be used a background noise when working in the garage or the shop. Well, today they decided to stop working. So, I took them apart to see if I can figure out the cause of the failure.

Logitech advertises these as “Two-Driver Speakers” to experience “deeper bass”.

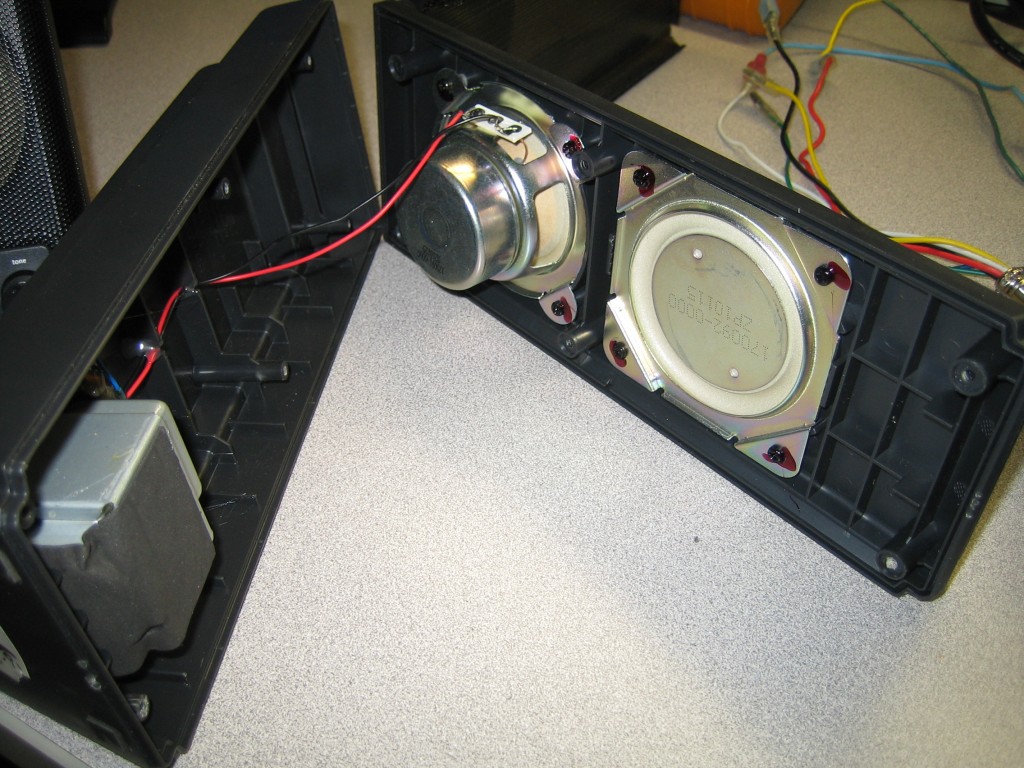
So imagine my surprise when I opened them up. So much for two drivers. The other “speaker” is just a passive diaphragm. There is only one “driver” per speaker. Talk about being cheated. Though, I can’t really expect much from $30 worth of computer speakers.

Anyways, it turned out to be a power wire that got loose due to shoddy soldering. A quick soldering job and the speakers were as good as new (i.e. not that good).