About Tom Heiber

Software Developer Consultant Car Nut Tech Geek

KaskingoDMM Update

I’ve released an update to the multimeter application. Grab the latest version here.

Changes since last release:
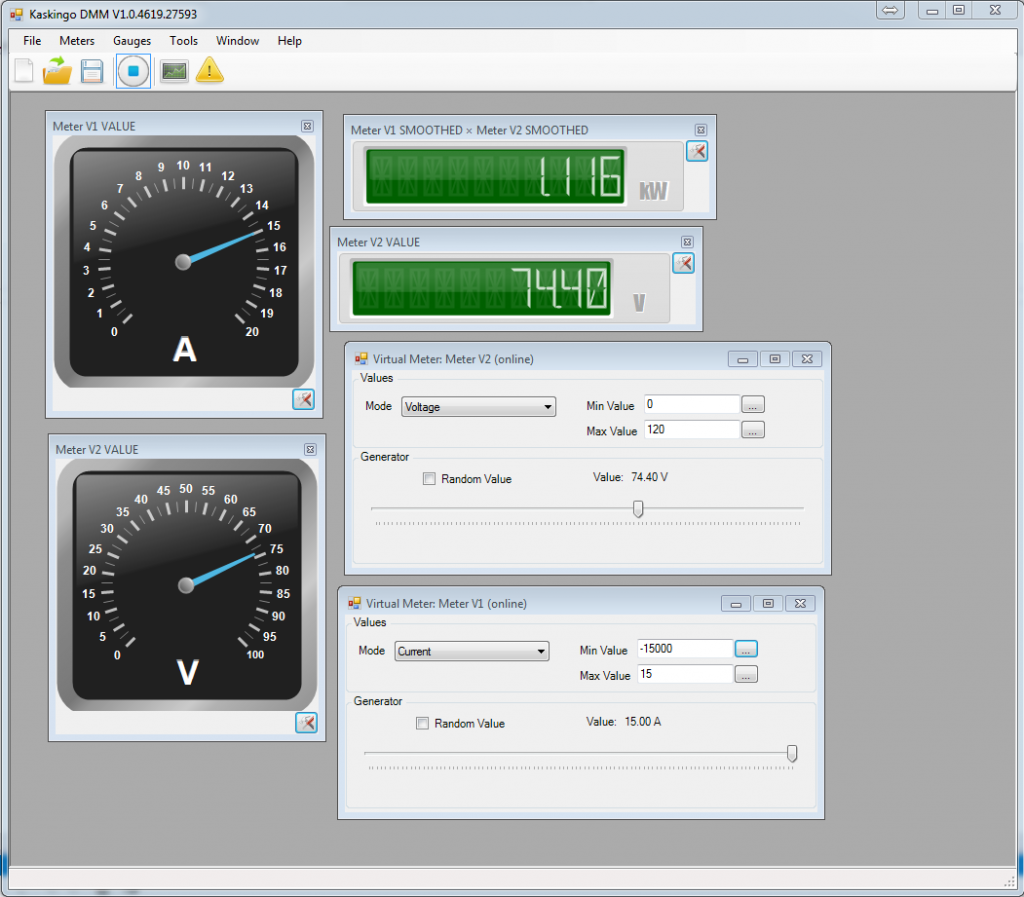
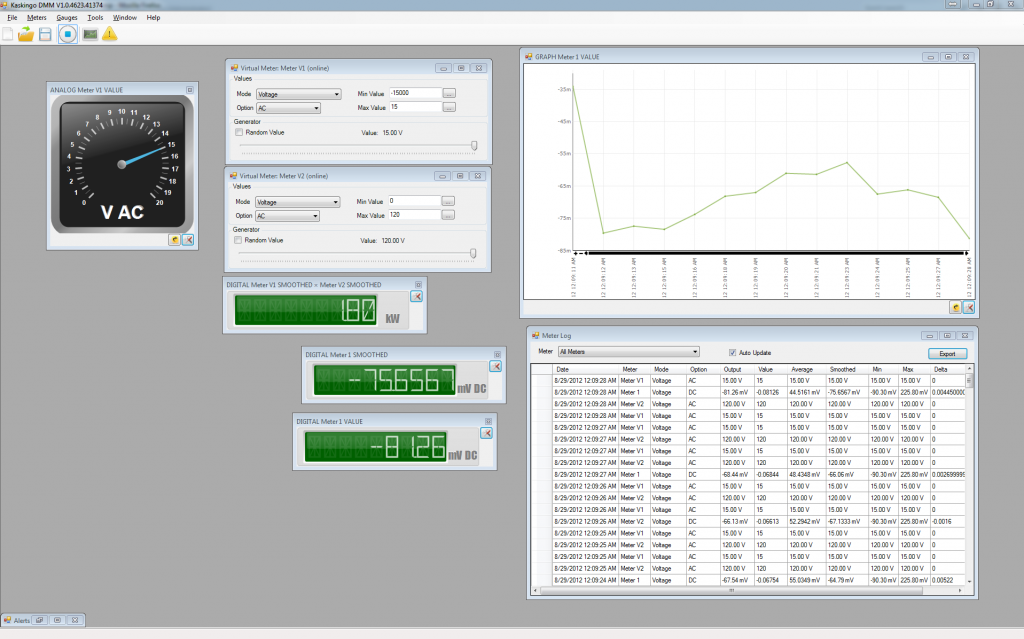
– Added Chart Display
– Added Temperature Mode support
– Added AC/DC Display to Voltage/Current Gauges
– Added Hz/Duty % to Frequency Gauges
– Added Export to Excel in Meter Log
– Added Trigger Disable feature
– Performance Improvements
– Several Small Bug Fixes

I also ordered a UT70 Series multimeter to do some testing with. I’ll probably contact Uni-Trend at some point to see if they’re interested in helping adding support for more multi-meter models.

Denon AVR-4308CI to Yamaha RX-A2010

The time has finally come to move on from my trusty Denon AVR-4308CI to something more up-to-date.

To go back a bit, last weekend I finally pulled the trigger on a 3D TV. A local store had a clearance sale on the LG 65LW6500 Passive 3D Real3D LED TV and I’ve been looking for a deal for a while. I’ve never liked the shutter glass 3D TV’s due to the flicker which I can see. After only a few minutes watching a show I was already starting to get a headache. The LG’s Passive 3D technology absolutely blew me away. It’s just like watching a 3D movie at the theater, no flicker and no brightness loss.

One of the reasons why I wanted to get the 3D TV is due to DirecTV’s 3D broadcasts. Watching sports in 3D really does add an extra dimension. Unfortunately the DirecTV box kept reporting that my TV does not support 3D and would not let me to tune to the 3D Channels. As it turns out that problem was the Denon as it is only HDMI 1.3a compatible and does not support pure pass-through. Plugging the DirecTV box directly into the TV worked right away.

To fully utilize the 3D TV’s capabilities, I needed an new A/V Receiver that support HDMI 1.4. I’ve been out of the Audio scene for a while since I finally built a system I was happy with. So, I had to do some serious research.

Because I’m already running a couple of Power Amps (Emotiva XPA-5 and Emotiva XPA-3), I no longer required a receiver that provides oodles of power, after all, the Denon only ever drove the center channel.

After a bit of research, turns out that that I couldn’t have my cake and eat it to. I could either go for cheaper Pre-Processor with no amplifier capabilities, which would require an additional amp to drive the center, or get a higher-end A/V receiver if I wanted all the features I was looking for (EQ, On-Screen GUI, etc).

I’ve narrowed my search to four major brands: Denon, Yamaha, Marantz and Onkyo. The Onkyo route was quickly discarded as I just could not feel the look and feel of the receivers. The Marantz receivers are pretty much just re-branded Denon receivers (same company) with a price premium. So I was down to two manufacturers, Denon and Yamaha.

Specifically I was looking at Denon AVR-3312CI, AVR-3313CI or Yamaha RX-A1010, RX-A2010. Once I started reading more about the Yamaha’s relatively new Aventage line, it came quickly apparent that it was the route I wanted to go.

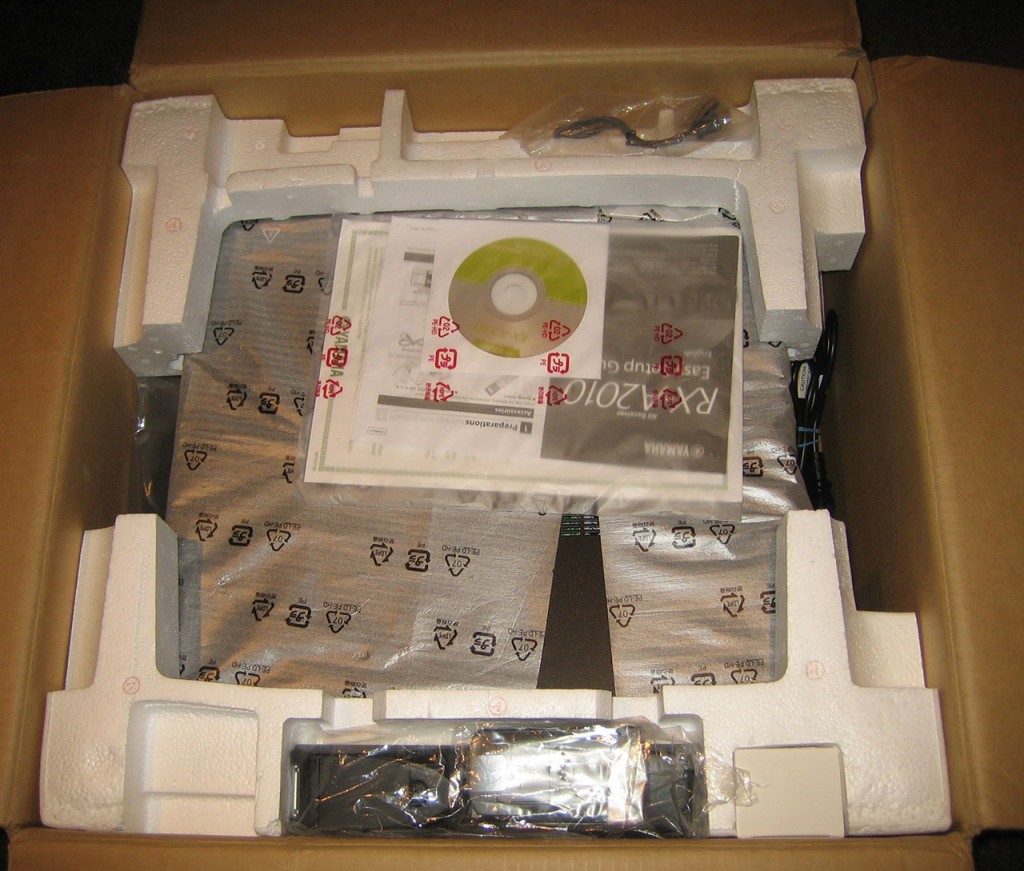
So I hit the classifieds, Kijiji and Canuck Audio Mart. Within only few hours I located a few sellers that had the receivers I was looking for. Few emails back and forth and couple of days and I come home with a new Yamaha RX-A2010. Saved a nice bundle over retail too.
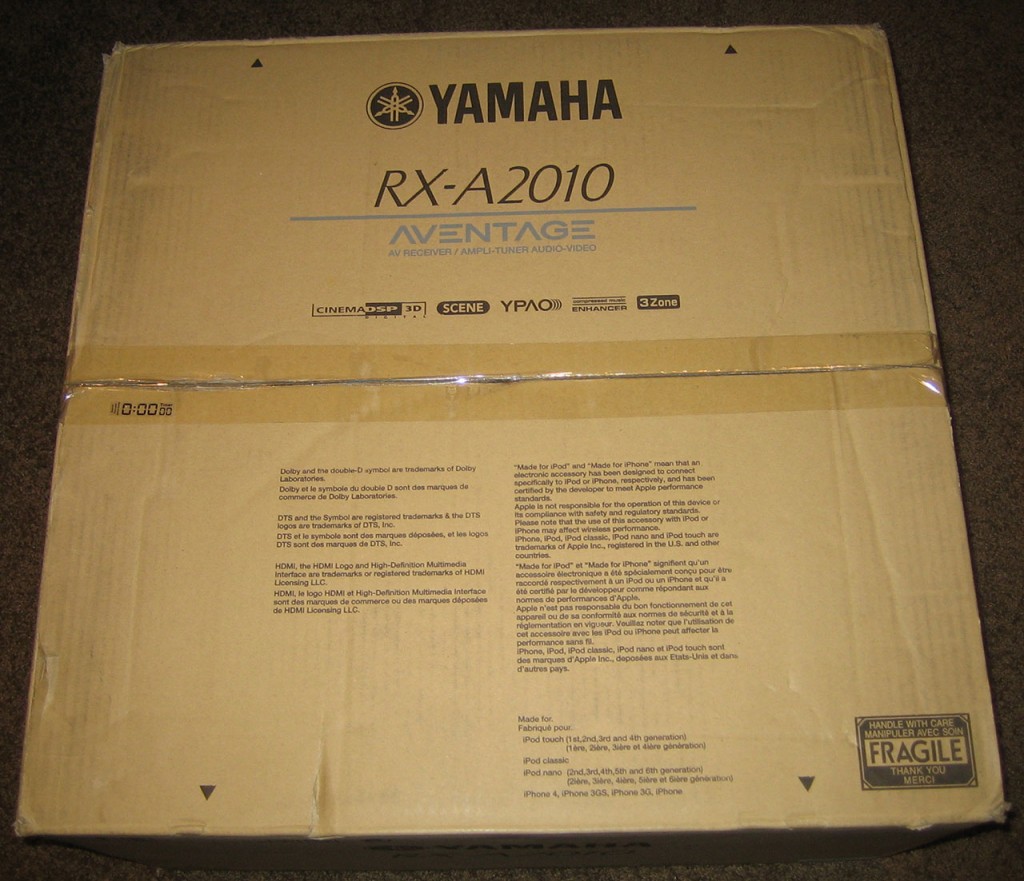
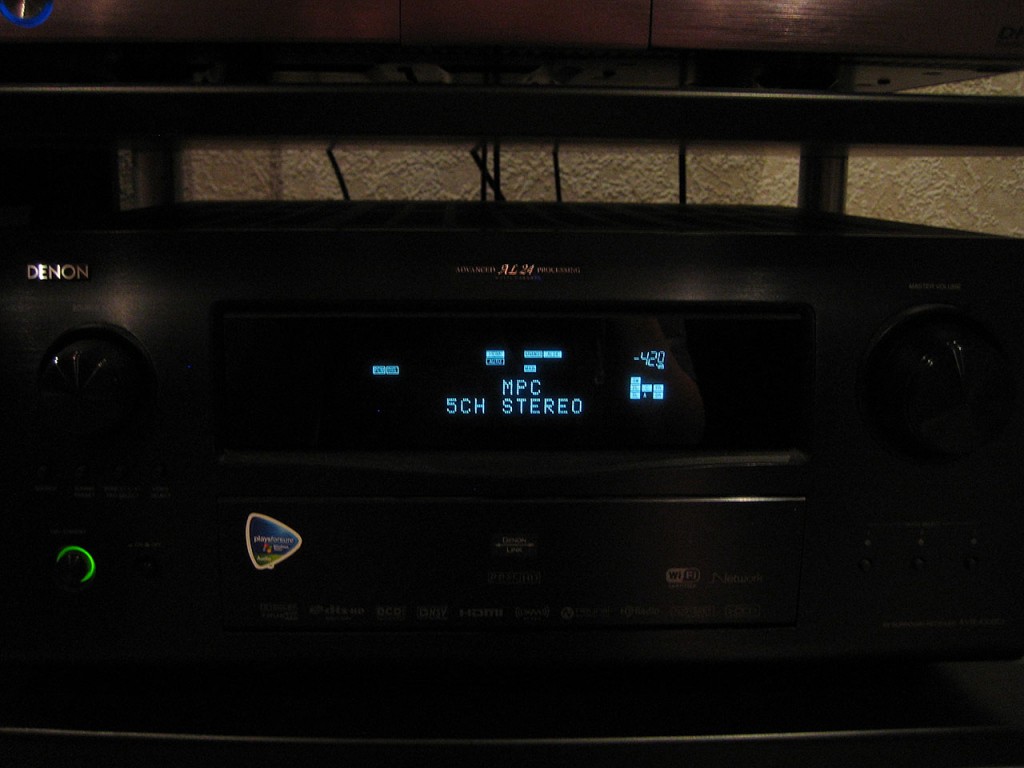
My trusty Denon. I will miss this receiver. It sounds absolutely great and with gobs of power, the sound was extremely clean. At one time this was Denon’s top-shelf product. Ultimately, it’ll end up on Kijij or Canuck Audio Mart for sale. Hopefully someone will give it a good home.
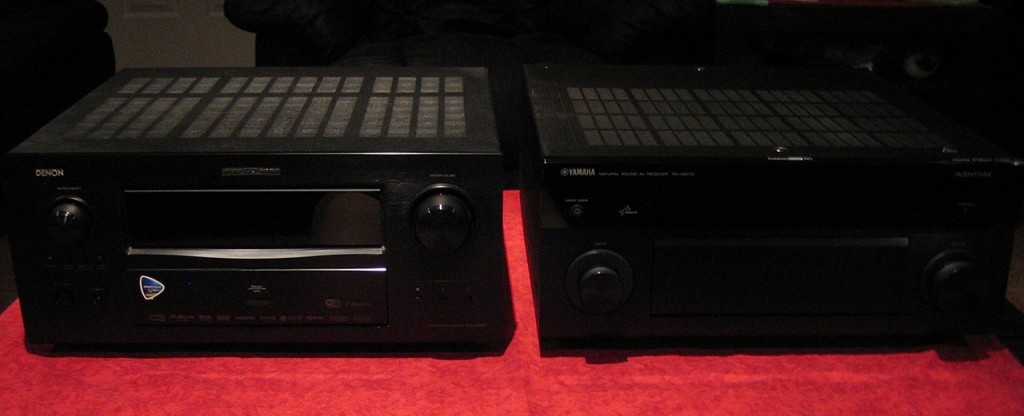
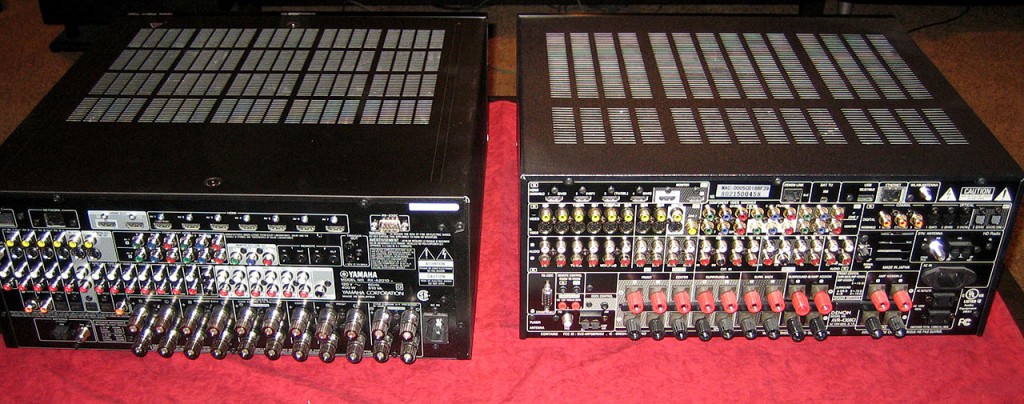
The Denon and the Yamaha side by side. Not surprisingly, the Yamaha is slightly larger than the Denon. Even though both receivers are rated at 140W/channel, The Yamaha provides slightly more power as it drives 9 channels vs the Denon’s 7 channels, though I’m pretty sure both companies slightly over-rate the power ratings anyways.
I was suprised to find out that the Yamaha actually supports 2ohm speaker loads.
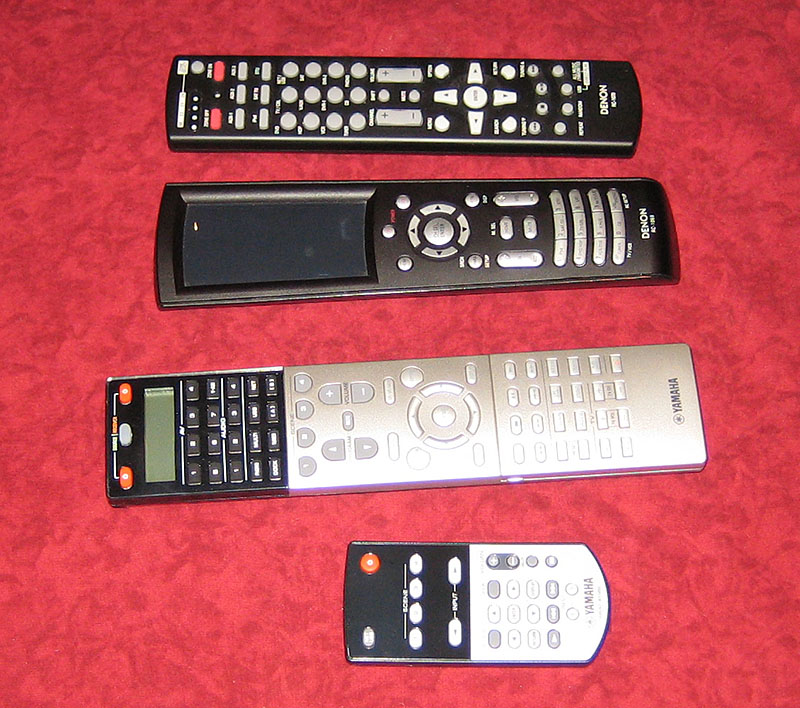
The remotes from each receiver. Both receivers use two remotes for operation. Though I prefer the Denon route having two normally sized remotes rather than the comically gigantic remote that Yamaha provides with their receiver. It’s not really important though, for the most part I use a Logitech Harmony One for all my operations.
It only took a few minutes to connect the Yamaha receiver in place of the Denon. I only have 4 audio/video sources and all speakers (except center) are handled by the power amps.
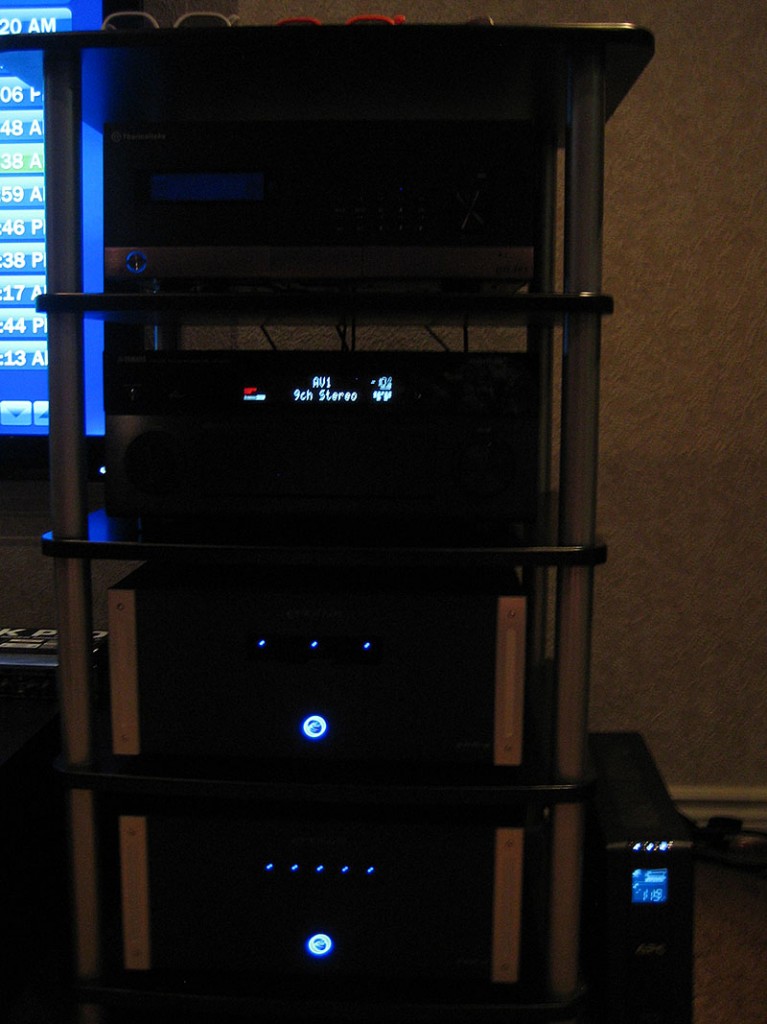
I spent about an hour configuring the receiver. I’ve yet to run room calibration on it due to it being late and the rest of the family already in bed. Hopefully tomorrow I’ll have the amp fully set up though I’m sure I’ll be tweaking the settings for weeks to come.
Traxxas 6814 Center Differential Rebuild

So a couple of friend and I decided to have a little bit of fun at a construction site near one of my buddies place. All was in great fun until my truck suddenly decided to stop.

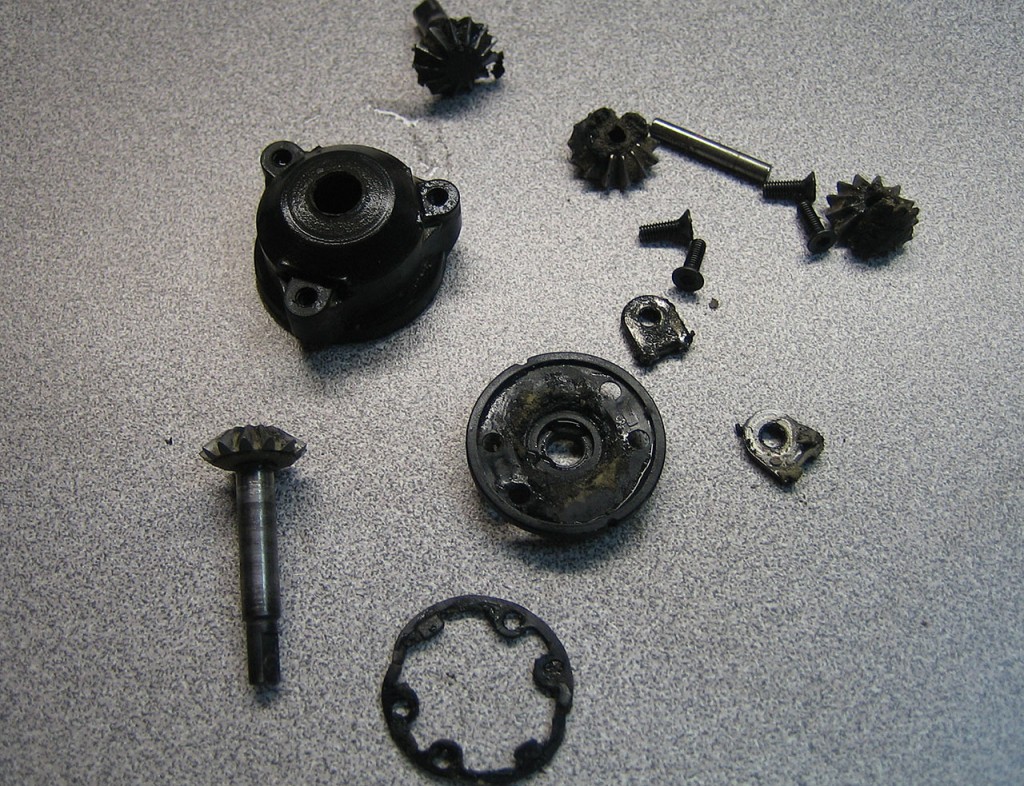
Turns out that the center slipper clutch was completely seized. This in turn caused the spur gear to be stripped (again).

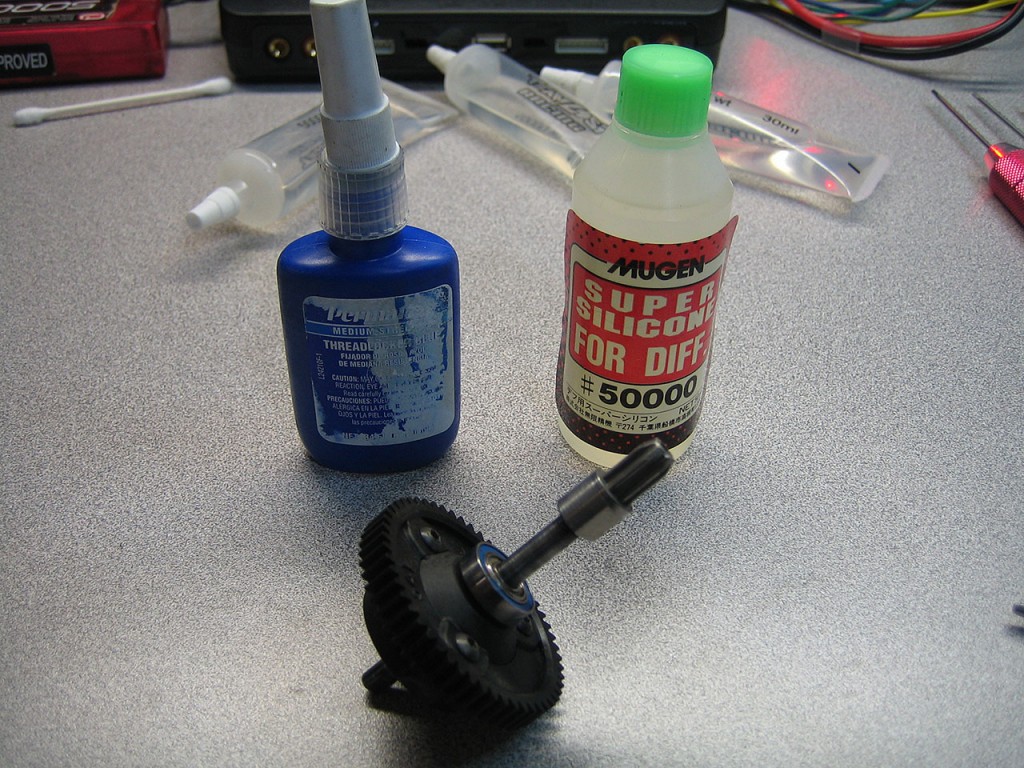
When I got home, I dissembled the slipper clutch. The thing was completely filled with clay. It was in fact solid.

This is my first attempt at rebuilding the diff and since I don’t have the original manual for it, I’ll have to do without it.

The diff disassembled. I was able to knock off some of the larger chunks of oil and clay. But the gear-set is still completely gunked up with the stuff.

I didn’t have a heavy duty degreaser that could remove the heavy silicone oil from the case. I ended up using nitro cleaner, brake cleaner and good ole toothbrush to get the parts clean. Took me over an hour to get all the parts completely free of debris. I’ll have to pick up some real engine degreaser to help me remove the stuff in the future.

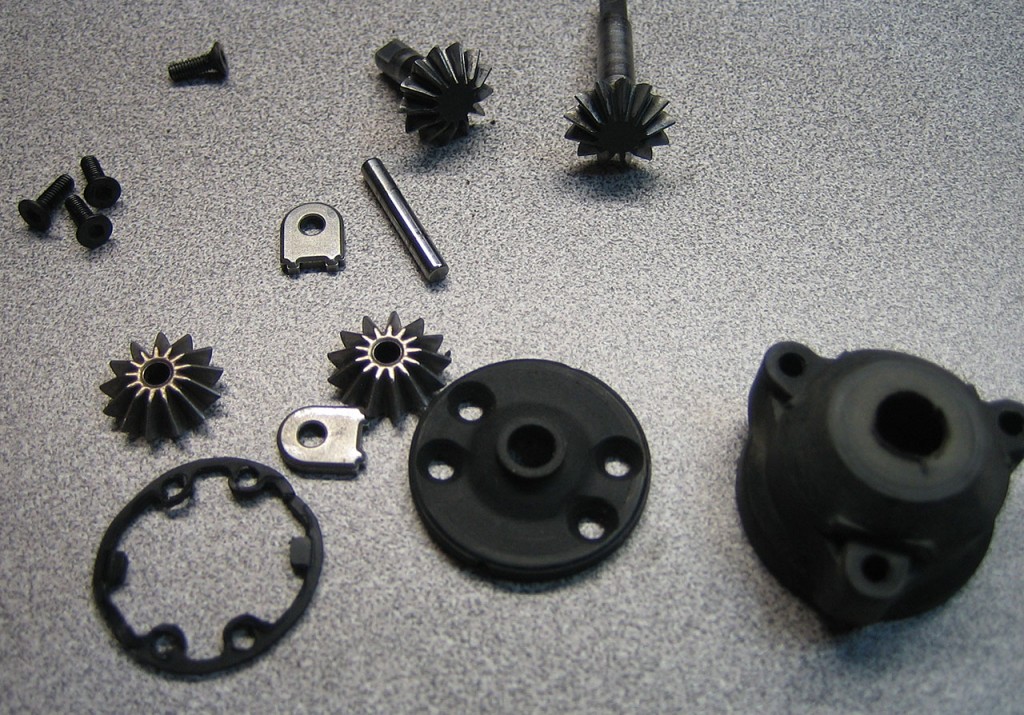
The construction of the diff is actually pretty simple.

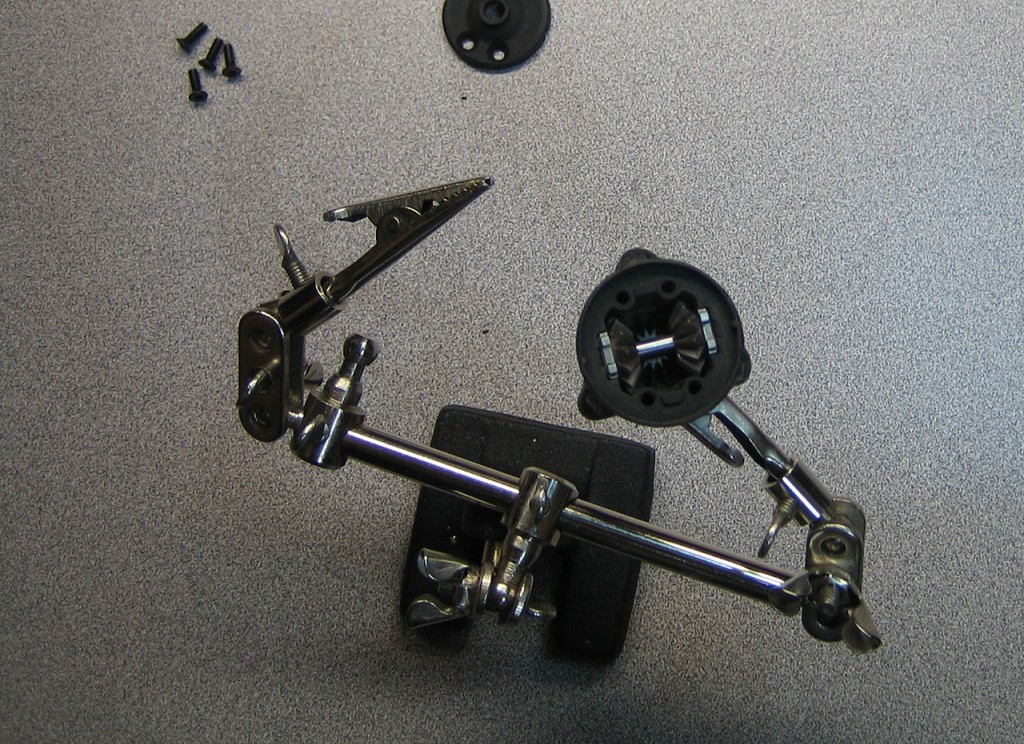
I used 50K weight silicone oil to fill the diff case. This stuff is pretty thick but I did saw that it was seeping a bit through the output shaft holes. Will have to keep an eye on it. Used a bit of blue threadlock to secure the set screws.

All done. Tomorrow I’ll tackle the rear diff. It looks smoked too.

Hitec Ultima X2

A few months ago I jumped back into the world of RC. This time though, I stayed with the relatively cheap hobby of RC Trucks and put the Heli hobby on the back-burner. Especially since the large (90 Size) helis no longer have that WOW factor seeing as everyone has an electric big box store heli now.

But I digress.

So, a while back I picked up a used Traxxas Slash 4×4 Platinum. Some guy was getting out of the hobby and decided to sell Everything in one shot. As part of the deal I got the Slash 4×4, Spektrum DX3R radio, a pretty kick-ass Stanley FatMax Toolbox and a countless number of replacement parts, receivers, tools and supplies. The only thing I needed was a few LiPo batteries to get me going.

Originally I was using a Bantam 501DX 5A Charger that I purchased years ago when LiPo’s first came to the RC world. Due to the limited charge speed of 5 amps there was a lot of down time between races while I waited for the batteries to charge.

I needed something better. I needed the ability to charge multiple batteries at once and the ability to charge high capacity batteries relatively quickly. When I started researching a decent LiPo charger, I quickly was overwhelmed by the sheer number of chargers available on the market. From simple plug-in and forget chargers to sophisticated chargers that can charge 6 batteries at once with programmable features and other do-dads.

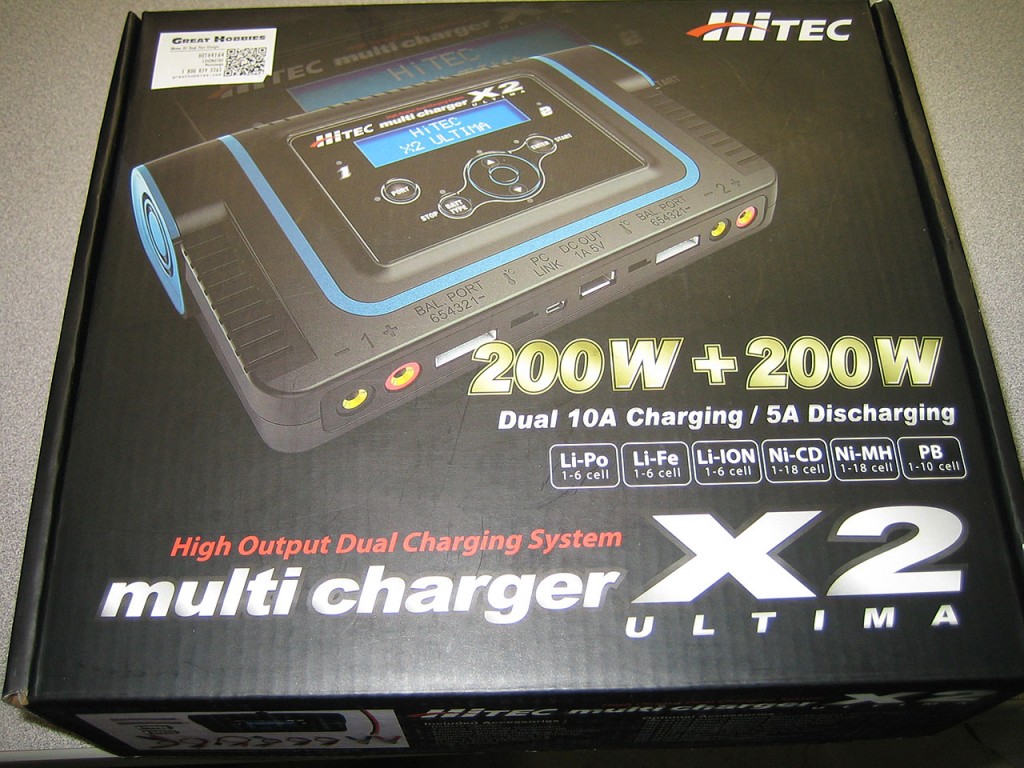
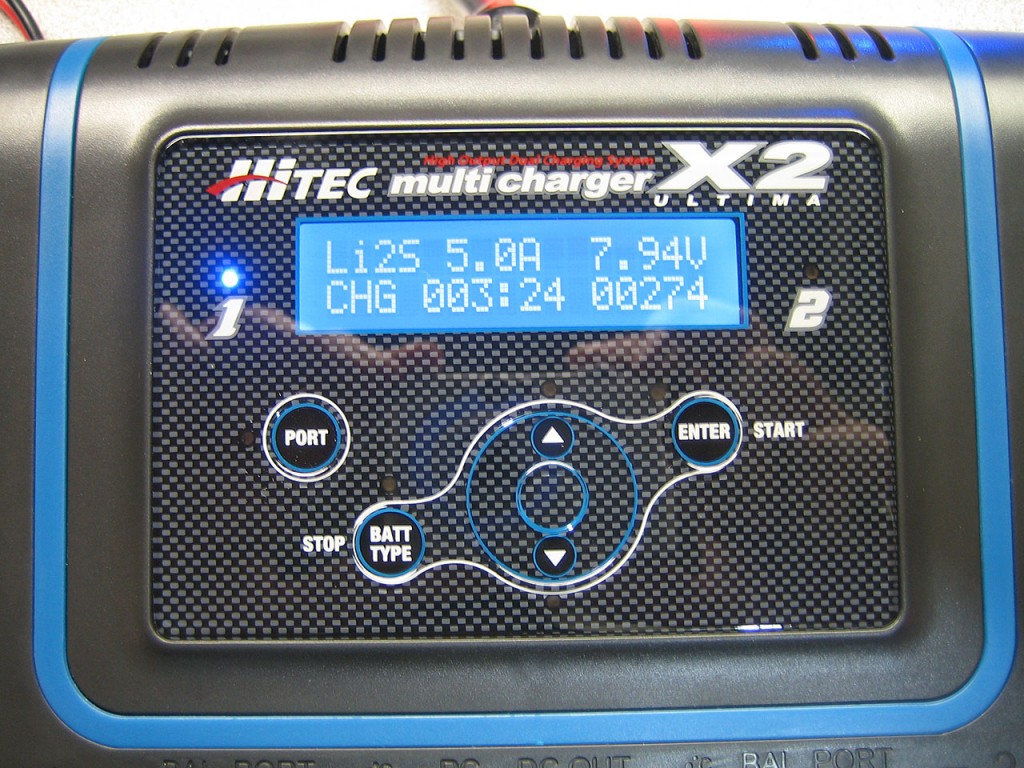
Due to the fact that I was out of the hobby for many years, I decided to stick to a company name that I knew. Enter the Hitec Ultima X2. Hitec has been in the RC industry for as long as I remember. So at least I knew I was getting a decent product .

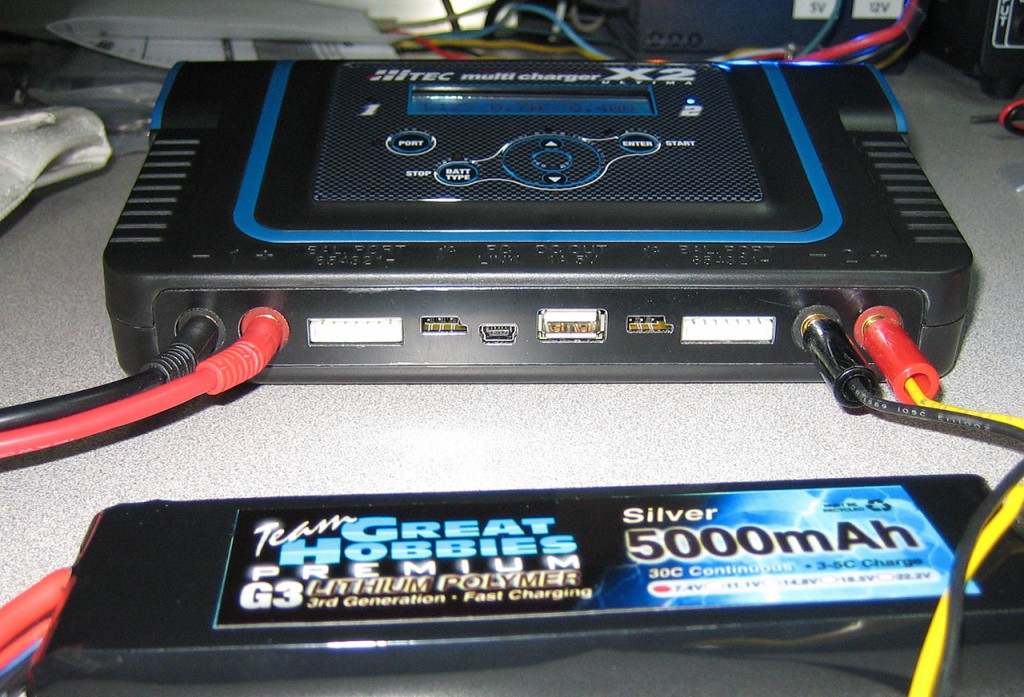
The Hitec Ultima X2 is a dual DC charger that can charge batteries up to 10A per port.

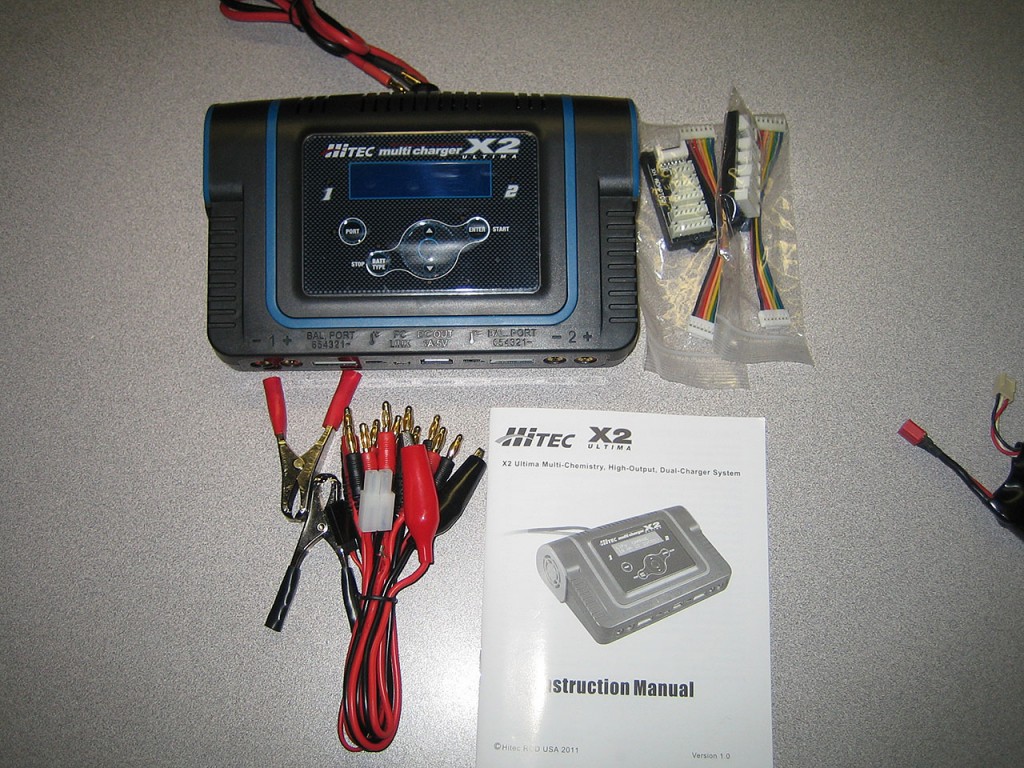
The charge comes with most common connectors for batteries, but unfortunately it does not come with Traxxas connectors. Also included are two LiPo balancer breakout boards and aligator clamp adapters for the banana plug power connectors.

The unit supports external temperature sensors for charging batteries. Comes with a USB interface to hook up to a computer and use with Hitec’s battery charge monitoring software. And a USB Charge jack which surprisingly only offers 1A of current capacity. This makes it pretty much useless for most devices nowadays that require at least 1.4A.

The display/programming interface is identical to the Bantam Charger I’ve had for years, leading me to believe that the processor for the charger is made by the same company and it’s been cranking out the same chip for years. I guess the old adage still goes, if It ain’t broke, don’t fix it.

Overall the charger is a great buy. The ability to fast charge multiple batteries simultaneously is a great feature. At 20A maximum draw one does have to be careful to not completely drain the car battery if using it to power the charger. I recommend leaving the engine running while charging or else you might need a jump.

I might look to buy a small Honda generator in the future if I find that I’m heavily into this hobby. But then again, if I’m getting into it as I got into RC Helis and Airplanes, this could mean big $$ in the future.

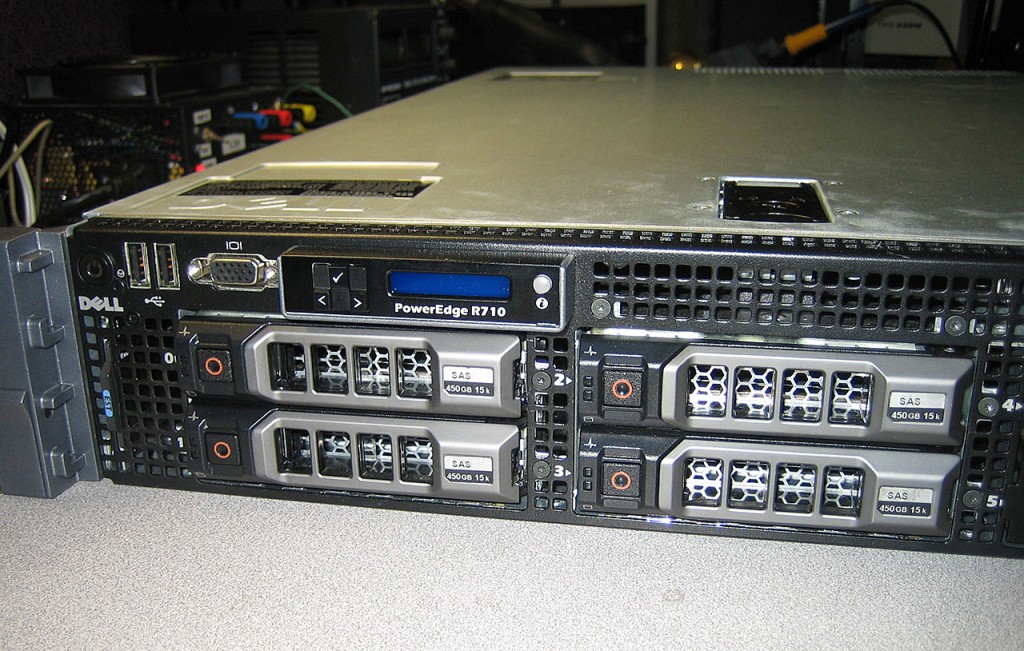
Score! – Dell PowerEdge R710

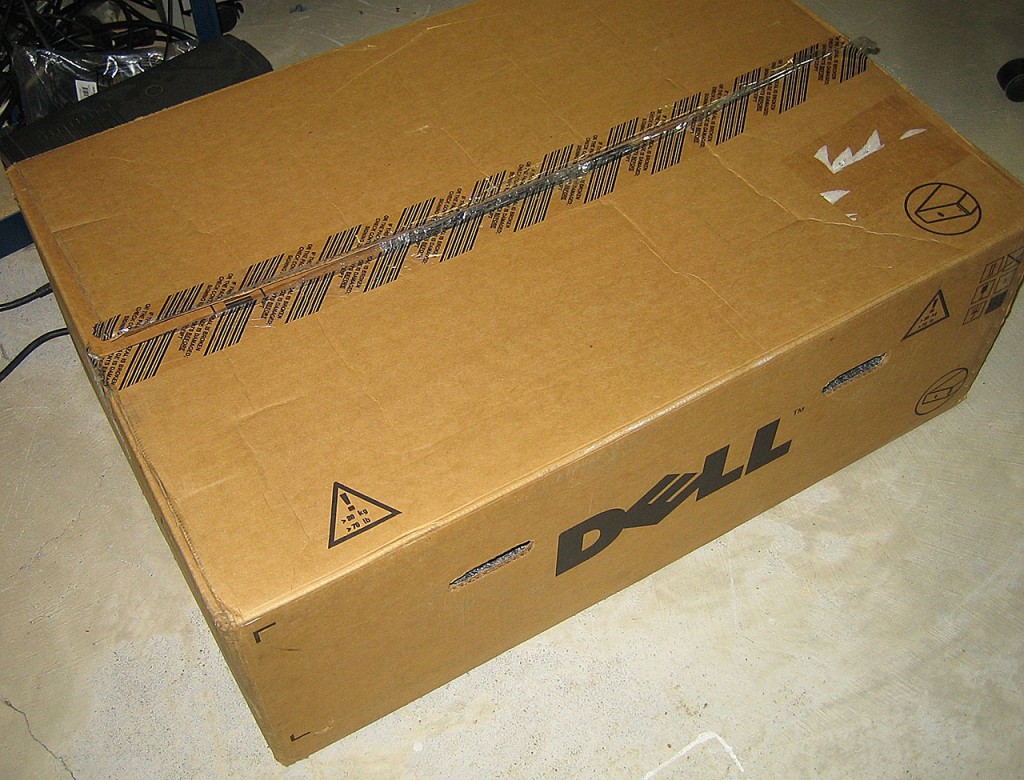
Interesting day today. Not only I sold my 3 PowerEdge 1950’s today (To a gentleman who drove over 7 hours from Montreal to pick them up!), I also found a kick-ass deal on Kijiji for a new Dell PowerEdge R710. What made this even better was that not only the asking price was already super low, I was able to knock off of an additional $200 from his asking price and the guy even met me halfway.

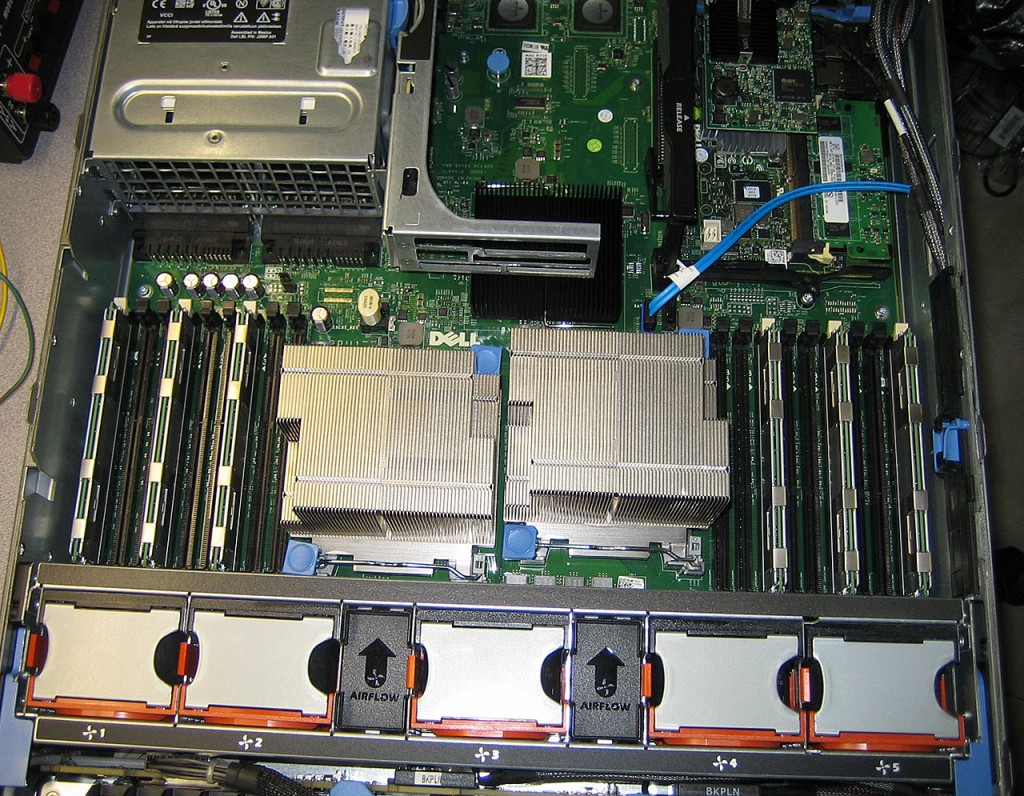
The server comes pretty well loaded.

2x E5630 2.53Ghz 12MB Cache Xeons
24GB DDR3 ECC RAM
4x 450GB 15K 6Gbps SAS drives
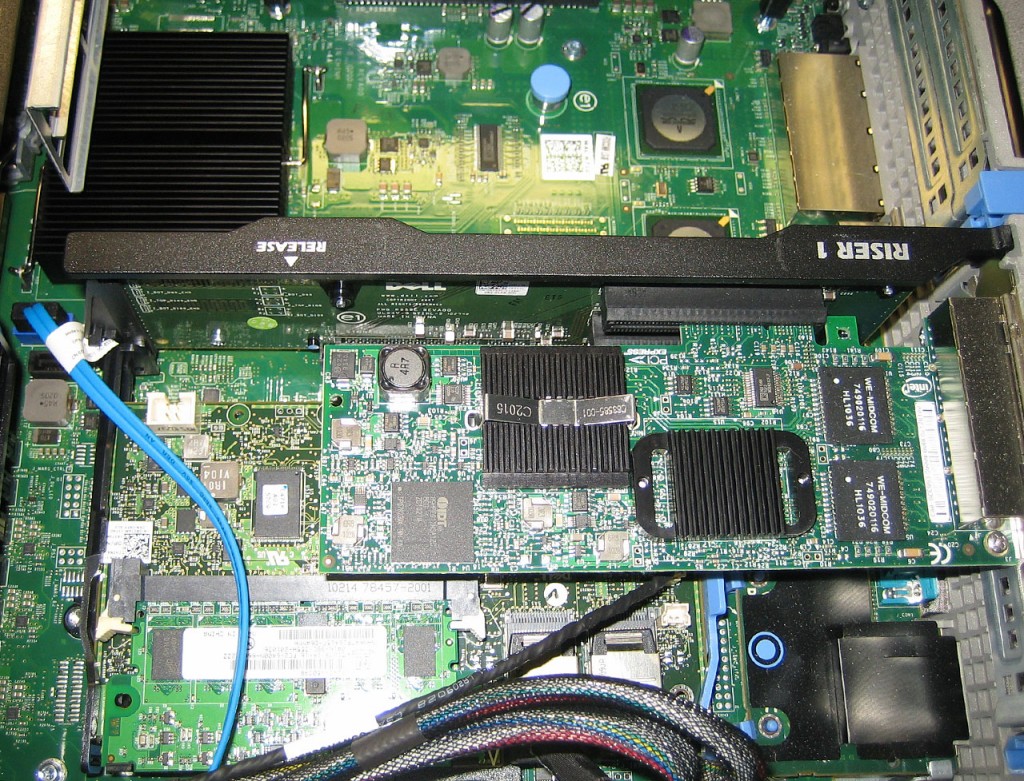
PERC H700 RAID Controller
iDRAC6 Card

…and as a bonus an Intel PRO/1000 VT Quad Port network card.

What really surprised me was the fact that there was still ~450 days of on-site warranty available. Will have to call my Dell guy tomorrow to help me transfer the warranty to my company.

Microsoft Release Day!

Microsoft released Windows 8 and Visual Studio 2012 RTM on MSDN today!

I was really looking forward to Visual Studio 2012. And the fact that it does not require migrations of projects from VS2010 to VS2012 means that I can pretty much un-install Visual Studio 2010 and use 2012 exclusively. Even the upper-case Menus do not bother me at all. And the TFS integration is wicked.

I guess I’ll be slowly migrating my web projects to ASP.Net 4.5. There should be some significant performance improvements.

Noticed that TFS 2012 server is out today too. Not sure if I want to can just upgrade TFS 2010 to 2012 or do I have to create a new repo. I have I have some work ahead of me. I’m glad all that stuff is virtualized so if anything goes wrong, I can just revert to a snapshot.

Good times.

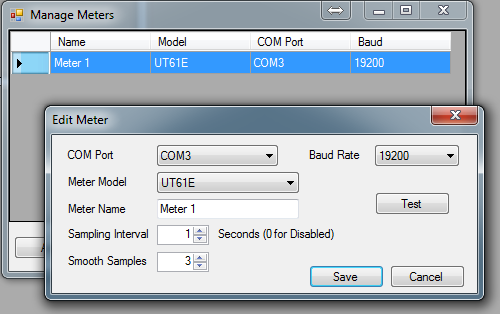
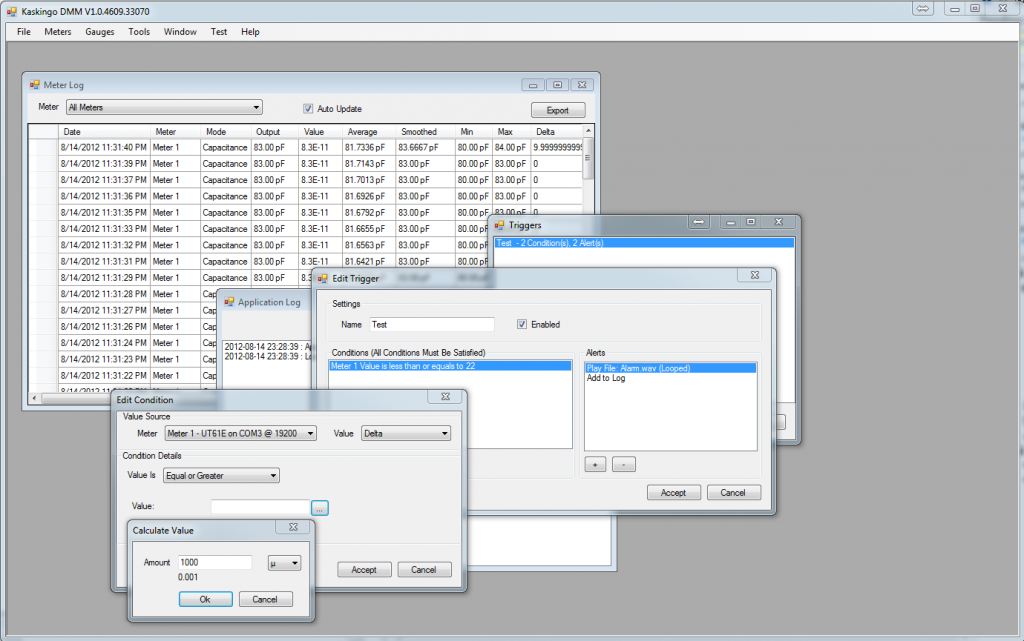
KaskingoDMM – Work in Progress

The new software project is coming along nicely. I’m really digging Visual Studio 2012 and .Net Framework 4.5. Unfortunately there’s not much for .NET 4.5 WPF Gauge controls and I didn’t really feel like writing ones from scratch. I decided to revert to WinForms for now. The entire logic of the software is kept separate from the presentation layer so once i get some good third party controls, it should be relatively simple to change over to it.


UT61E – Custom Software

Success!

After a bit of research, I discovered that the Uni-Trend UT61E uses an all-in-one chip that also handles the serial communication. It’s a Cyrustek ES51922 Chip and a bit of googling I found the technical documentation that also describes the serial protocol and data encoding in the serial stream.

ES51922

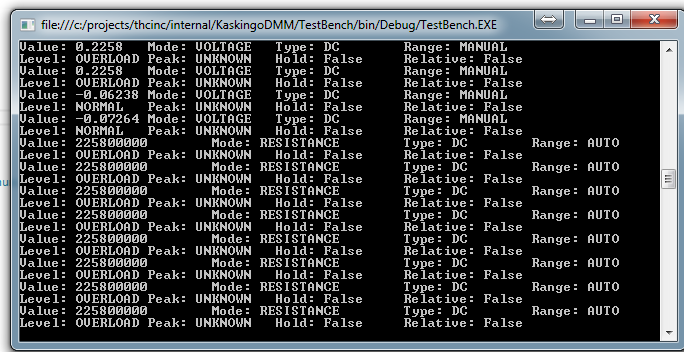
Took me a bit of work to get the data to flow from the UT61E and after a fair bit of bit-twidling. I was able to successfully translate the raw data from the multimeter to a useful format.

After I wrote the communication library, I wrote a quick console app to dump the values from the meter.

The meter feeds about 2 samples per second (except in Frequency mode where it seems to slow to 1 sample per second). Not the fastest feed but good enough for most application.

Next step is to write the logic engine to deal with all the features I want to implement.

Uni-Trend UT61E

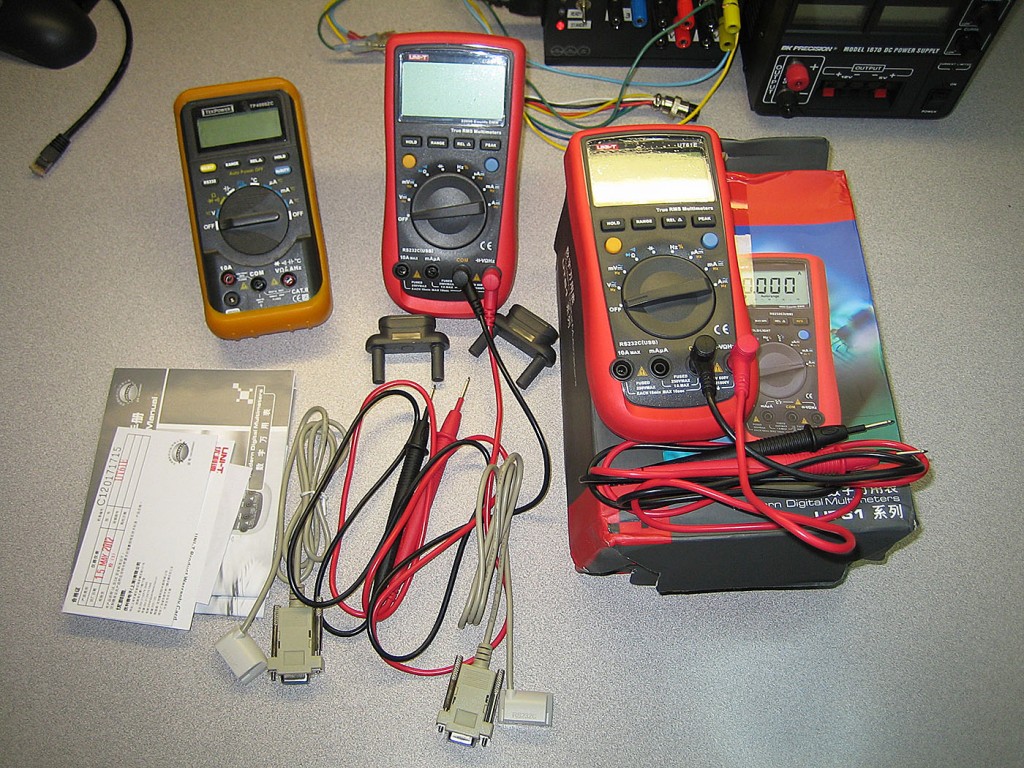
Couple of new toys came in today. A set of Uni-Trend UT61E Digital Multi-Meters. I ordered these to replace my now aging and underpowered TekPower DMM. I ordered two of these so that I can measure both current and voltage at once.

The UT61E is probably the best bang-for-the-buck multimeter one can find. It’s incredibly accurate for the price, very fast ranging and overall has a great feature set.
These meters go on eBay for about $60 which is incredibly cheap for what you get. I ordered mine from eBay and they took about 4 weeks to get here (from China).

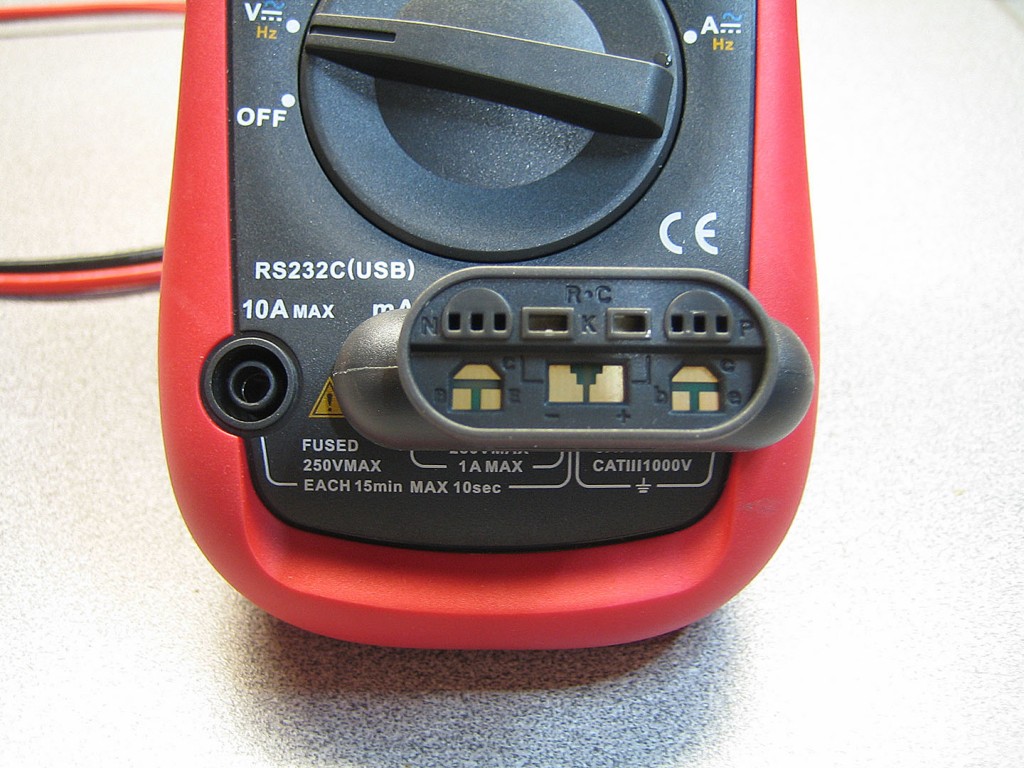
The meter comes with a pretty nifty attachment that allows you to easily test various components like Resistors, Capacitors, Diodes and Transistors. Except, with the UT61E model, transistor checking is not available. Very odd considering this is one of the more feature-rich models.

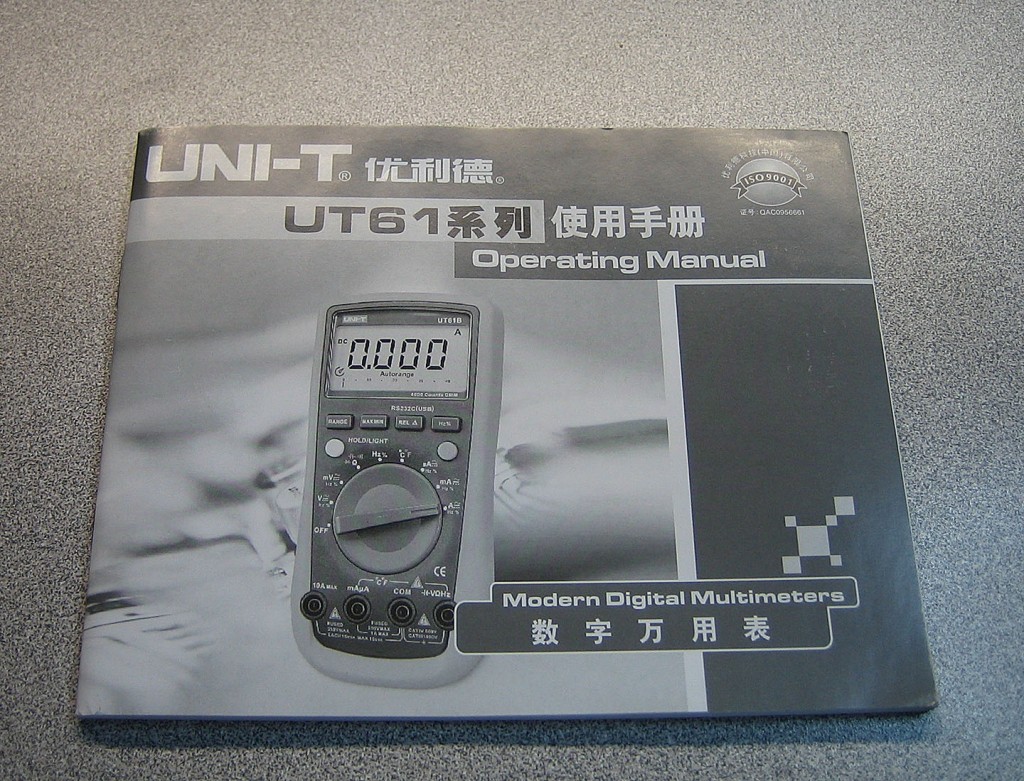
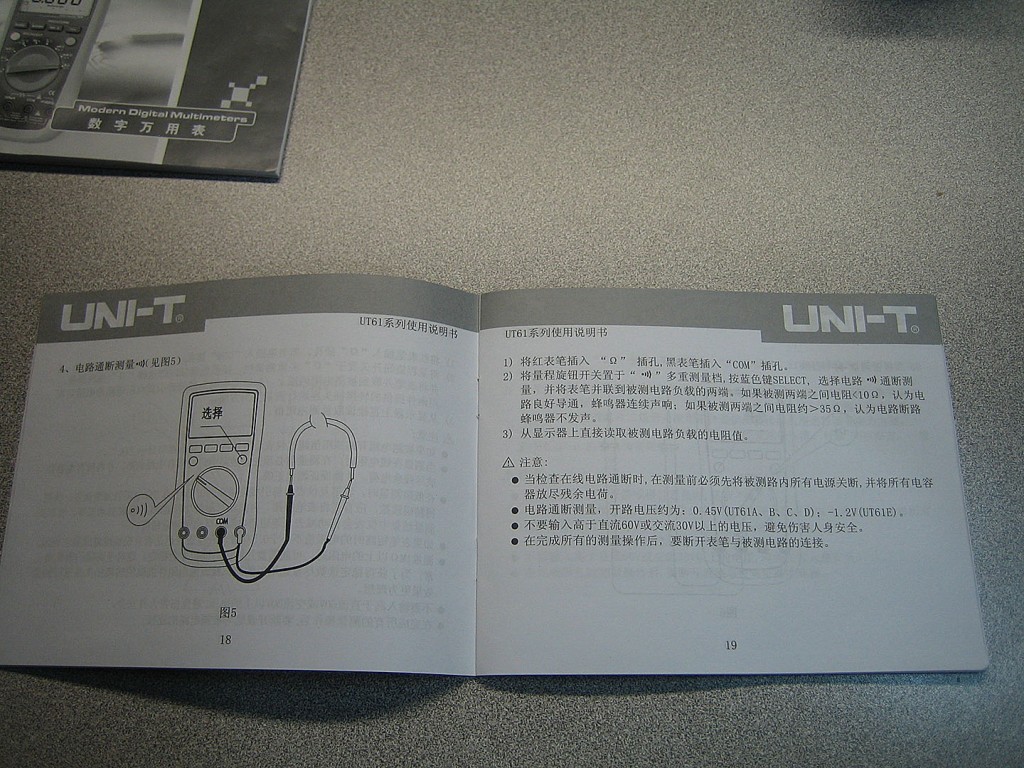
The DMM came with a manual booklet. Except…

…it’s not in English. Fortunately I found a copy of the English manual online. Here‘s a locally hosted version.

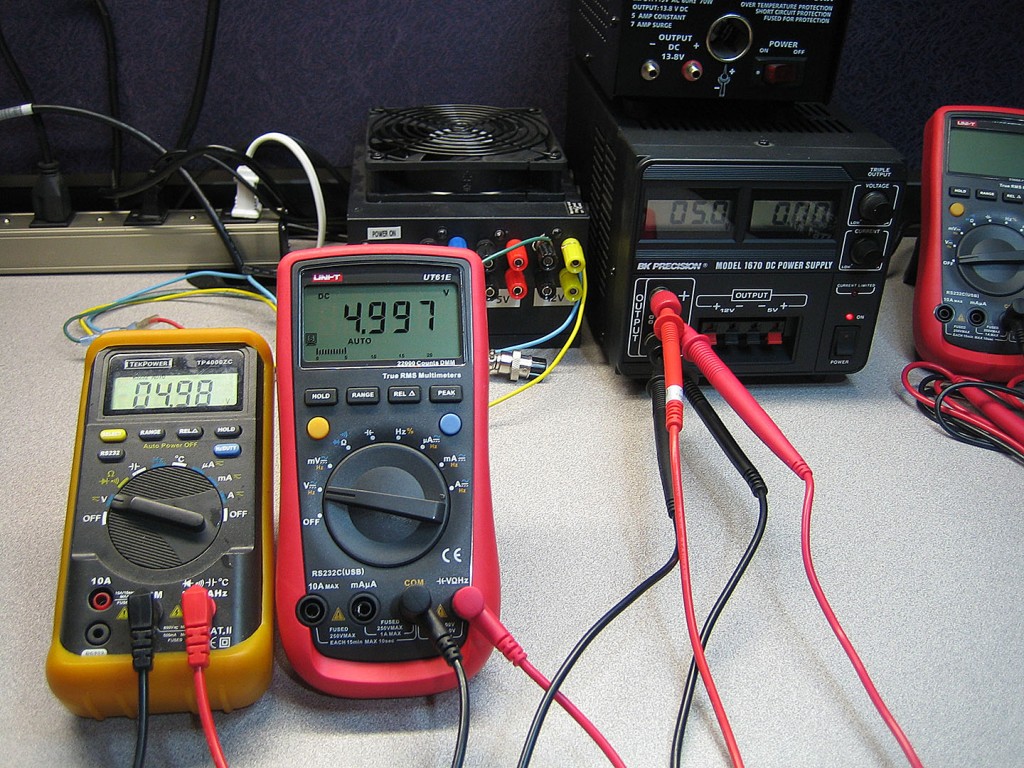
A quick test of the multimeter. Connected my trusty TekPower and the new UT61E to my lab power supply, set the voltage at 5V and see how the new meter performs compared to the old meter. First impressions definitely positive. The auto-ranging is VERY quick, the added accuracy of the meter is also an added bonus. I’ll get into more testing in the future once I have an actual project to build. So far though, the impressions are mostly positive.

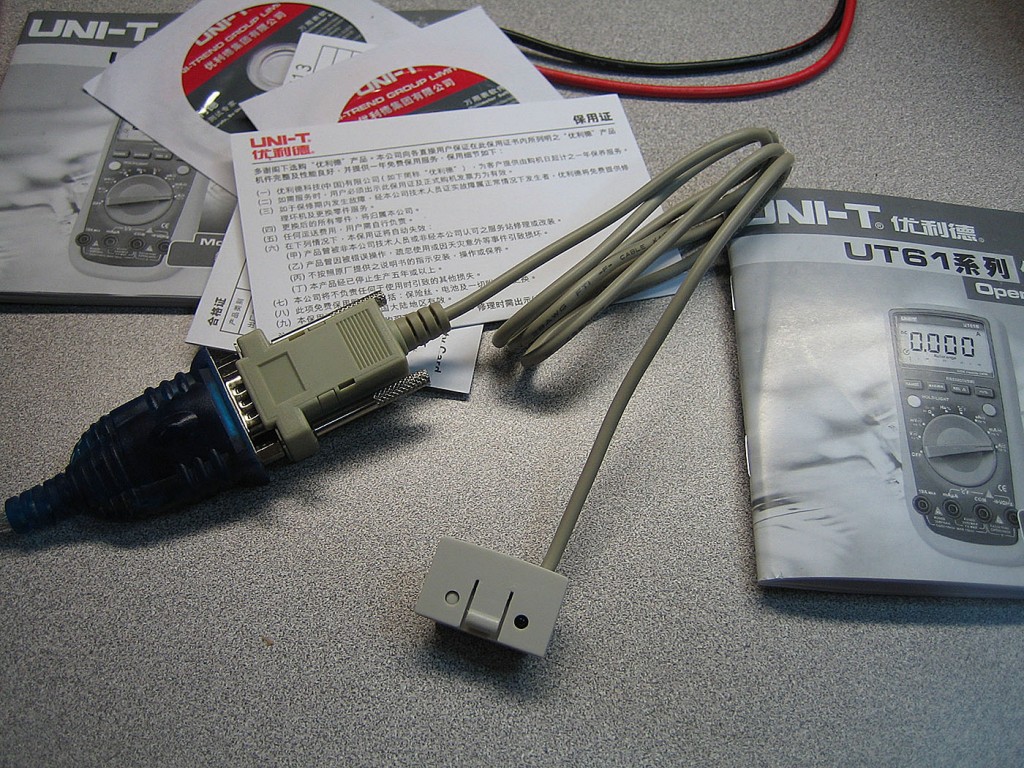
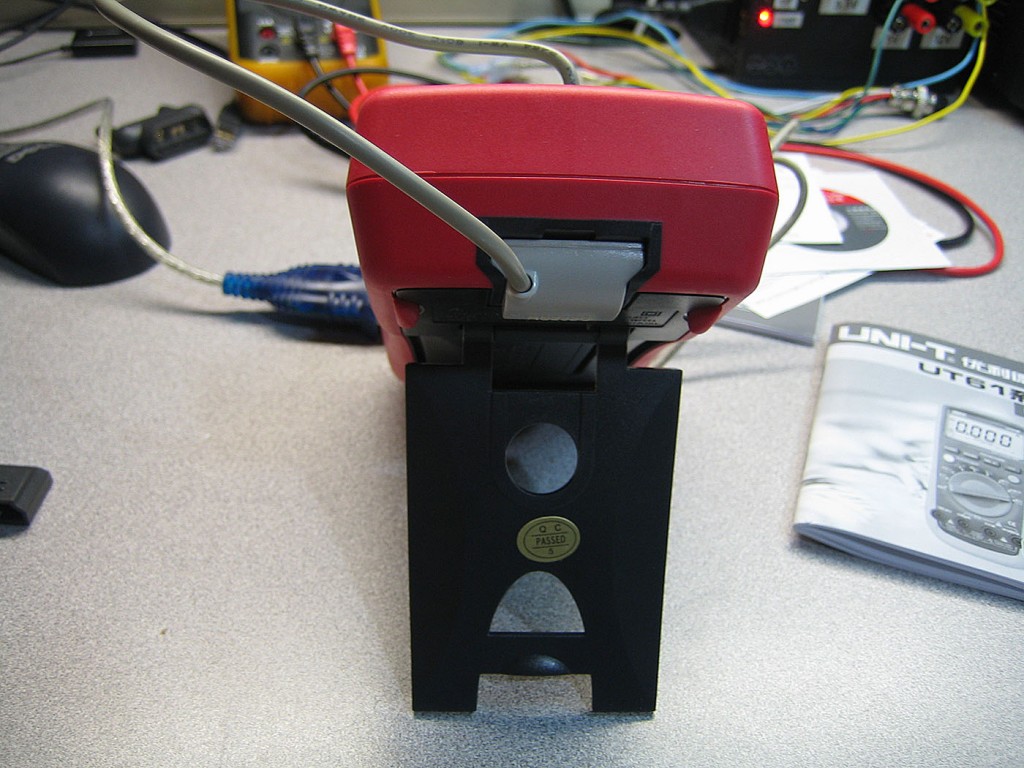
A really cool feature of this multimeter is the serial out function. Which by itself is not that unusual since even my 8 year old DMM has it. The really cool part is that the serial connection is electrically uncoupled from the meter. The meter uses IR transmitter to optically connect the serial cable to the UT61E. This is a great safety precaution since an accidental high voltage damage to the U61E will not travel up to the computer causing more damage.

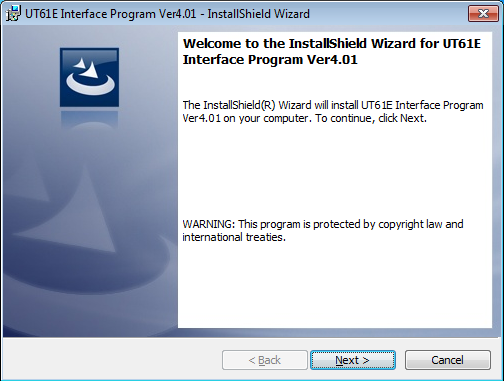
Next step was to install the included software on the Lab computer. Standard install process here, nothing unusual.

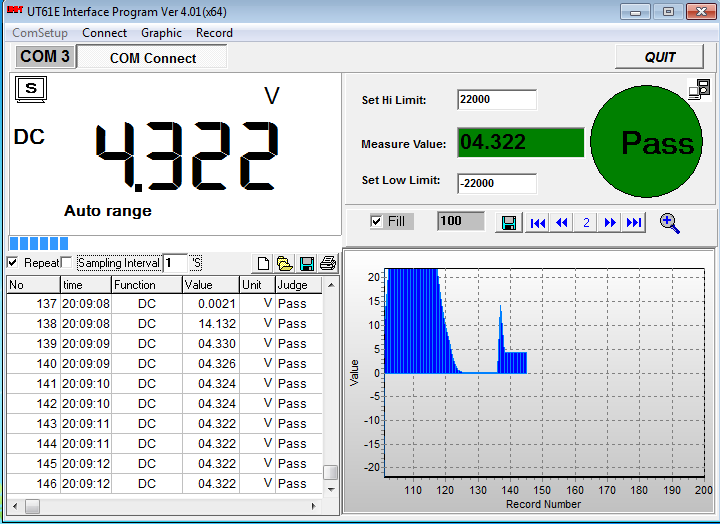
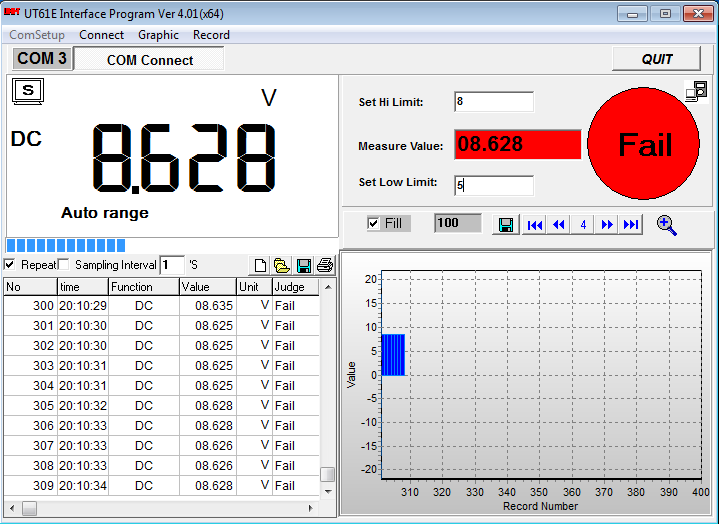
The software itself is extremely simple. Does pretty much the same thing as the meter itself with the added ability to log the values and set min/max ranges, print and export the results, etc. This does bring up an interesting challenge though. Can I do better than this? As a developer, it would be relatively easy to write a very nice feature-rich UI for these meters.

I’ve decided that I’ll make this my next project. This is the perfect time to jump into Visual Studio 2012 and .net 4.5. I’ll also take this opportunity to dive deeper into WPF. While the future of WPF is currently unknown, it’s still worth digging into.