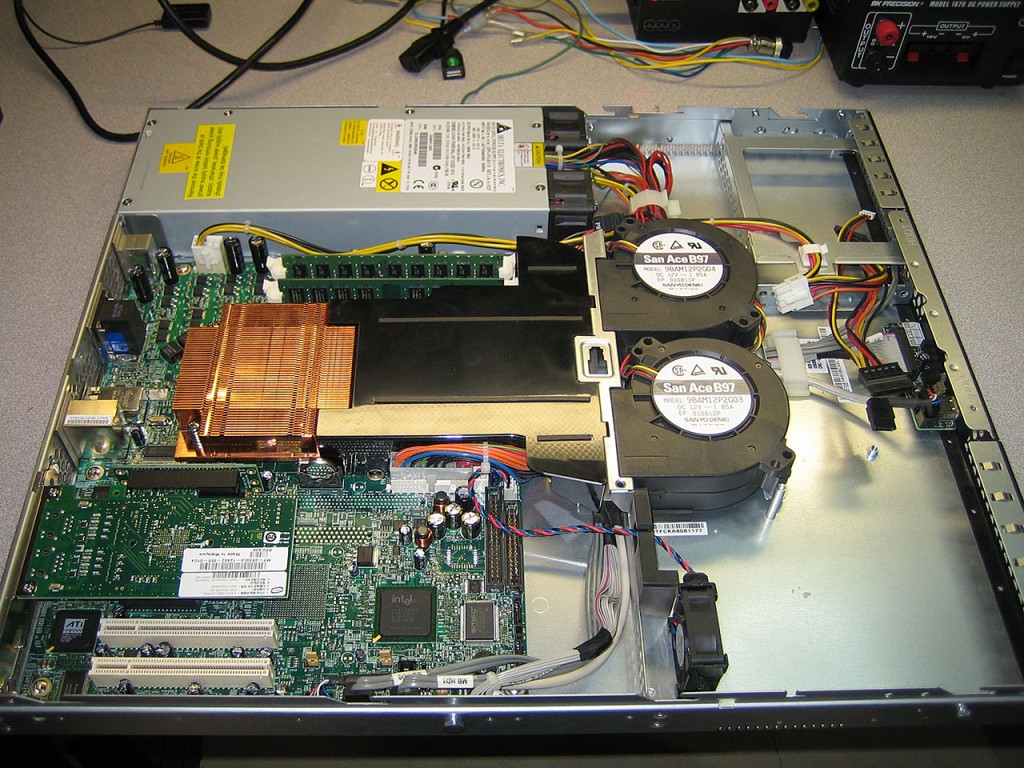
Few weeks ago I picked up this old Intel SR1530AH server. This server was picked up specifically to act as a firewall for one of my racks at a data center. This is a very basic, almost desktop level hardware. Intel Core 2 Duo 2.0Ghz CPU and 4GB of RAM. The only thing that is non-desktop is the fact that it is ECC ram.
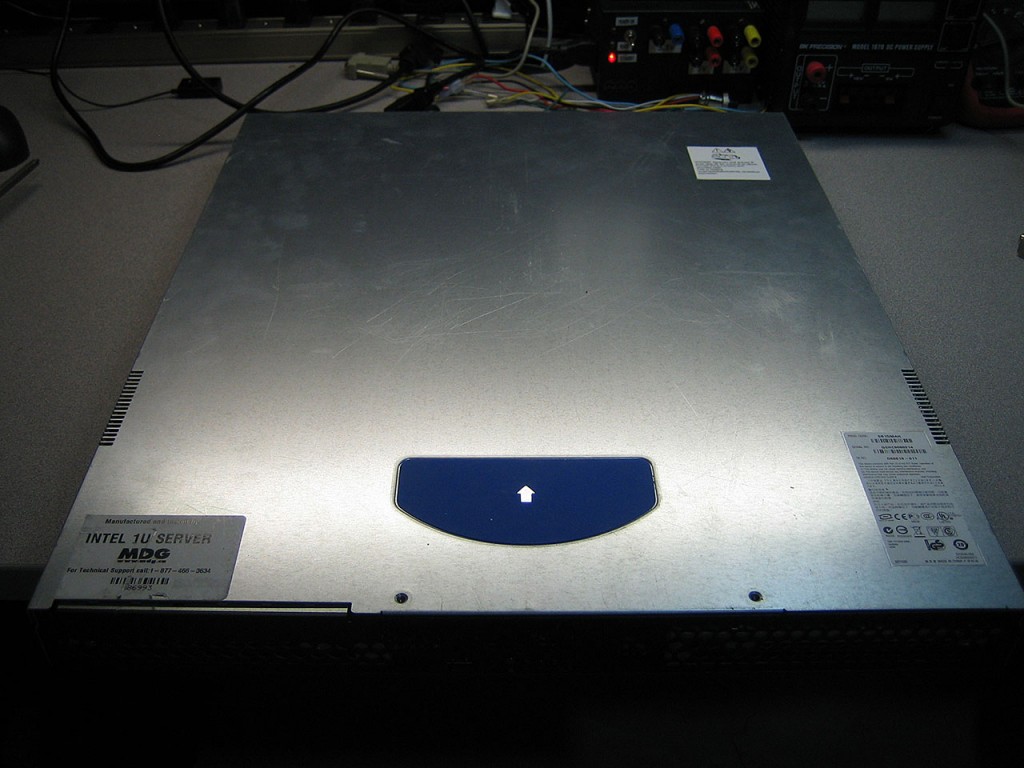
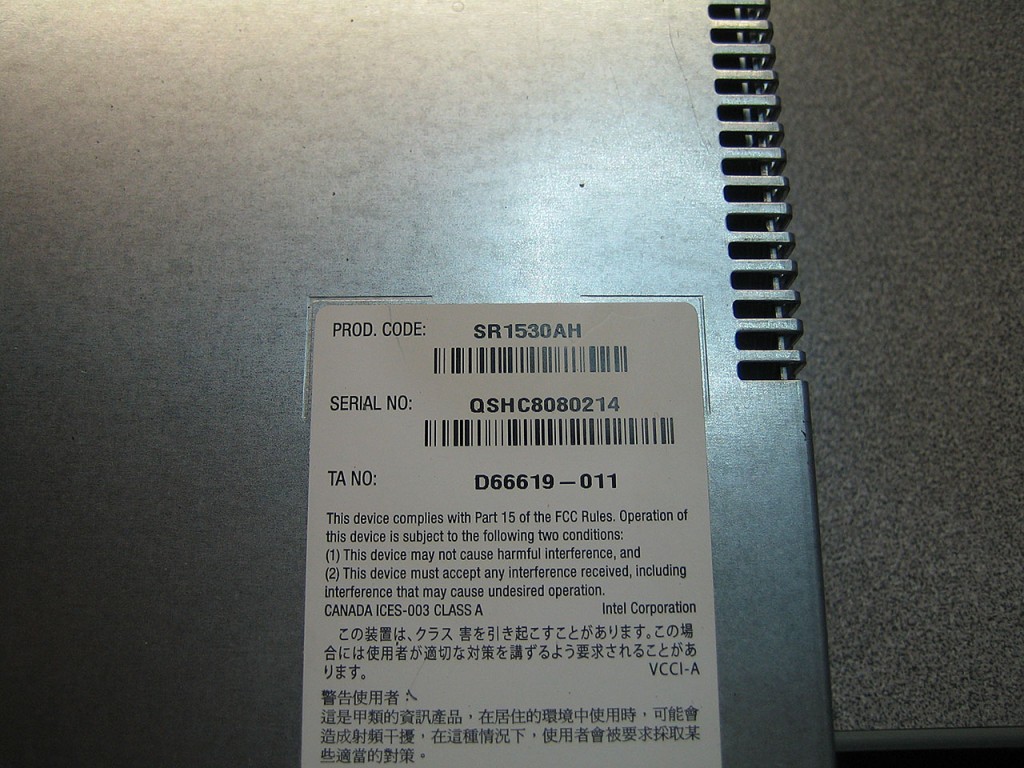
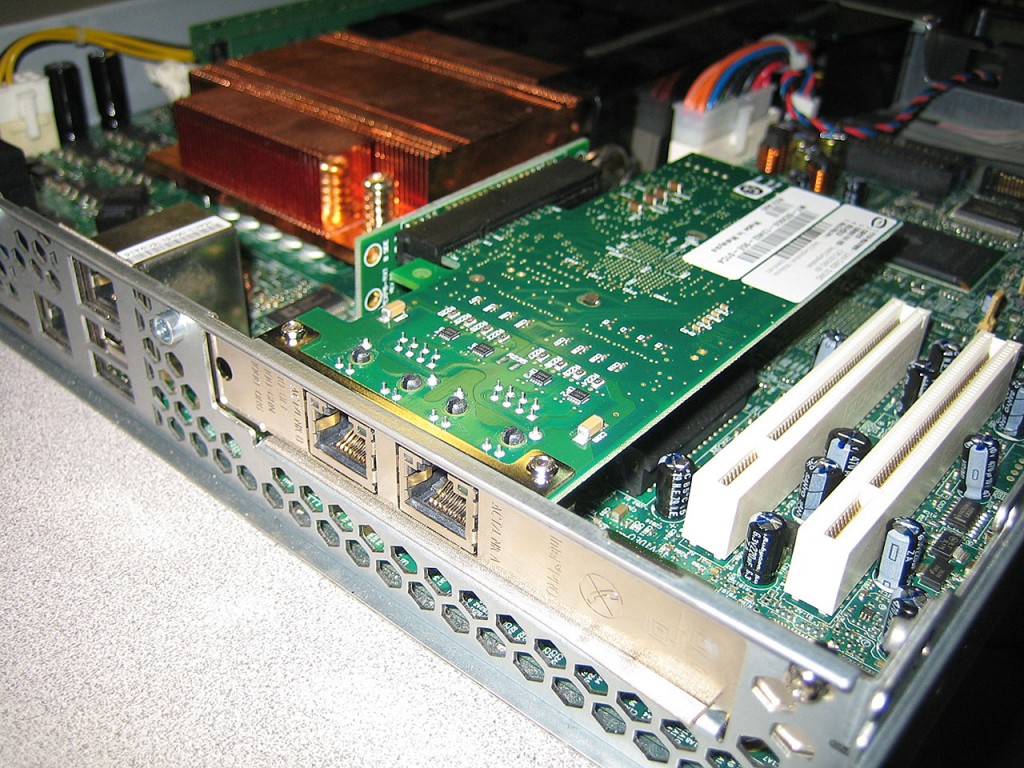
This is actually a very nice machine for the purpose. Based on previous experience with 2.0Ghz it should be able to sustain approx 300MBit/s unencrypted traffic across interfaces. Which is quite plenty since the uplink to the internet is only a 100Mbit connection. Now, because this server only comes with two onboard network interfaces, I needed to add an additional network card. I had an extra low profile riser in my junk drawer so couple of minutes later I added a dual port Intel Pro nic. This gives me the minimum 3 interfaces I require (WAN, LAN and DMZ). I could potentially use the third interface as a bridged DMZ for some of the VMs.
In order to install pfSense on the server, I needed persistent storage. I chose to go with the OCZ Agility 3 60GB SSD drive. Seems like overkill since the installation of the firewall is only about 6GB including swap space. But SSD’s are pretty cheap nowadays and since pfSense hardly ever writes to the local storage and the lack of moving parts should equate long drive life.
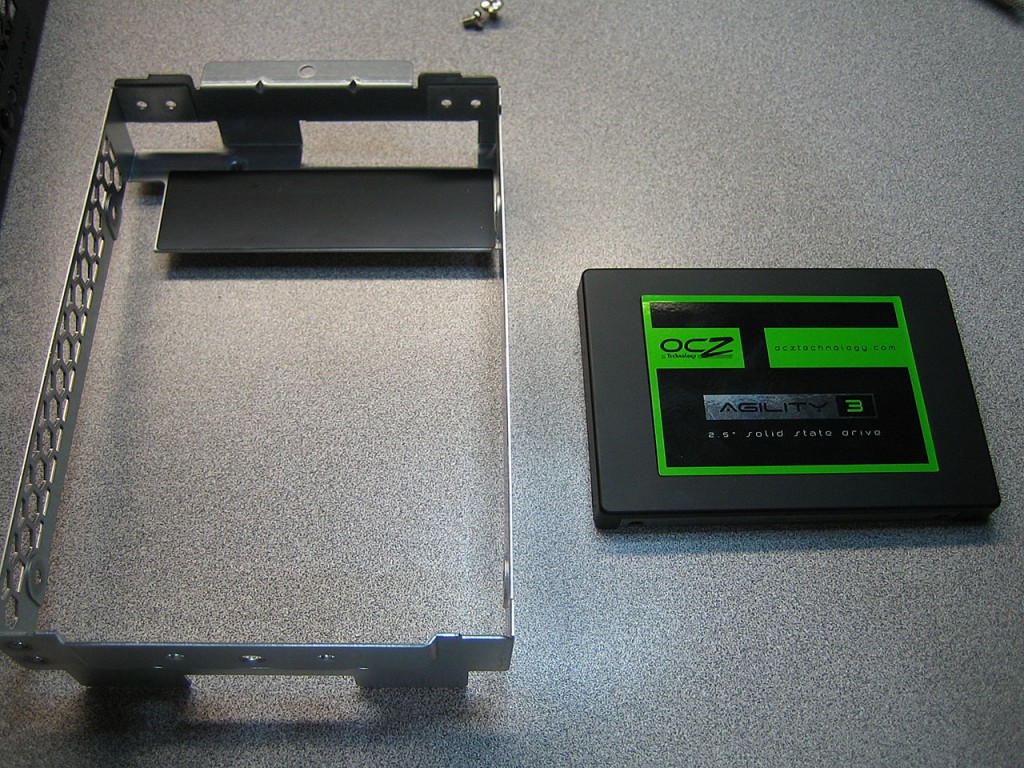
Ran into a small issue installing the 2.5″ SSD into the server as the adapter that comes with the drive is insufficient to mount it. Thankfully, I’ve had several of these “Ice Packs”. These came off of several Western Digital Velociraptors. While it looks like a heavy duty heatsink, it’s main purpose is to simply adapt the 2.5″ Velociraptor size to a 3.5″ hot-swap size.
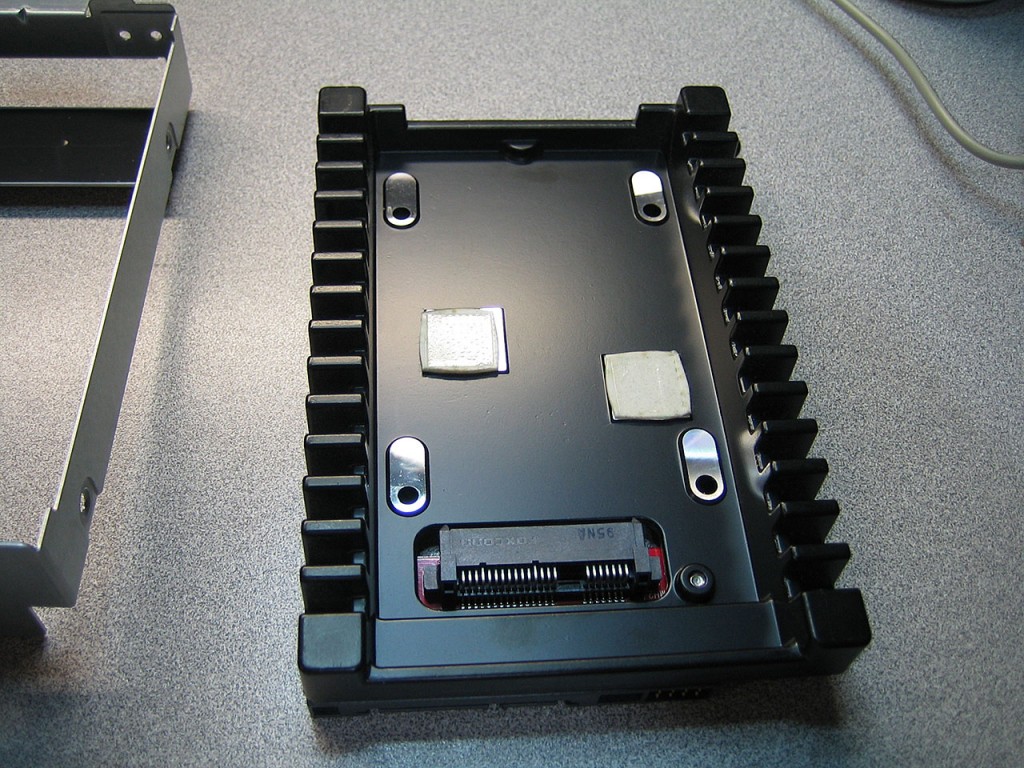
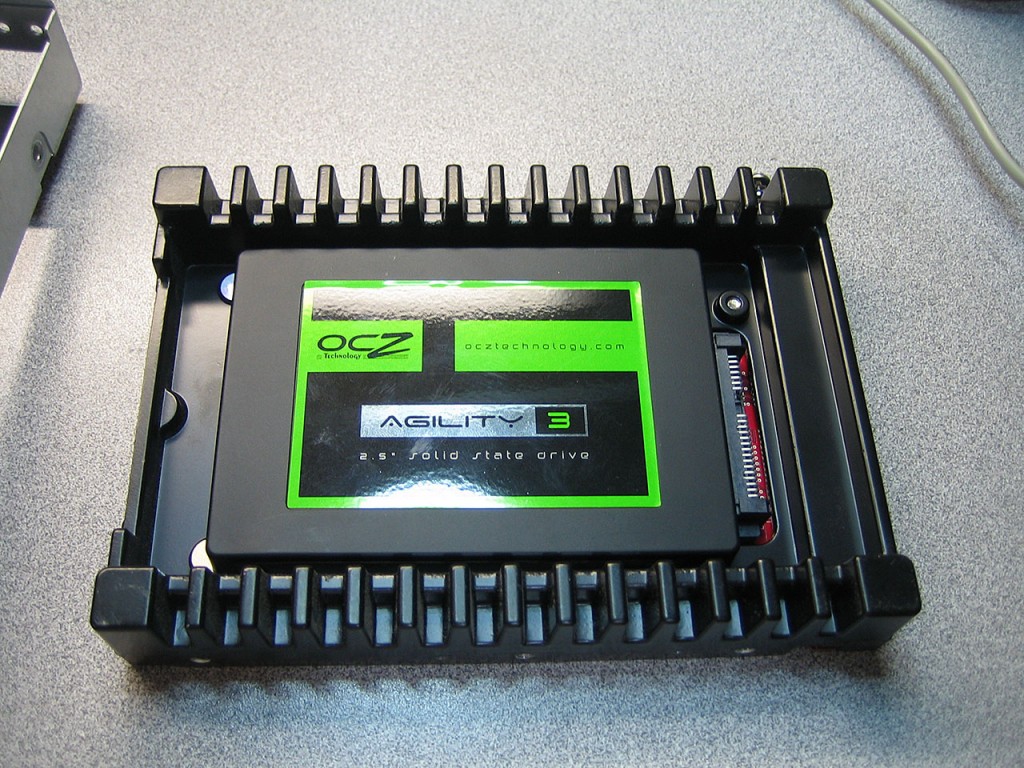
Couple of screws and the Agility nicely sits in the Ice Pack, ready to be installed into the server.
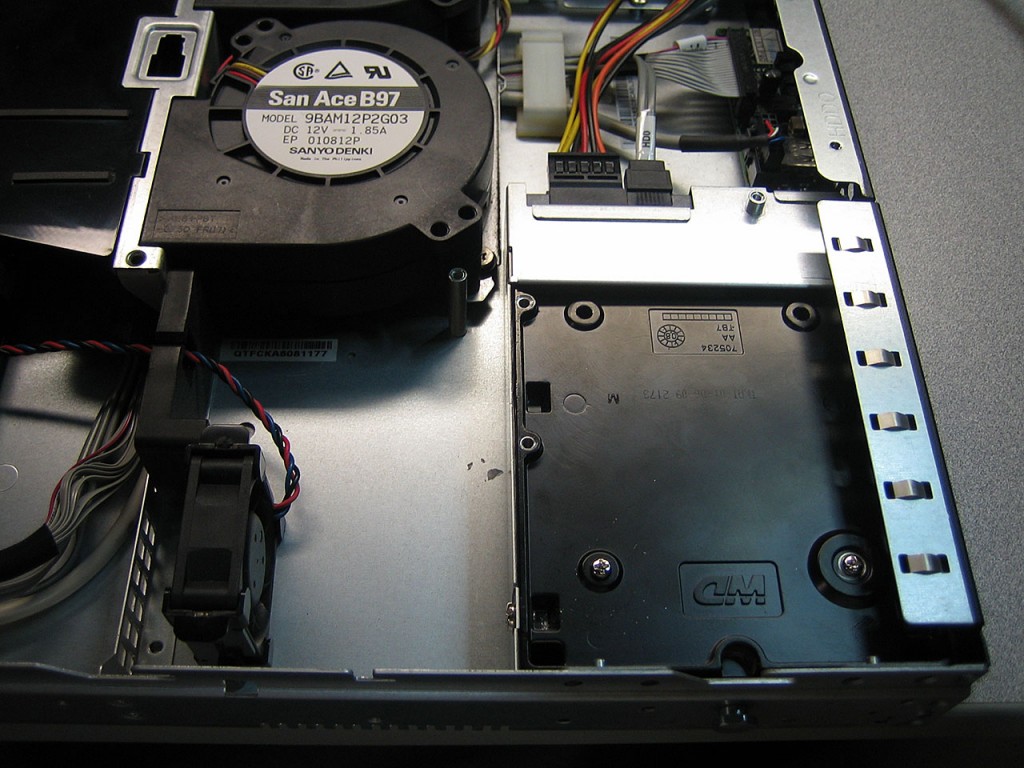
The disk drive now installed into the server. Hopefully it won’t have to leave it’s home for a very long time.
Time to install pfSense. This simply involves downloading the ISO image from the pfSense web site. Uncompressing it and burning to the CD. The uncompressed image is only 115MB so the burn process is very quick.
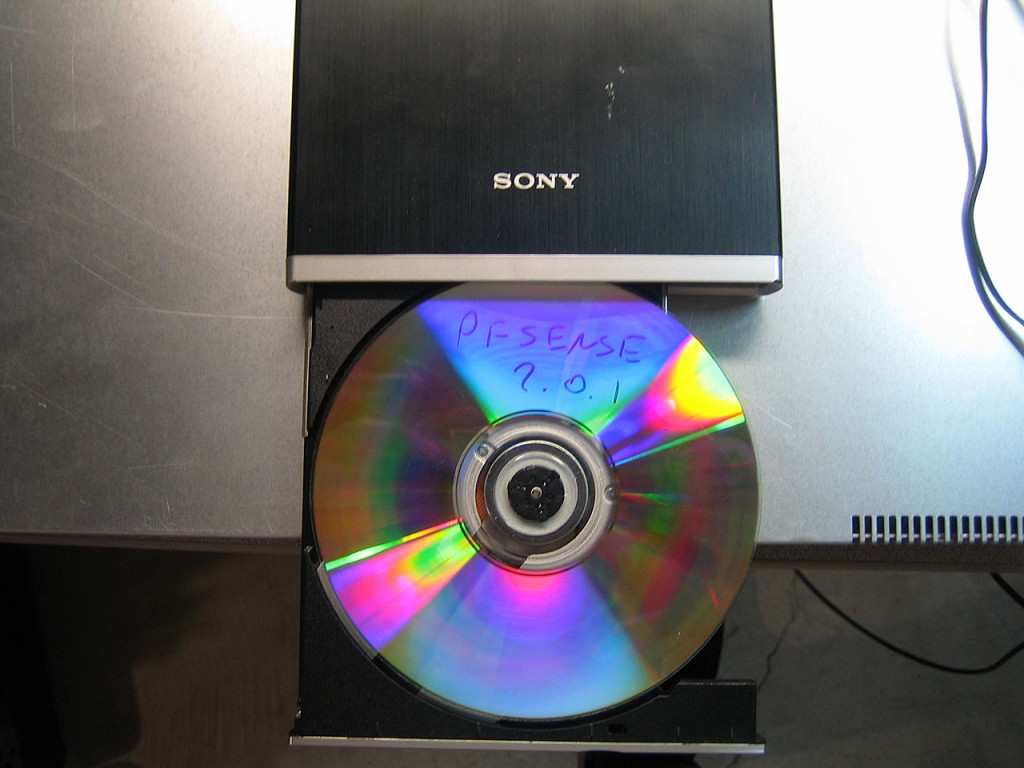
After that, simply connect the USB DVD Drive and pop the pfSense CD inside and boot-up the server.
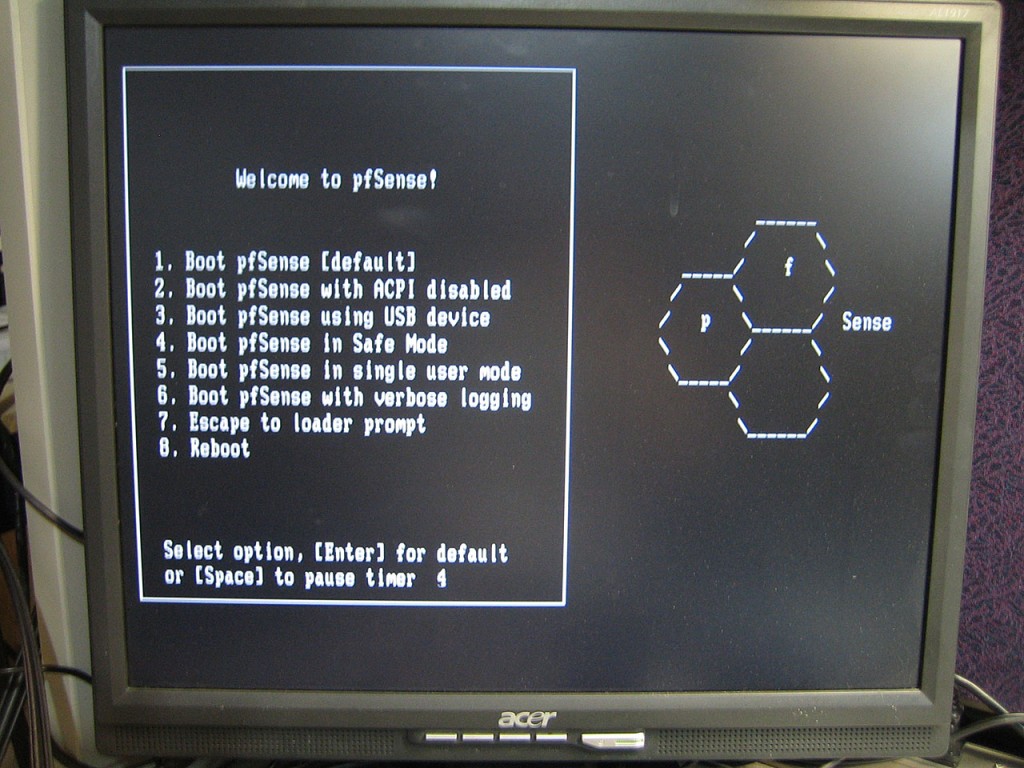
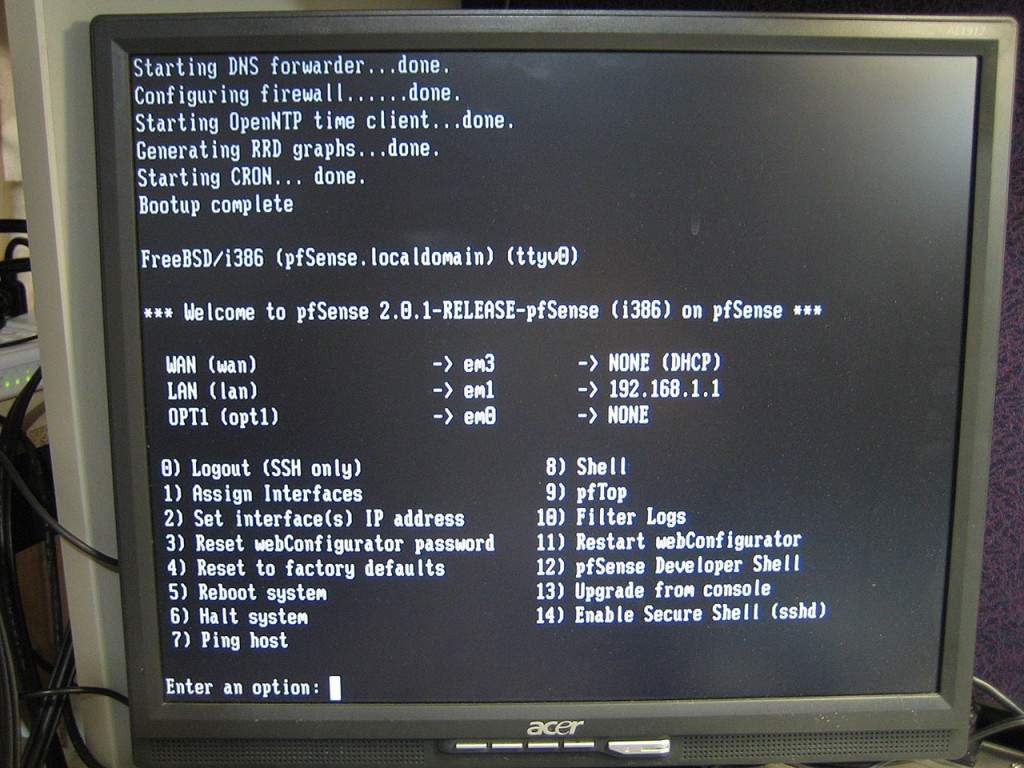
Couple of minutes and few wizard like questions and pfSense is ready to be configured via a browser.
Last step is to label the network interfaces on the back of the server.
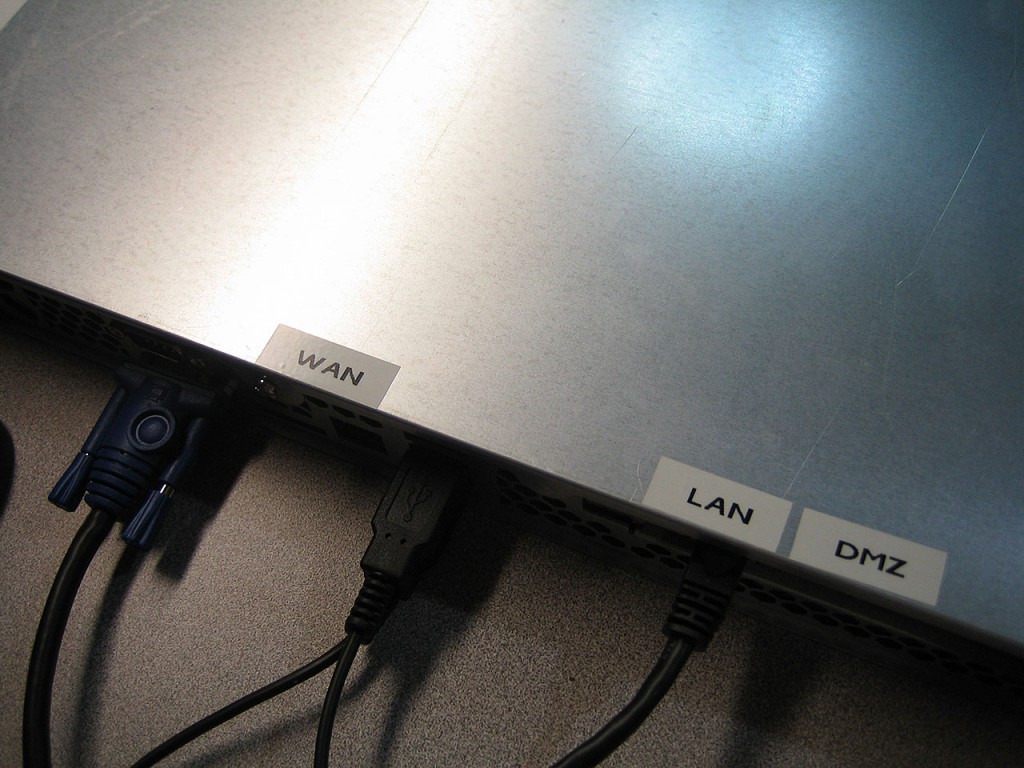
The server/firewall is now ready to be racked up. Should be going into the datacenter on Wednesday.