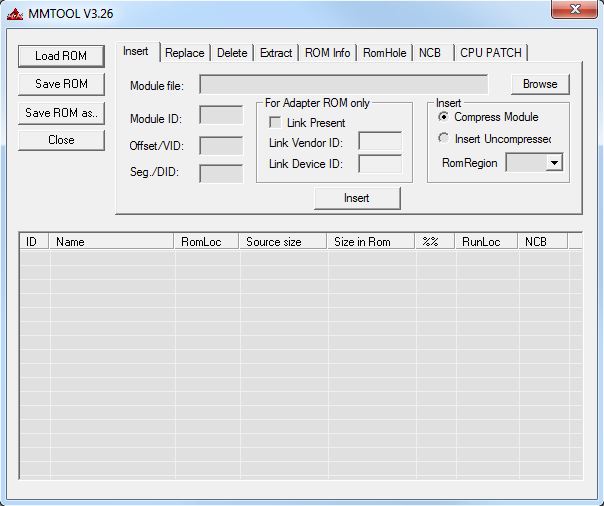
Now that we have our ROM file. It’s time to replace the stock Intel code with our new file. To accomplish this we’ll need a tool called MMTOOL and a copy of the original BIOS file from Dell web site.

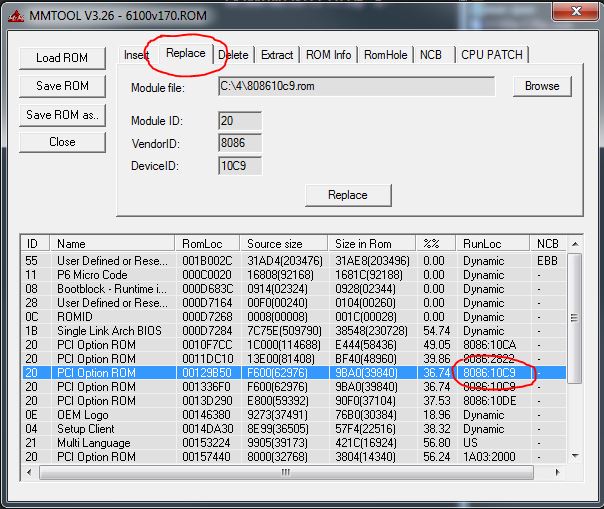
We have our original file as the server should have already been flashed to the latest version at the beginning of this process. In my case I’m using v1.7 of the BIOS file. Load the file into MMTOOL and go to the “Replace” tab. Copy the 808610c9.rom file to your Windows machine and browse to it in MMTOOL. Then select the first Intel Option Rom file. This can be easily identified by the RunLoc as it’ll have the same Vendor ID and Device ID as our ROM file.

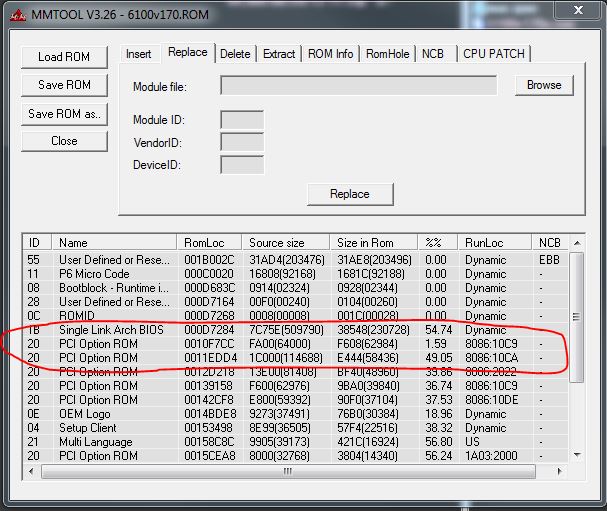
Once the Option ROM is selected just click “Replace” and the program will replace the Intel rom with our iPXE rom. As part of the process some of the items in the list might get re-arranged. This is normal and not a big deal.

Now click “Save ROM as…” and save the new BIOS file to the disk. Once that is done, confirm that the new BIOS file is exact same size as the original file.
Pingback: Dell C6100 XS23-TY3 2U 4-Node (8 CPU) Cloud Server - Page 43