These are my step-by-step instructions how to safely upgrade the Dell PowerEdge C6100 without bricking the nodes.
Couple of points:
- If your service tag is not on Dell Site, you can not upgrade. Forcing the flash will likely brick your node.
- Always upgrade the BMC first.
- BMC must be upgraded on ALL nodes in the chassis
- These instructions worked for me. I can not be responsible if they do not work for you
- A lof of steps here might seem unnecessary, please follow anyways
- There seems to be no difference when a chassis is hosting nodes with mixed BIOS/BMC versions.
- When flashing a node, the powered state of other nodes doesn’t matter. Can even be removed.
Using the following method, I’ve successfully upgraded the following firmwares:
BMC 1.11 -> 1.32
BMC 1.22 -> 1.32
BMC 1.29 -> 1.32
BIOS 1.44 -> 1.70
BIOS 1.62 -> 1.70
BIOS 1.69 -> 1.70
FCB 1.08 -> 1.20
FCB 1.14 -> 1.20
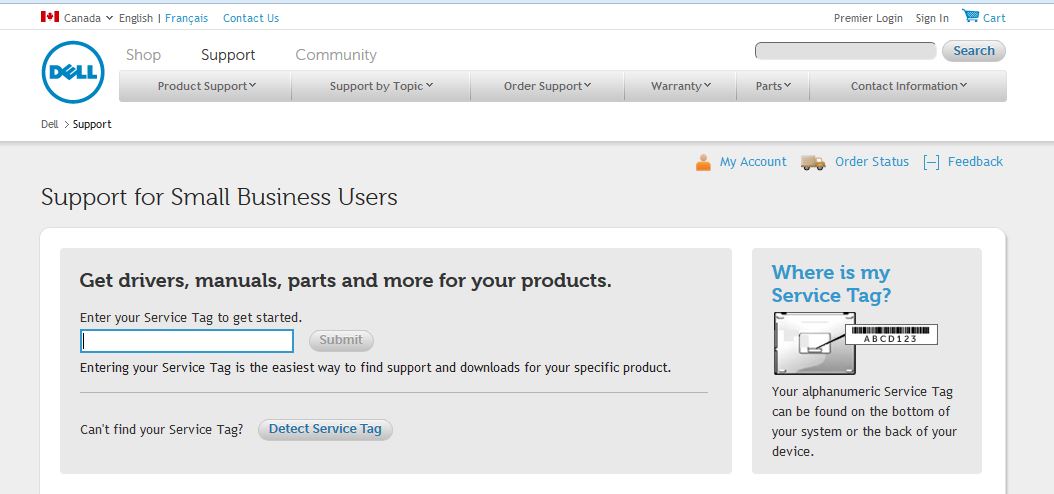
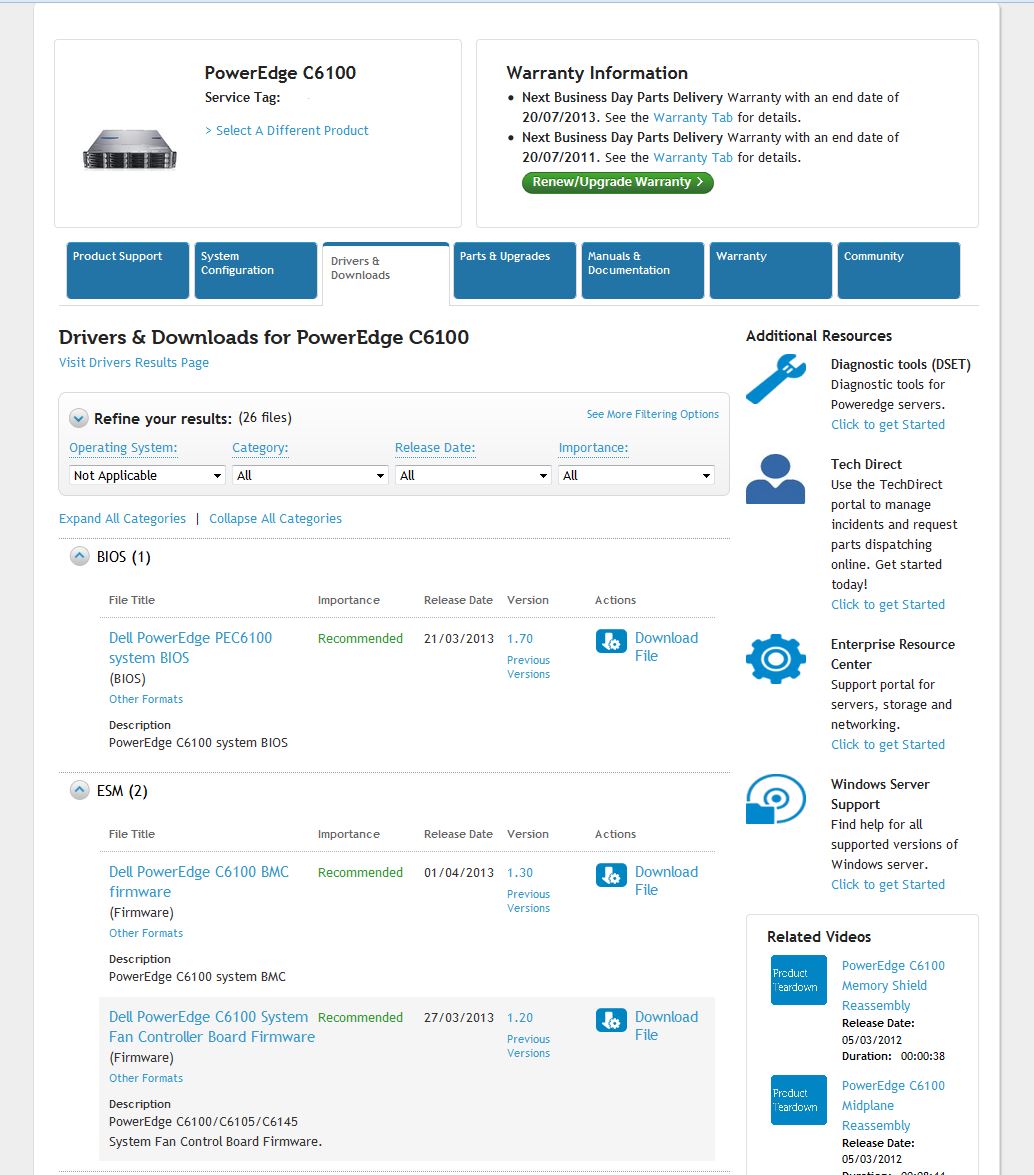
First thing is first. Need to download the appropriate firmware files from the Dell Support Site here. To find your firmware files, enter your Service Tag number found on the back of the server. If the sticker is missing you can try the BIOS but be warned that not all nodes might be from the same chassis.
If the DELL site comes up with “Invalid Service Tag” message, STOP RIGHT HERE. Your server is a custom build and it does not support the C6100 firmware from the site. Proceeding will most likely end up in bricking your nodes.
Once the drivers and files show up on the site, download the BIOS, BMC and FCB files.
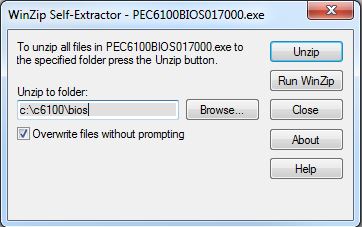
Run each downloaded EXE file and extract the files contents to your local drive.
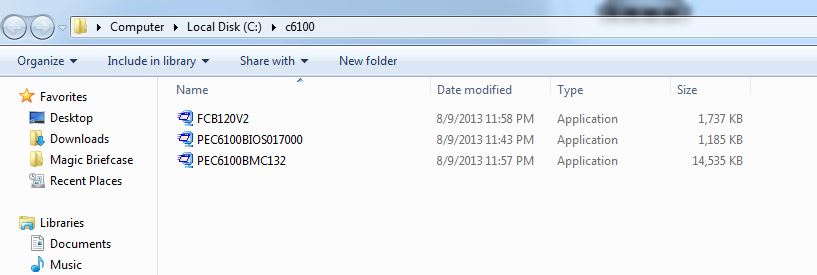
Once all files have been extracted. Copy the three folders to a bootable DOS USB stick. There are many ways of making a DOS bootable USB Stick. Use the stick to boot into a DOS prompt.
We’re first going to flash the BMC. This is important because an older BMC might have trouble communicating with a new BIOS, but a new BMC will always support an older BIOS.
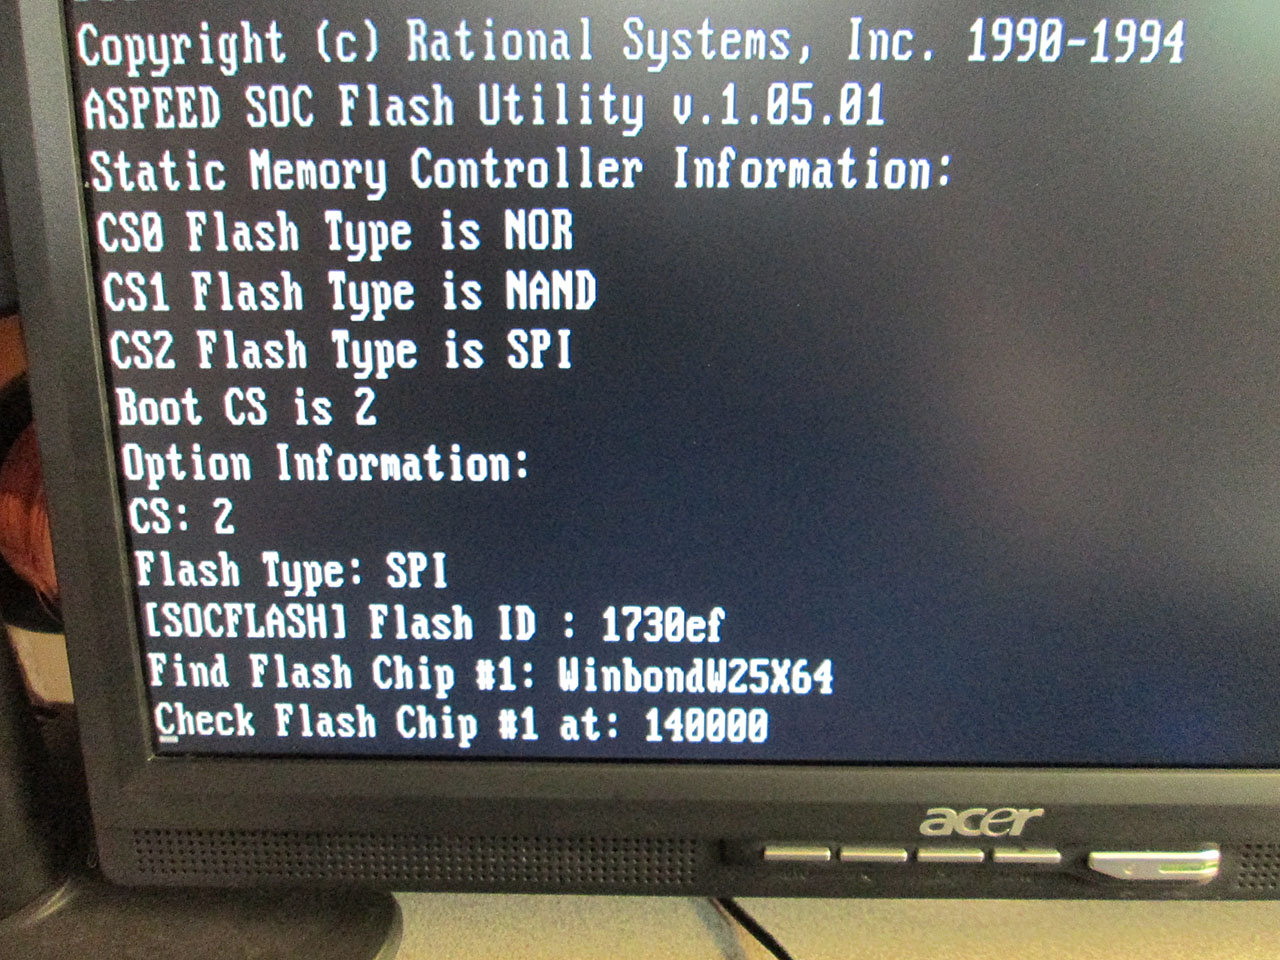
To flash the BMC, we’re using the SOCFLASH utility. Flashing is easy. Simply navigate to the SOCFLASH\DOS folder and execute flash8.bat.

The rest of the BMC flash process is completely automated.
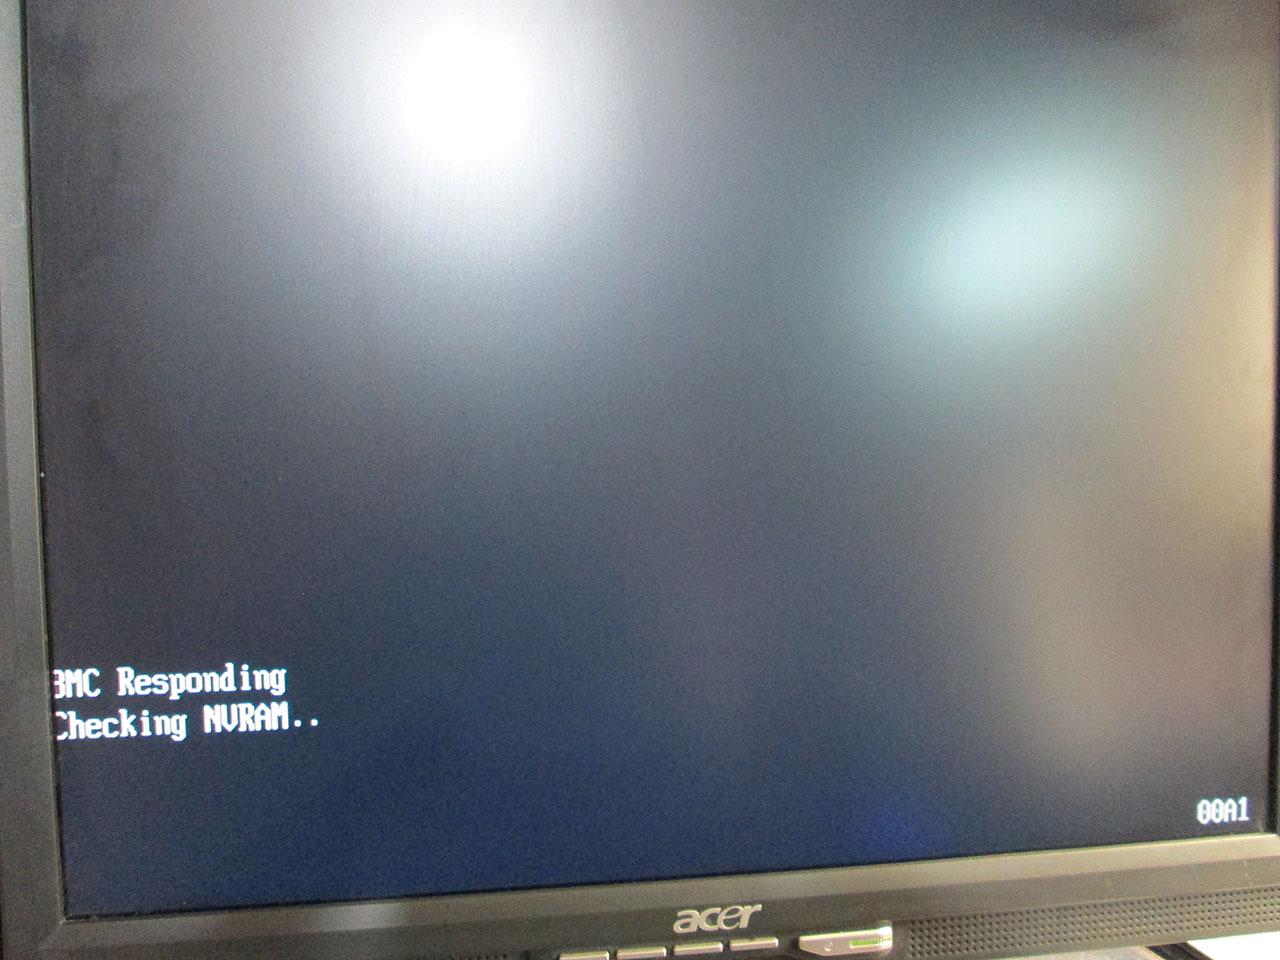
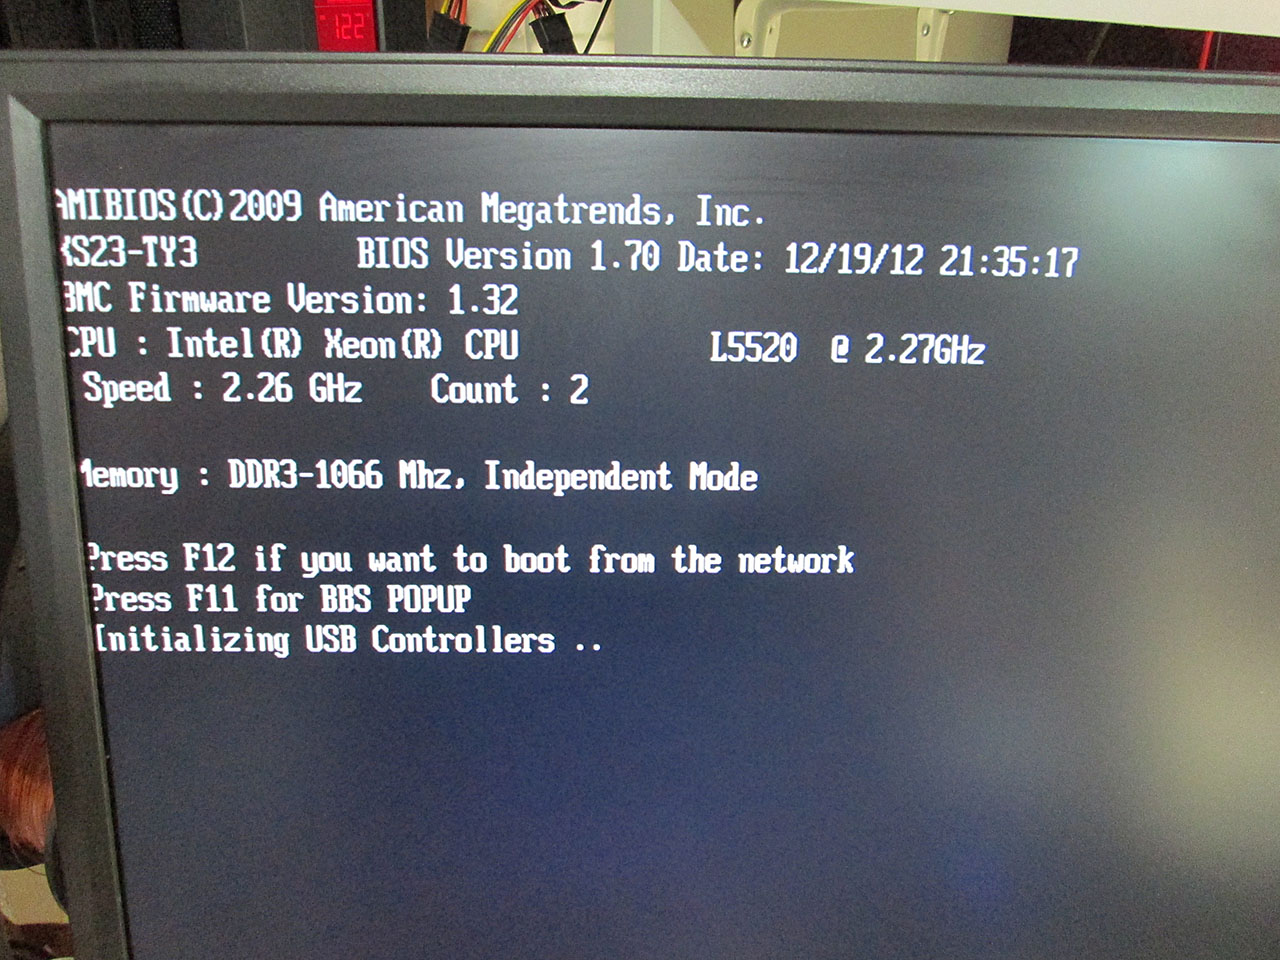
Once the BMC has been flashed, power cycle the chassis. This means, unplug the server, wait a few seconds and plug it back in. This ensures a complete reset of the BMC. Power up the node and watch closely for POST messages.
If you see an “Error: BMC NOT Responding” message. REBOOT THE NODE.
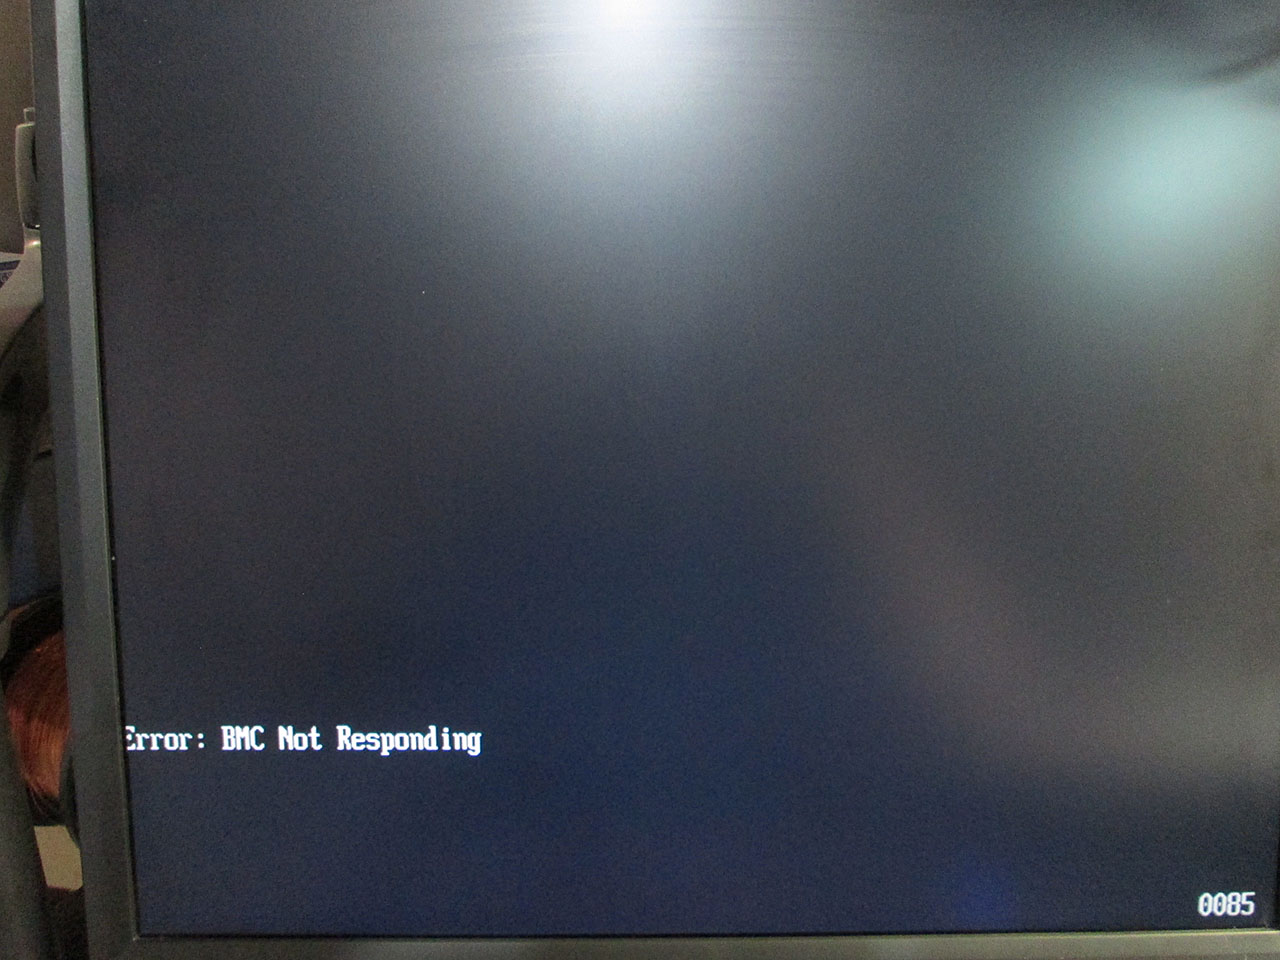
A simple soft reboot is enough to re-establish communication with the BMC.
Once back in the dos prompt. Navigate to the folder where the C6100 BIOS files are located. At this point attempting to flash using the automated FBIOS.bat file will most likely generate a message “Different ROM ID between current system and update BIOS rom file”. This is expected.
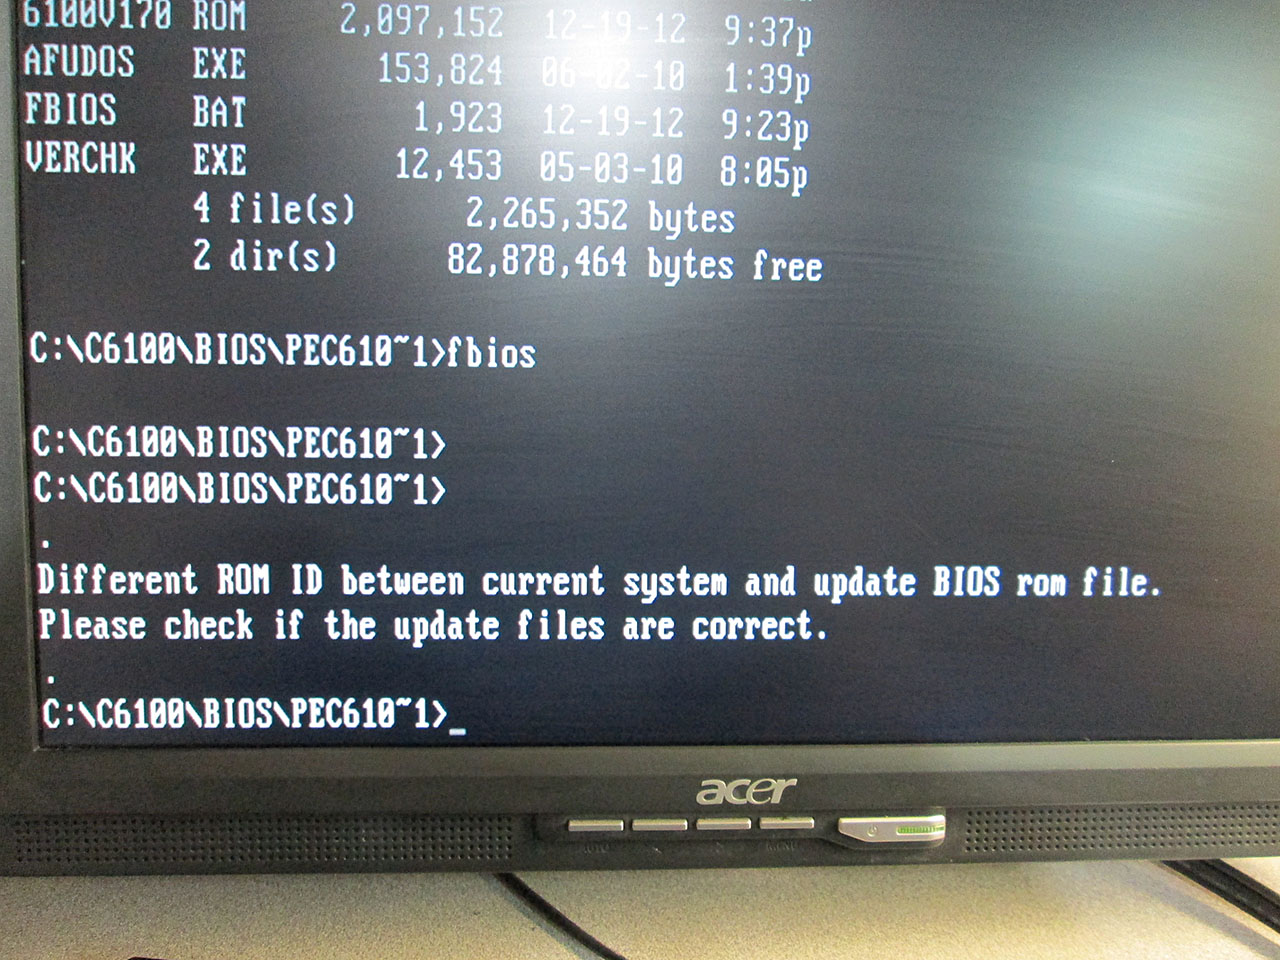
To properly flash the BIOS enter the following command at the prompt
>afudos 6100v170.rom /p /b /n /c /x
Naturally, replace the .rom filename with whatever the current firmware version is. The /X parameter skips the ROM ID check and forces the flash process.

Once the flash process finishes, reboot the Node (a soft boot will suffice). During the boot process, the F2 (BIOS Entry) option is not displayed. Not sure why that is. Once the boot process finishes, reboot the node one more time to re-enter the BIOS settings.
Once the BIOS settings are configured. Simply save and exit. At this point the flash process for the node is done and the next node can be flashed. For every remaining node flash both the BMC and BIOS.
Once all the nodes are flash, it might be a good idea to flash the Fan Controller Board. Some earlier firmwares (prior to 1.14) run the fans at much higher speeds than necessary making the server much noisier than it should be. If running the server in a data center this is typically not a problem but definitely makes a difference when running at home. Flashing the Fan Controller is very easy. Simply navigate to the folder on the USB stick where the FCB files are located and run FCB.bat. A quick note. The firmware is only compatible with the PIC-18 controller board. If your server came with the PIC-16 board, you’re out of luck. The firmware can not be flashed and the only way to slow down the fans is either via upgrading the FCB or by swapping the fans for something slower/quieter.
The FCB needs to be only flashed once per chassis. That means once the FCB has been flashed on a single node, the other nodes will see the upgraded firmware.

And that’s it. The C6100 is now running on latest firmware.
Pingback: Guide for updating PE C6100 bios?
Pingback: Dell C6100 XS23-TY3 2U 4-Node (8 CPU) Cloud Server - Page 39
Thanks heaps for this guide. 4 nodes down 5 to go.
Upgraded to L5639’s and found the BIOS didnt support them. Found this, flashed BIOS and problem solved 🙂
Pingback: Dell C6100 XS23-TY3 2U 4-Node (8 CPU) Cloud Server - Page 64
Thank You so much! This was extremely helpful for what was a very frustrating problem.
Thank you and any idea what is max TB 3.5″ hard disk size this server can accept?
Is It possible to upgrade the ICH10R/DO controller on the board? I’m having issue installing 5TB drives as they are only recognized as 561.5GB with the Intel Matrix Storage Manager option ROM v8.6.0.1007 ICH10R/DO 2003-08. I’m on bios 1.71 and BMC 1.33 but the updated bios did not update the Raid controller. Any help appreciated. Thank you.