Testing / Install
Time to test this box to make sure the hardware is functional. Connected the serial cable to the firewall (9600-8-N-1) and fired up the box.
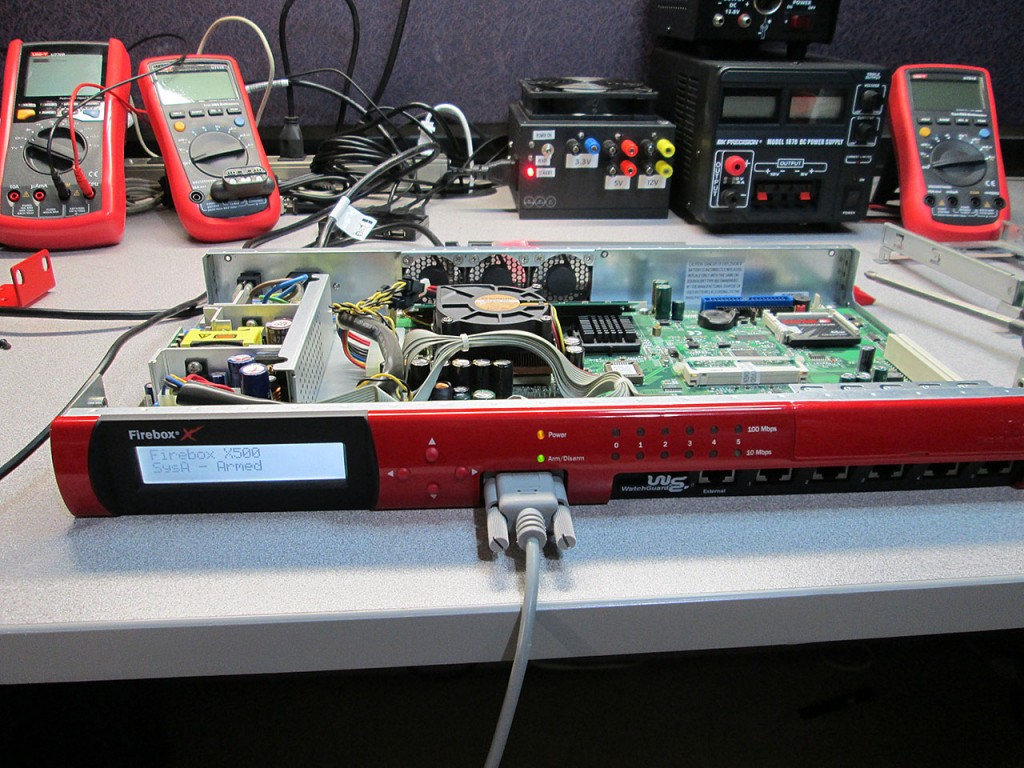
The system took a bit to load but it booted just fine. This is also the last time the factory OS will be booted on this box. I didn’t even bother loading the Web UI to see how it looks.
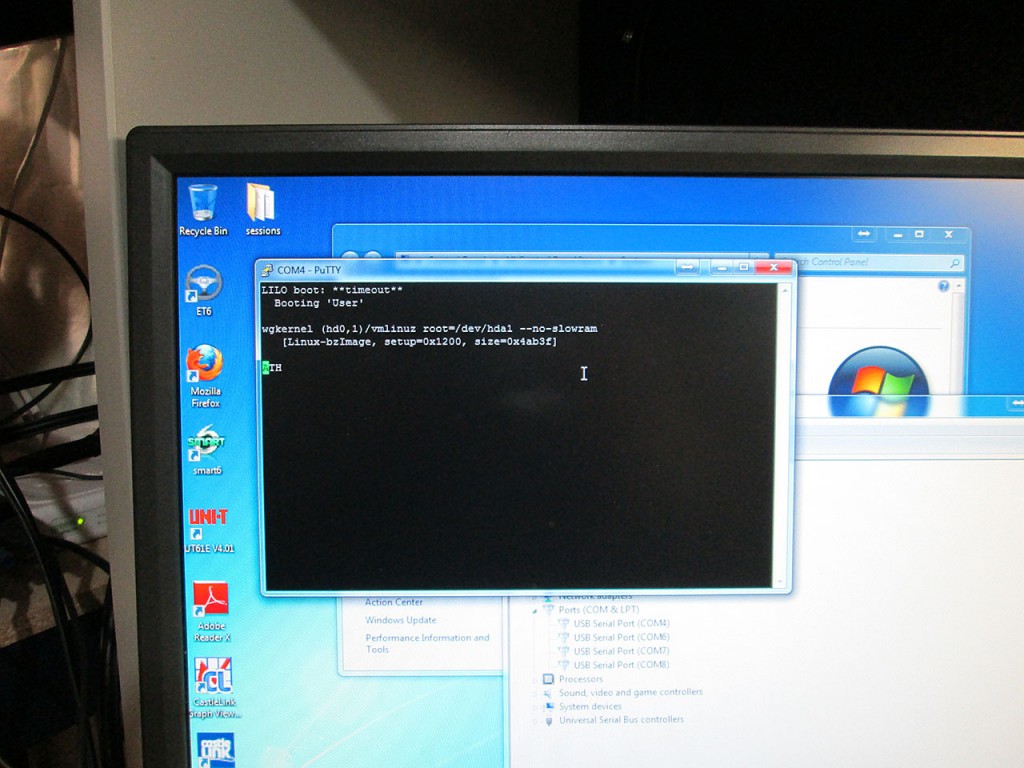
I had a 2GB CompactFlash card kicking around so I decided to use it in the x500. All it took was downloading the 2GB embedded image from the pfSense web site, downloading the
physdiskwrite software for Windows. Deleting the partitions from the CF card and then running the physdiskwrite software to write the image out to the CF. The image itself takes up the entire 2GB of the compact flash card so it took a few minutes to write out.
Once writing was done it was simply just a matter of removing the original 64MB CompactFlash card from the firewall and inserting the new card in.
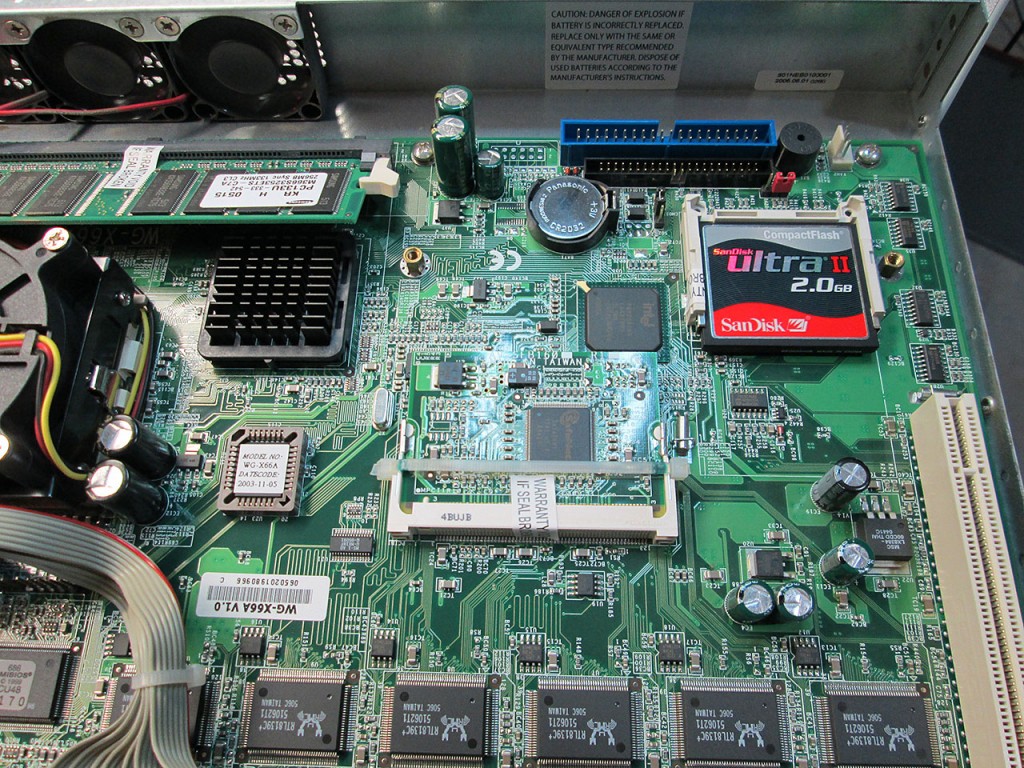
The firewall turned on started booting the pfSense image immediately. However, there seems to be a bug with the embedded copy of pfSense because once it ends up on “Bootup Complete” it does not continue on to the shell menu that basic configuration can be done.
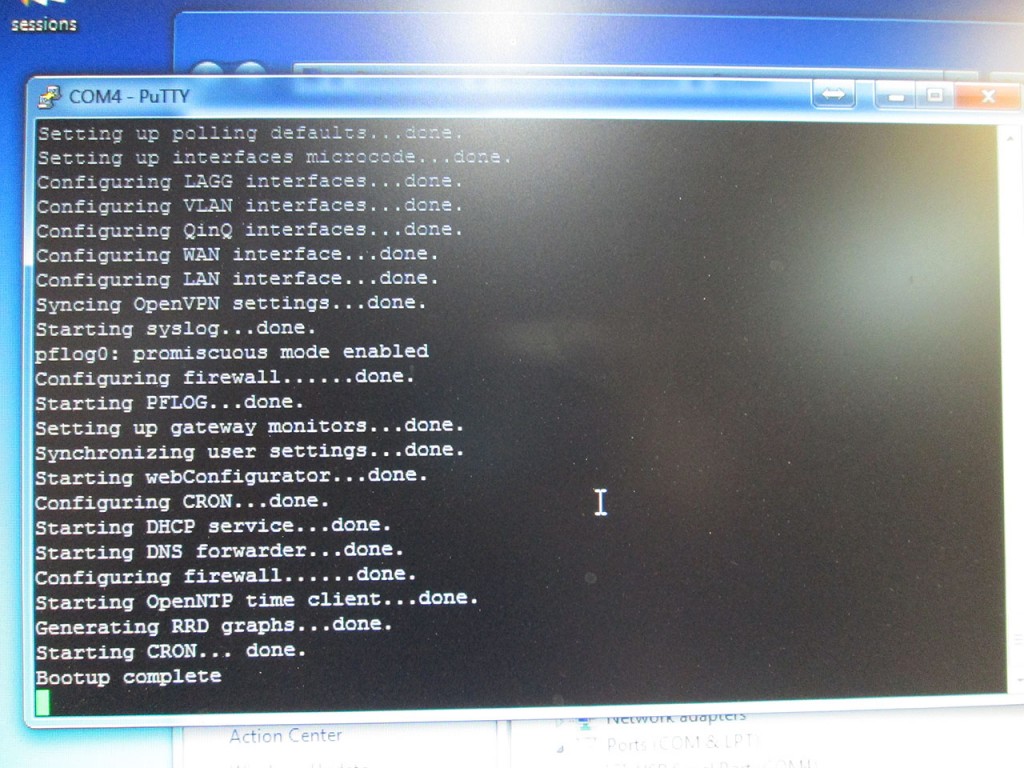
The fact that the console freezes seems to have no effect on the operation of the firewall. The LAN interface comes up and automatically starts handing out DHCP addresses. The web interface is also fully functional.
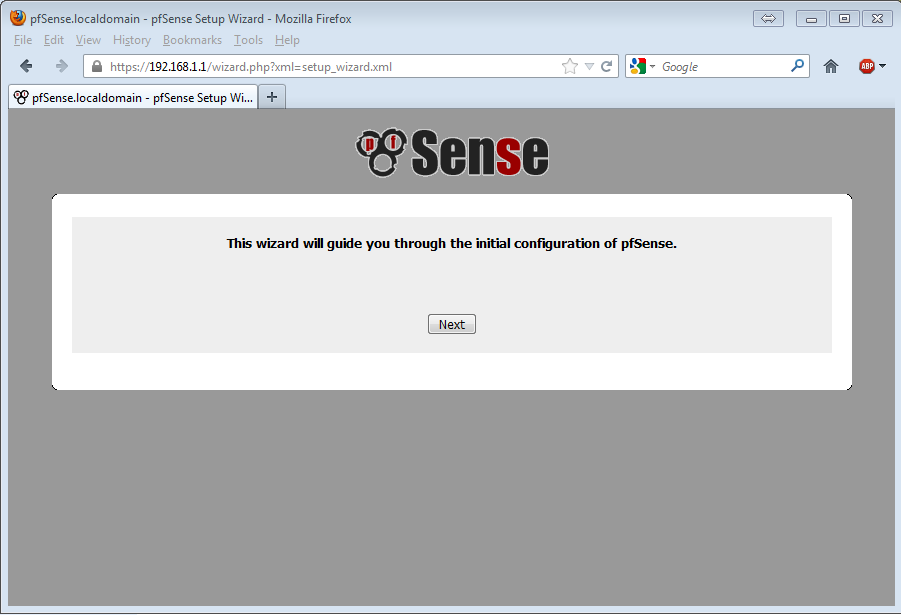
After standard wizard configuration the pfSense firewall is ready to be used. I’ve ran some quick throughput benchmarks and with just basical FW and NAT enabled I was able to saturate the 100Mbit ports as I was copying a file between WAN/LAN at 11MB/s. During the transfer CPU on the firewall hovered around 36%.

The last thing I wanted to get working was to enable the LCD Display on the firewall. This is again quite trivial because pfSense already provides a package for this. The LCDproc-dev package is the one that contains the necessary driver to enable screen and button functionality.

The choices for Port and Display Size and Driver are a little confusing. After much digging through the pfSense forums I found the settings that work.
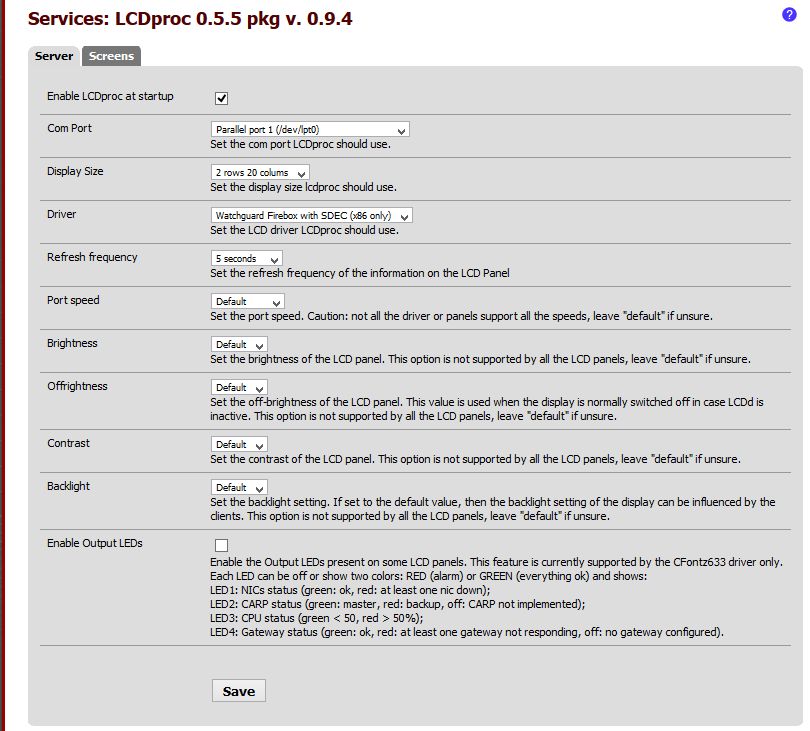
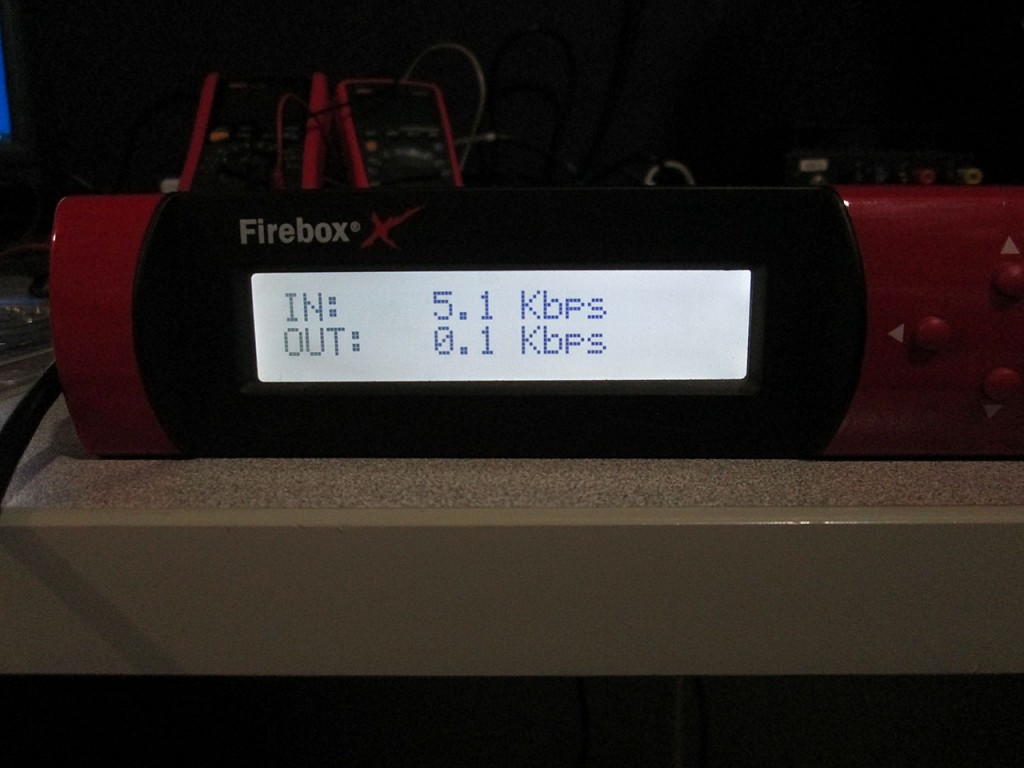
The entire process of converting this Firebox x500 to pfSense took about 20 minutes, most of which was spent waiting for the physdiskwrite to write the 2GB image to the rather slow CF card. Took me another 30 minutes to add all the extra functionality. I’ll most likely toss this firewall into one of the datacenters as some of my racks are only on 100Mbit uplinks so the x500 will not be a bottleneck.
I have ordered a few more higher end Fireboxes to play with. Those come with Gigabit interfaces and faster processors. Can’t wait to tear into those.
Great writeup, thank you. I just picked up a x500 and look forward to tinkering with pfSense.
Just read your article, superb, i’ve got an x500 but it is refusing to boot up, there is just one line of black squares on the LCD screen and the onboard speaker is making a long buzzing sound, just wondering what it could be? I have replaced the RAM module but still no luck.
Hmm. Sounds like hardware failure. Don’t think it’ll be easy to troubleshoot.
Nice articles on the Watchguard boxes. I’ve used pfSense for years, but I’m new to the WG platform. I have a question regarding CPUs on the x-core boxes…According to the pfSense forums:
The board supports a wide range of socket 370 processors. The fastest being the Pentium 3 at 1.4GHz, SL5XL or SL6BY for example.
Did you ever try upgrading the CPU on the x500 or confirm whether it will accept any of the processors you mention in the article?
No. I ended up not spending too much time on the x500. Was not too impressed with the Realtek NICs and its performance. Ended up donating the box to a family member running ZeroShell as it was the most stable option.
Didn’t you need to flash the bios on the firebox first, to make it recognize the CF card greater than 256 Mb?
Correct. That’s exactly what flashing the bios accomplishes.
It seems that after switching to pfsense on a firebox, my download has declined to 7 mbit/sec.
Unfurtunately I’m a pfSense novice, and I cannot figure out how to test the speed between two interfaces.
I have my NAS (eth1) hooked up to the lan and NAS (eth2) to the DMZ on the firebox, this beeing on two different subnets (192.168.1.x and 192.168.2.x). Still it all traffic is routed to eth1 on the NAS, even if I connect on 192.168.2.x from the lan.
Is there an easy way to acces ip’s on the DMZ from the LAN?
Thanks for the reply earlier btw
I have an x700, which is supposed to be the same motherboard as the x500. I keep seeing people suggest the x750e BIOS for the flash, but the 750e hardware is completely different hardware and chipset.
Which BIOS did you use? Did you actually flash it, or did you just reset the BIOS? Did your BIOS flash include porting BIOS / video through serial or just the CF limitation removal?