People always ask me about my car and how does it look so clean and shiny. The truth is that car detailing requires A LOT of work and a lot of attention to detail. The car will only shine if the paint is very smooth as it’ll not cause light to scatter in every direction. Black cars are notoriously difficult to keep clean but arguably look best when clean.
The best time to detail a car is either Spring or Fall when the ambient temperature is between 18-24 degrees Celsius and low humidity. This makes is warm enough for the waxes, glazes to dry quickly and not hot enough that the compound dries too quickly when polishing.
The obvious first step is to wash the car. Typically this involves spraying the car down with a hose to remove the mud and dirt from the car. I don’t usually use a pressure washer on the car as the car is almost never dirty enough to warrant it.
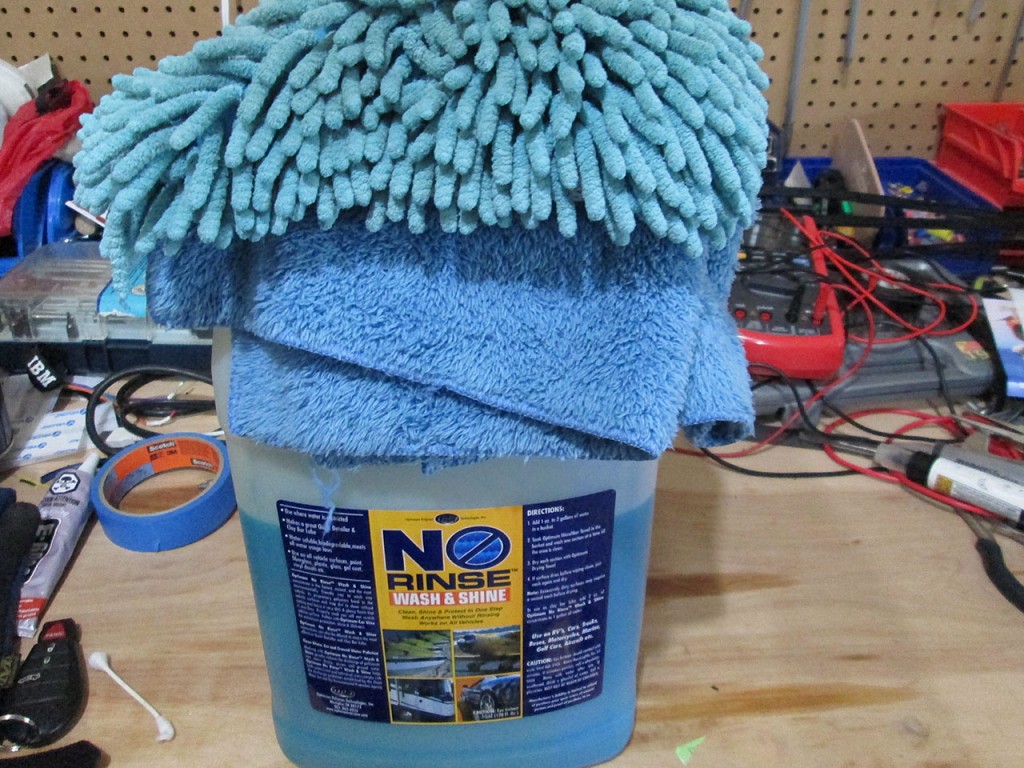
Once the car is sprayed down I use Optimum No-Rinse to wash the car. I found this to be the best way to clean the car. Just add a splash of no-rise to a bucket of warm water. Then simply use a microfiber sponge to clean the car quickly followed by drying using cookie monster sheets. The Cookie Monster sheets are microfiber towels that use very fine, very soft fibers that soak up water extremely well.
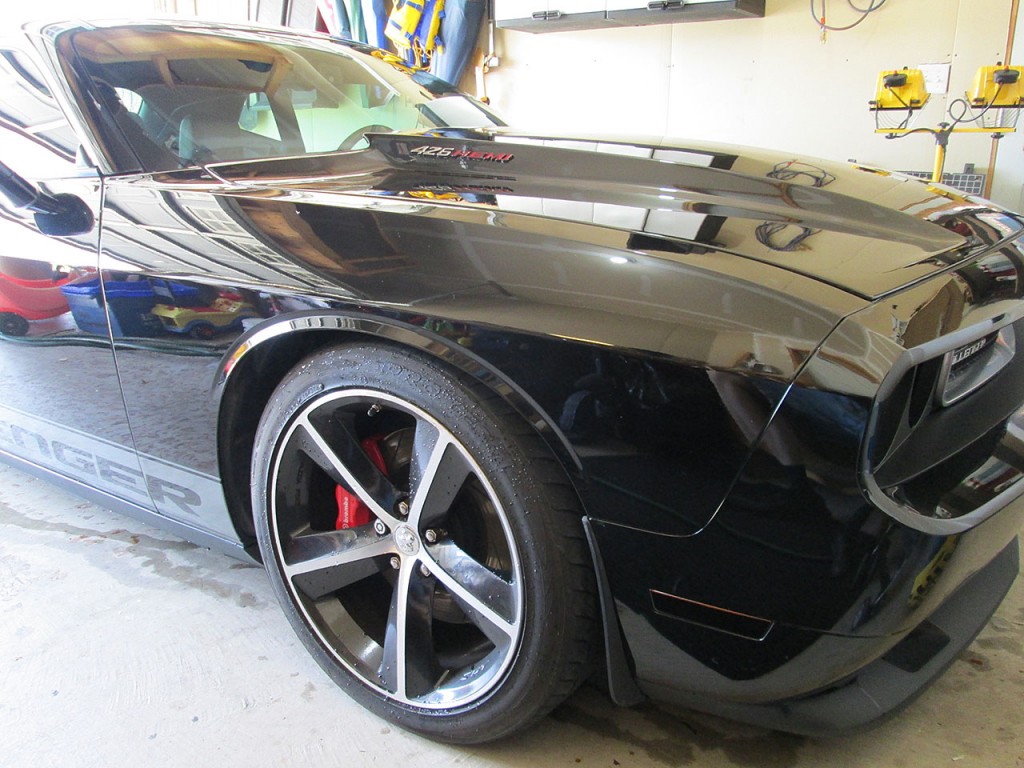
Once the car is clean of dirt it’s time to mask off areas that we don’t want the buffer to score. The polishing compound is brutal on non painted surfaces like plastic or rubber trim. It’ll either scratch the surface or leave behind a white reside that’s quite difficult to remove.
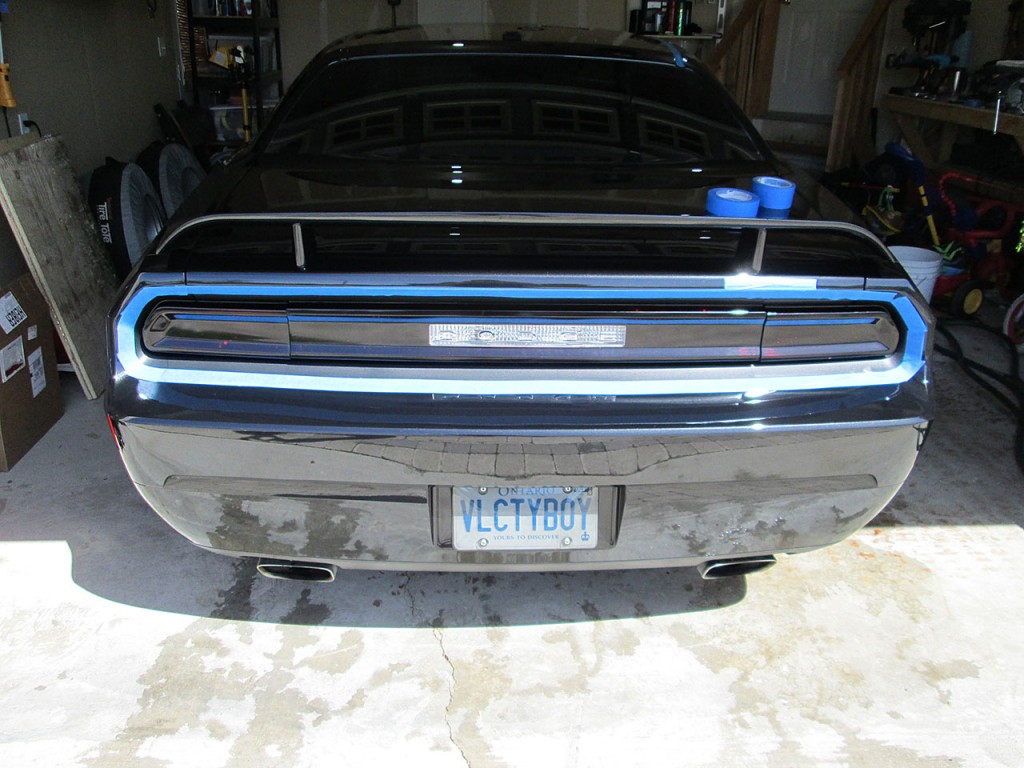
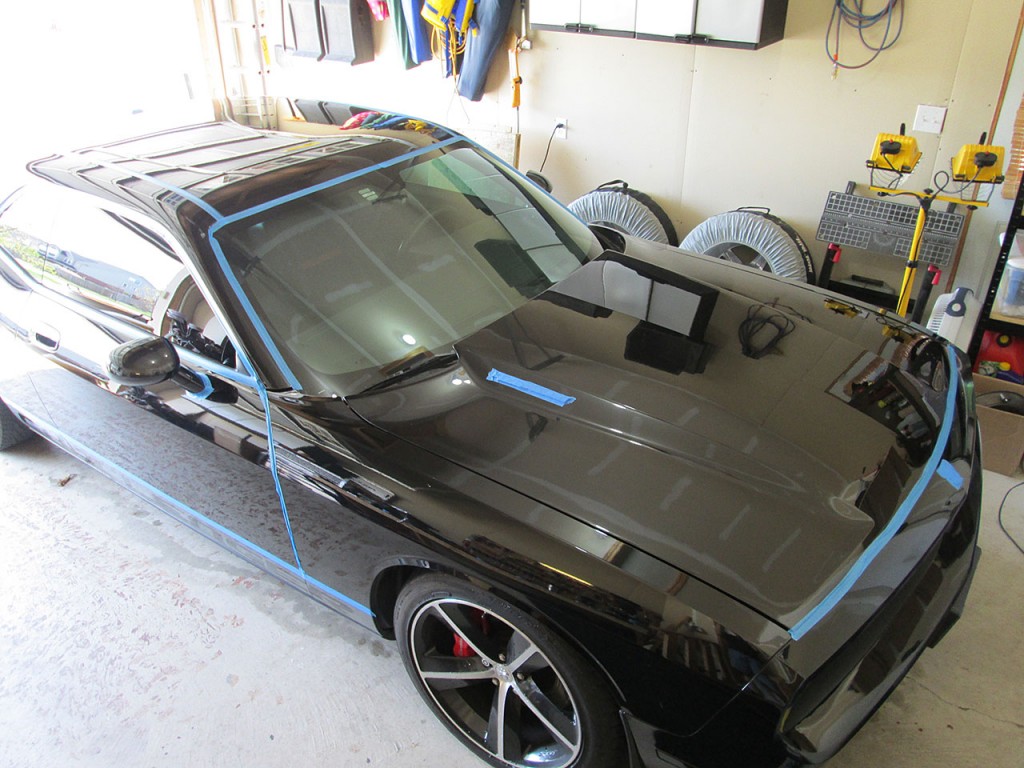
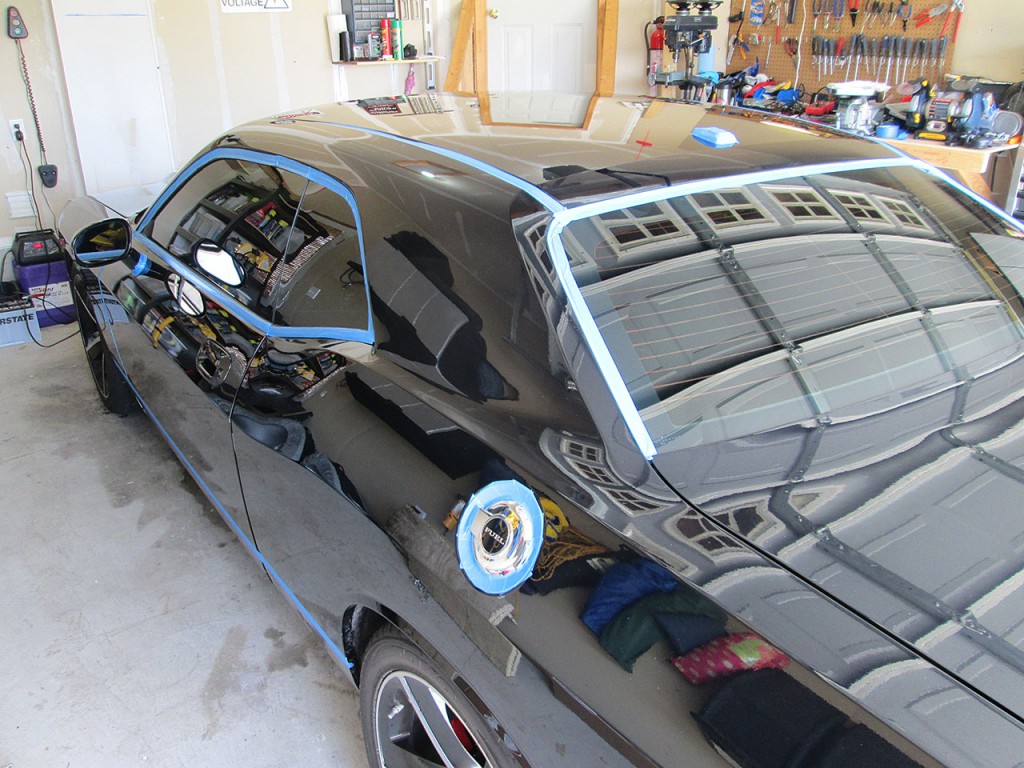
I usually take my time masking the car. This saves a lot of headache later when cleaning up after the polishing stage.
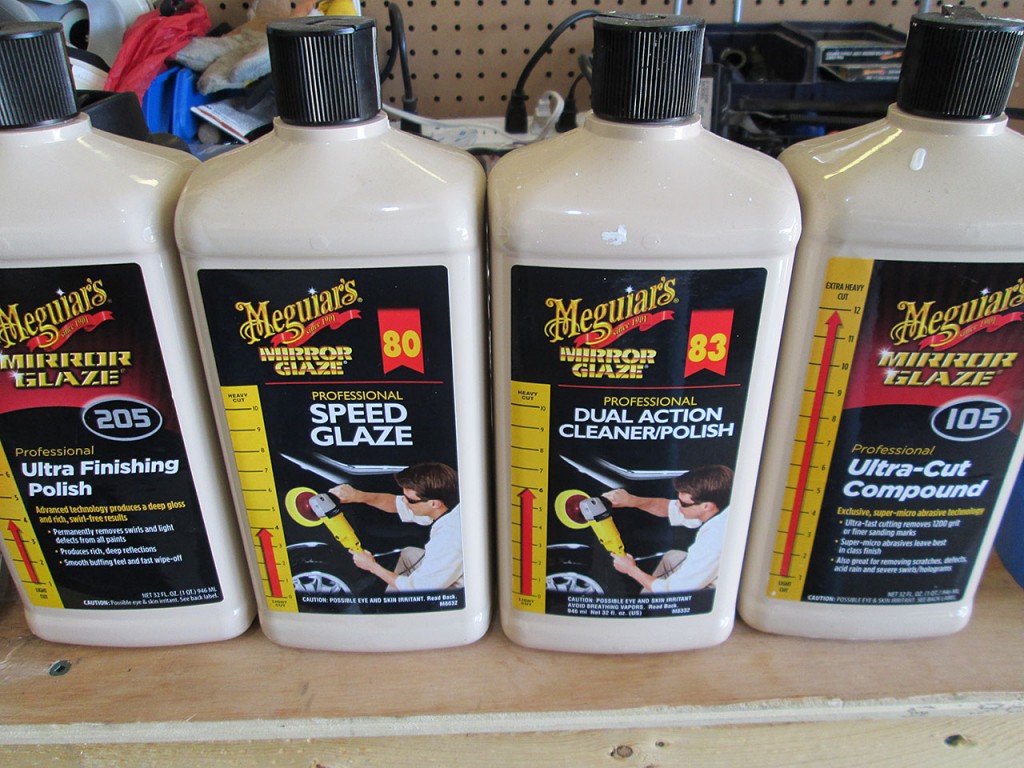
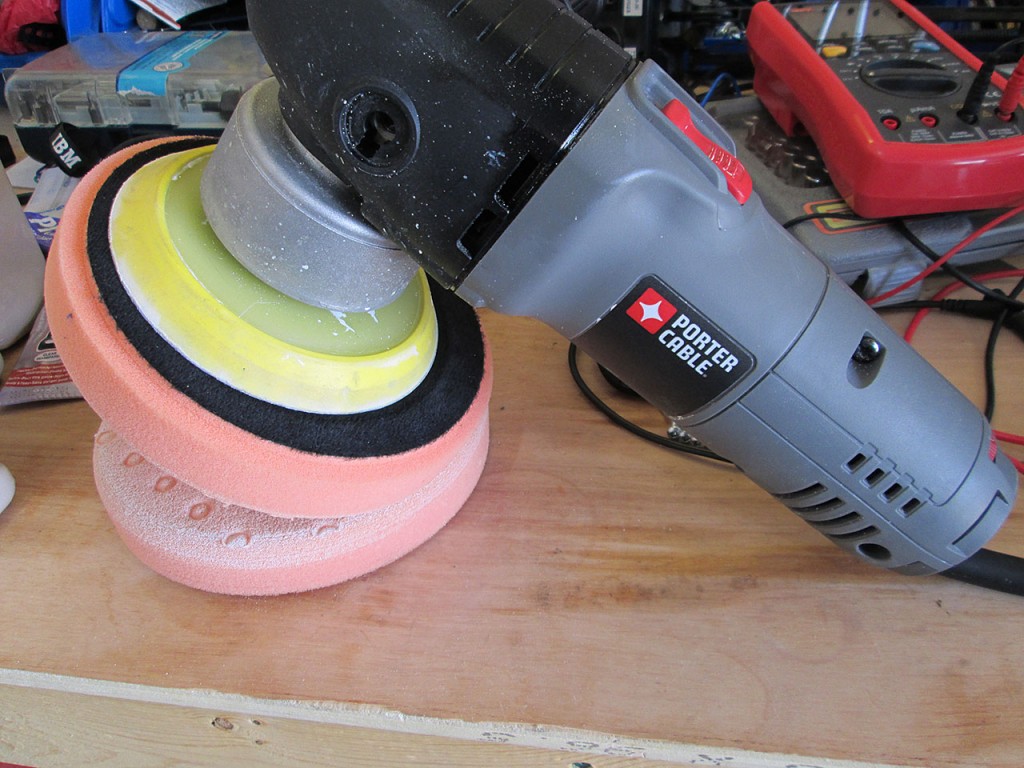
For polishing the car I use a series of Meguiar’s products. Depending on severity of the scratches or swirls I’ll use different one based on it’s cutting strength. For removing swirls and oxidation I usually use cut level 4-6 to preserve as much clear coat as possible. For deeper scratches or heavy swirls I use the Ultra-Cut Compound along with an orange (Mild) cut pad. This combo prevents the clear coat from hazing while still cutting fast enough to remove scratches relatively quickly. For really deep scratches I’ll use a yellow cutting pad. For polishing I use a Porter Cable random orbital polisher with 6.5″ pads. During normal polishing I run the Porter Cable at speed 5 with occasional jump to Speed 6 to force the compound out of the pad.
When I work on the car I always work from top to bottom. So I start with the roof, then work the hood and trunk. Then front quarter panel, doors, rear quarter panel. Then finally the rear and front bumpers.
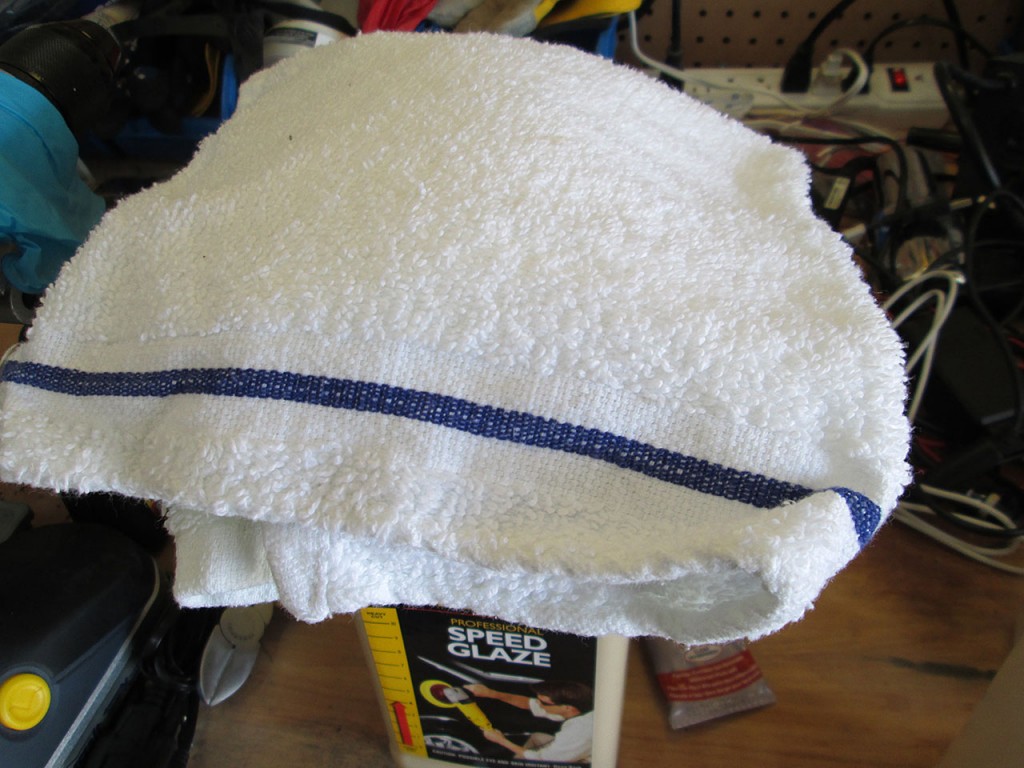
To wipe off the compound and to inspect the paint surface I use regular terry cotton sheets. I go through a lot of cotton towels during the polishing process. Make sure that the towels are clean and if the towel ever hits the ground, toss it. It doesn’t take much for the towel to pick up some dirt and it’s not worth risking scratching the car even more when trying to wipe off the compound.
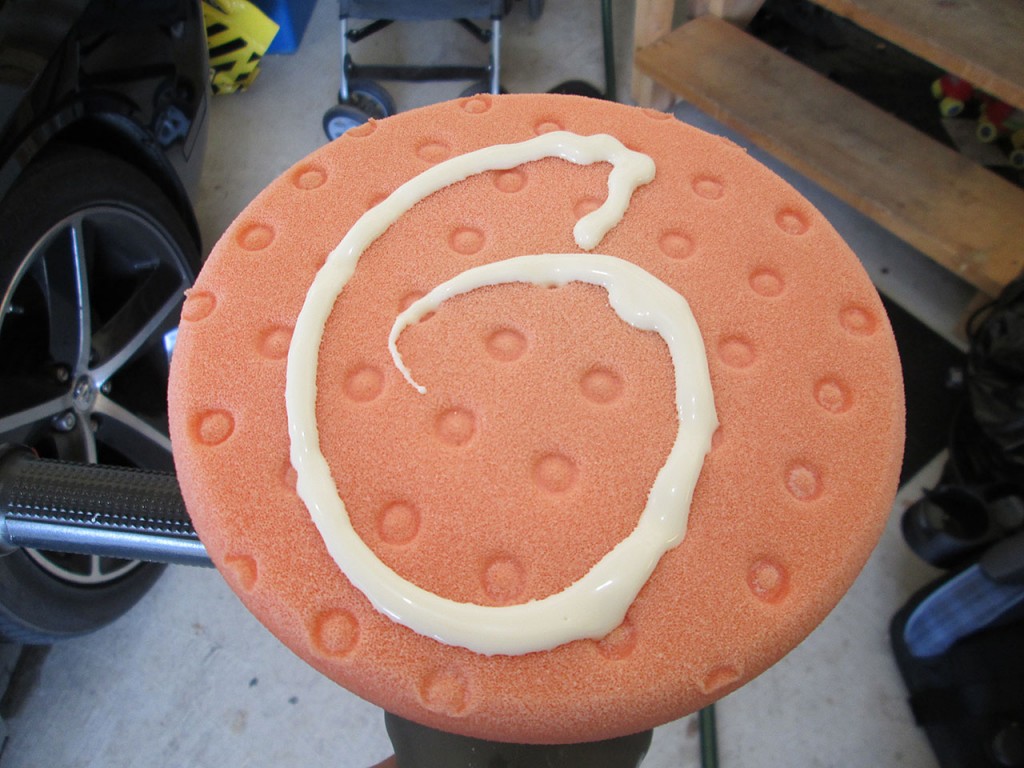
To start polishing I apply a bit of the compound on the pad, then spread it around the work surface with the polisher turned off. This prevents the compound being splattered everywhere when the polisher is turned on. Then simply glide the polisher on the work surface. There is very little pressure required when polishing. All work is done by the compound and the pad. When the compound dries up, simply apply more compound. The dry pad will not do much to remove scratches. When polishing the car, check the temperature of the work surface by touching with the hand. Getting the paint too hot can cause damage to the finish.
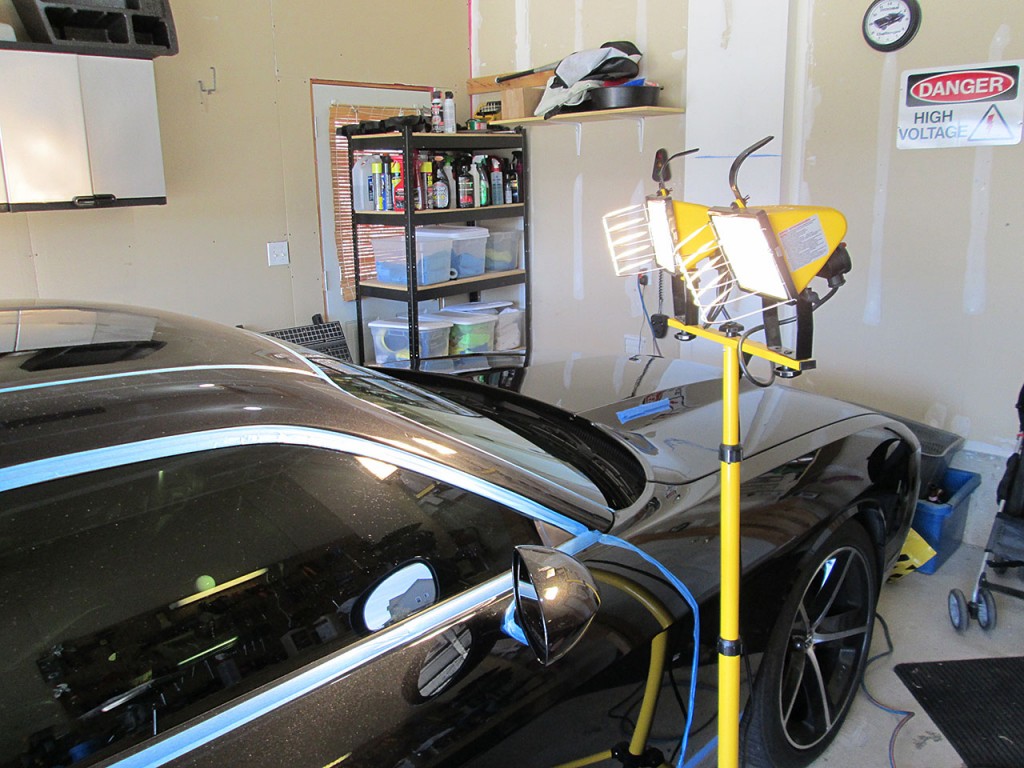
To inspect the work surface I use halogen work lights. These are bright enough to show any imperfections in the paint, though they radiate a lot of heat and are difficult to work with in the summer. These lights will also heat up the paint if working on darker colors which makes it harder to work with.
[14 Hours Later]
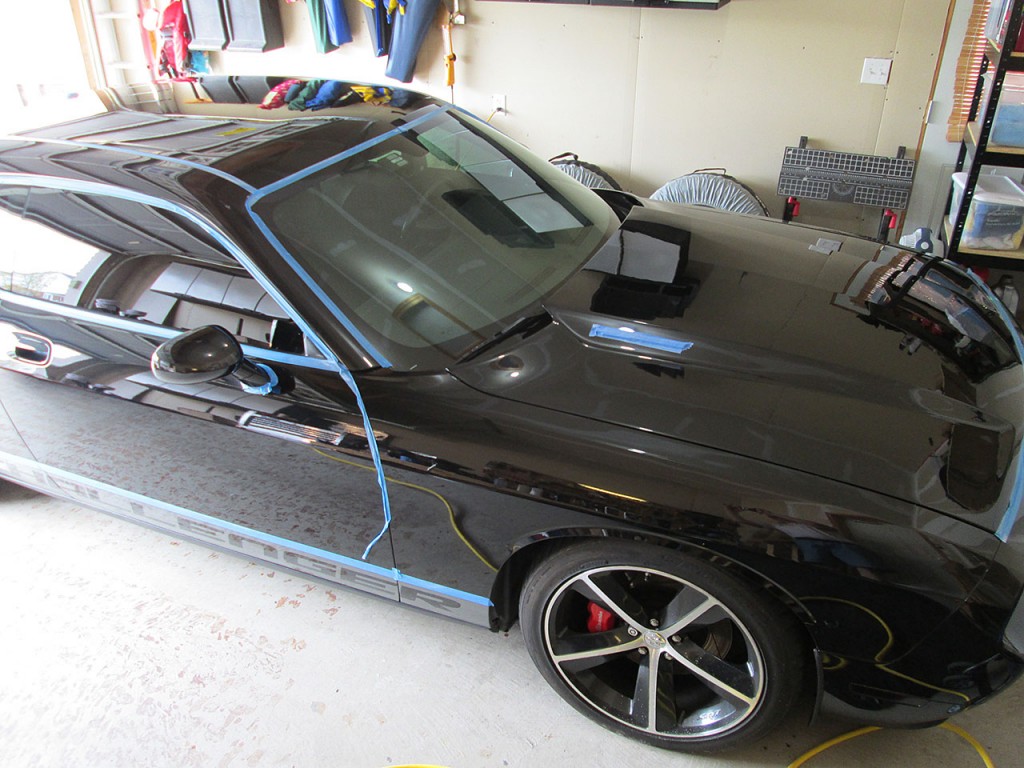
The polishing stage all done. This process took about 3 days as the car hasn’t been detailed at all last year so there were a lot of small scratches to remove. The polishing process leaves a lot of white compound residue behind. I use a combination of compressed air and cotton towels to clean off the compound.
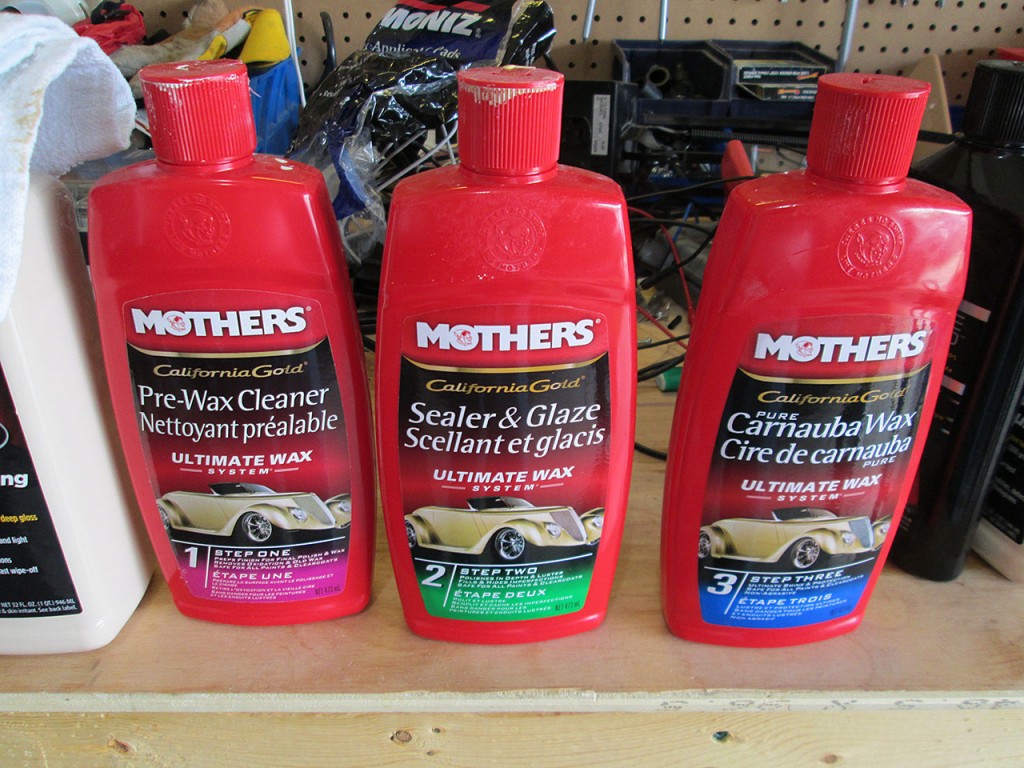
Once the car is polished it’s time to make it stand out. I use the 3 Step system from Mothers. This includes the Pre-Wax cleaner to remove any remaining compound residue, Sealer and Glaze that gives the car the “Wet” look and finally Carnauba Wax to give it that stand-out shine and make the surface of the car slick which prevents dirt from sticking to the car.
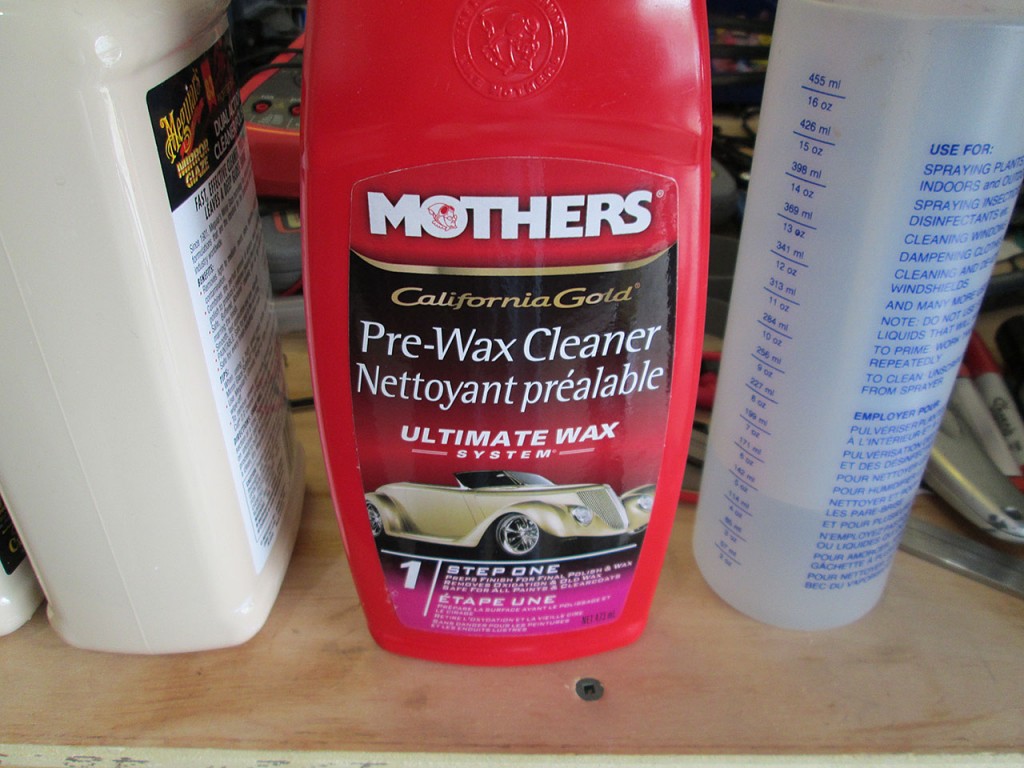
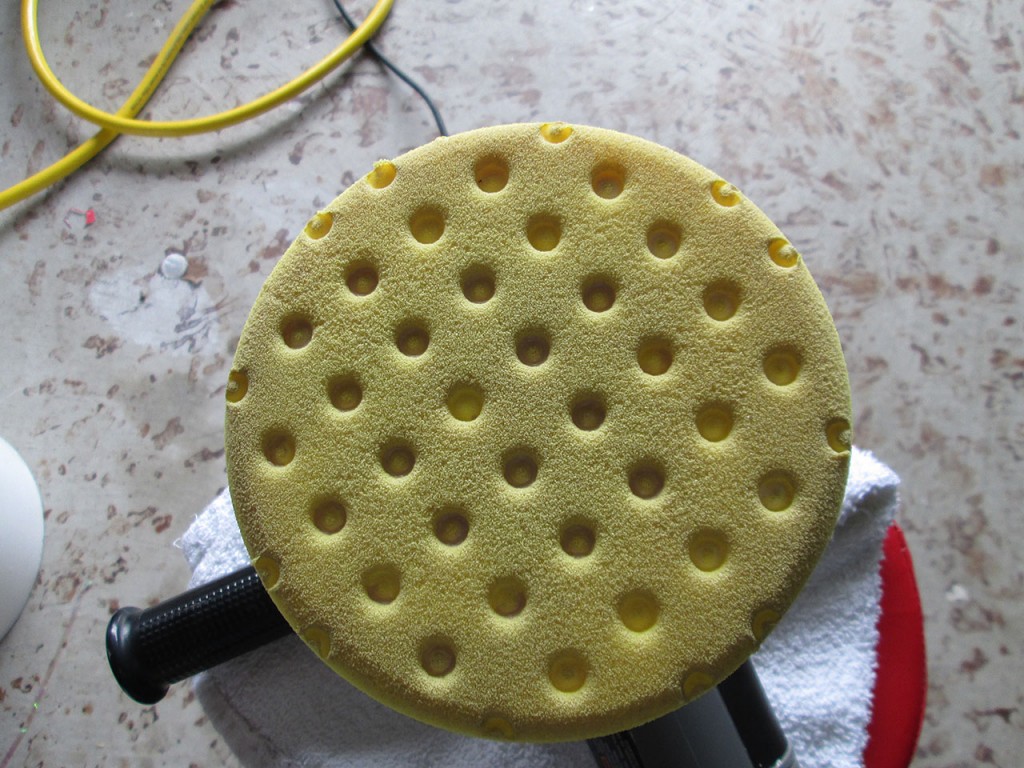
Step 1 is to use the Pre-Wax Cleaner / Polish and Medium Cut Yellow pad to remove any remaining compound residue from the car. This will also removing any previous coat of wax from the car. This process is rather quick as by this time the surface area is already pretty clean and now we’re only interested in removing polishing residue. A quick buff with the Porter Cable and wipe with the cotton towel and we’re ready to apply the Glaze.
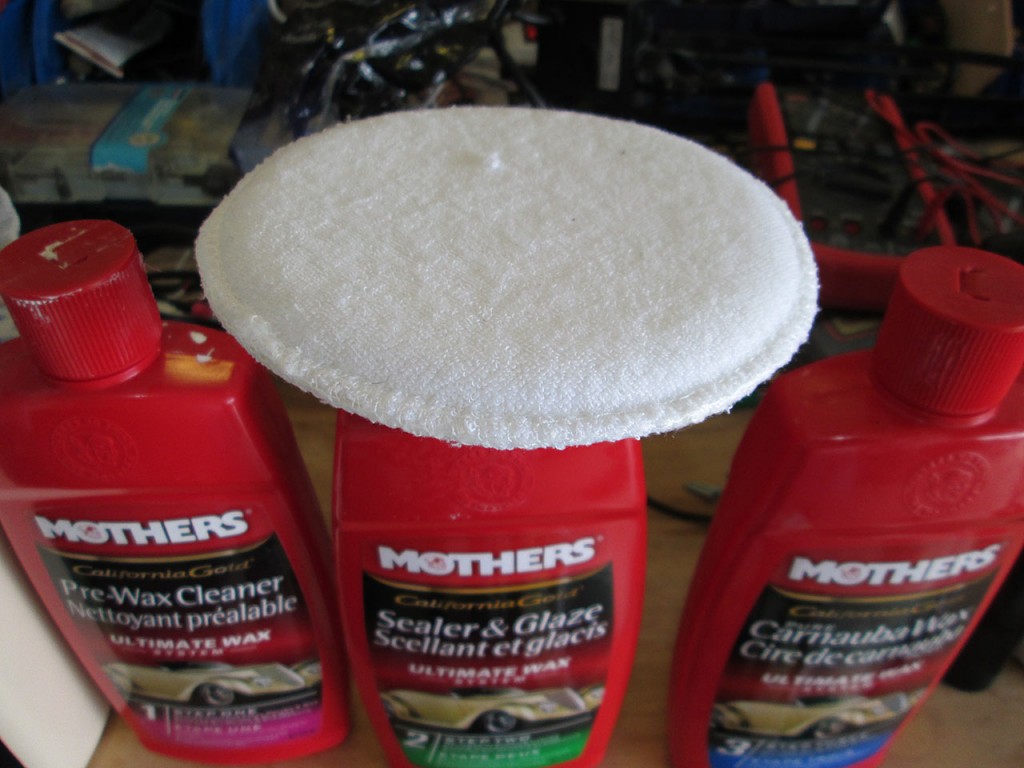
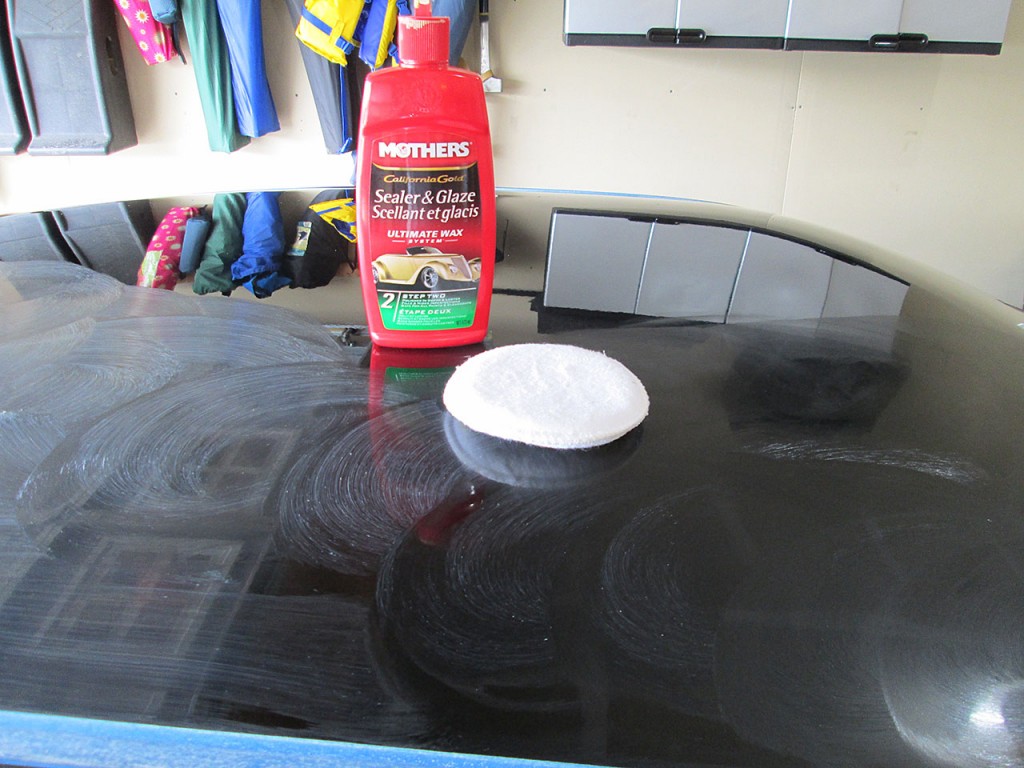
The rest of the process is done entirely by hand. I use small applicator pads to spread the glaze on the paint. Just like polishing, I start with the roof and work my way down.
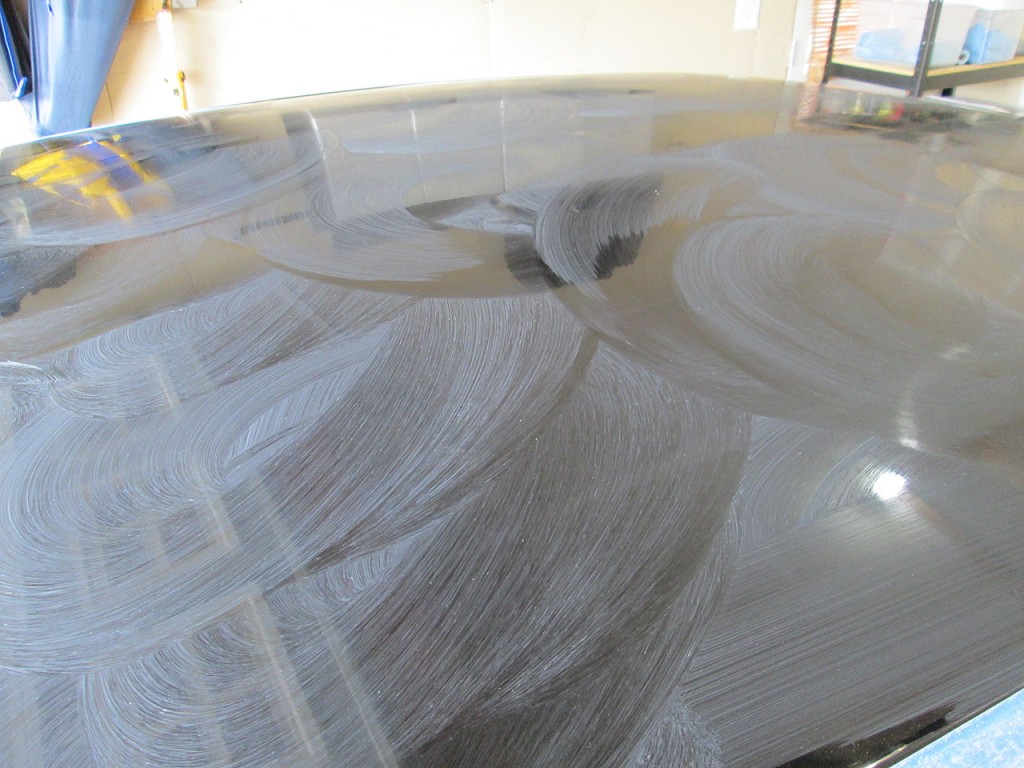
Typically I’ll apply a quick coat, wait about 5 minutes for the glaze to start hazing over and then apply another coat to ensure even coverage. Once the glaze has been applied I wait 20-30 minutes for it to haze over (if it’s cool outside the glaze can take longer). After the glaze has hazed over simply use a clean cotton towel to wipe off the Glaze from the car. This is rather messy as the glaze leaves a fair bit of residue so a lot of buffing is required while constantly turning the towel.
Once the Glaze has been wiped off it’s time to apply the wax.
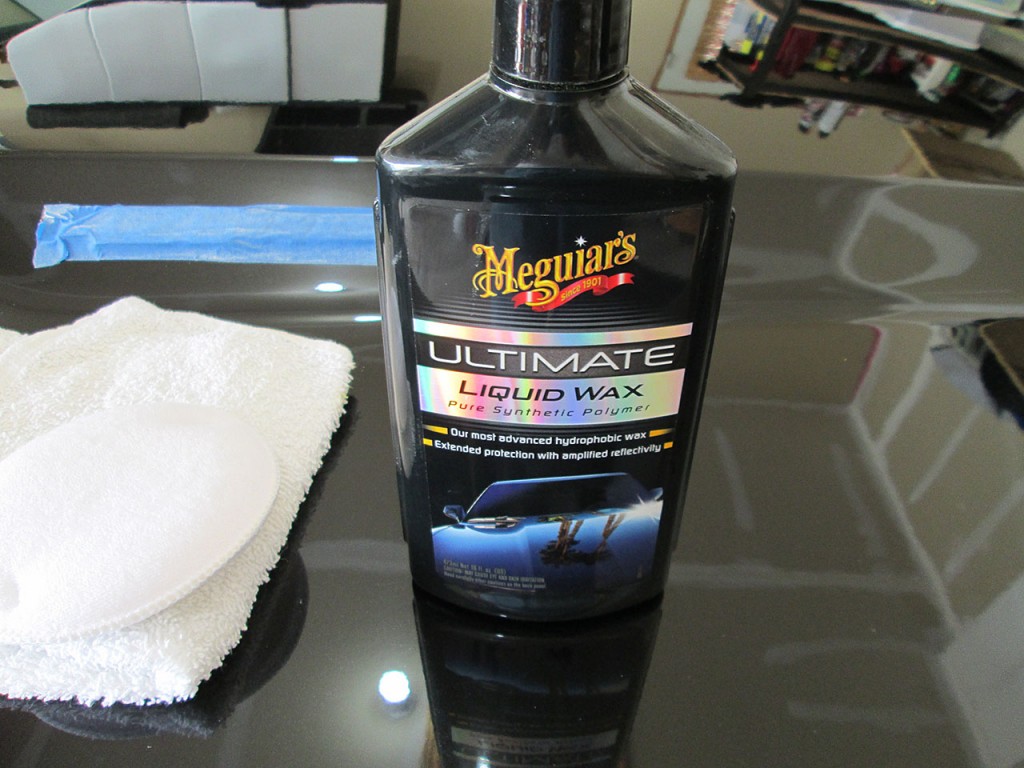
I have lately switched to synthetic wax from the natural Carnauba wax. But because I still have a lot of Carnauba wax left I use the Synthetic wax on surfaces that are exposed to sun the most (roof, trunk, hood) and most exposed to elements (front and rear bumpers). The rest of surfaces (quarter panels and doors) I use Carnauba wax.
Once the remaining Carnauba wax is gone I’ll use the Synthetic wax exclusively. There are many advantages to synthetic wax. Biggest advantages being that it doesn’t leave any residue behind, it lasts a lot longer than Carnauba wax (which melts in the hot sun) and unlike natural Wax it’s safe to use on plastic trim as it’ll not stain it. Carnauba wax is notoriously difficult to remove from porous plastic trim so masking is incredibly important where synthetic wax simply wipes off. The big difference in application is that synthetic wax requires microfiber cloth to wipe off instead of cotton cloth that natural wax uses. Using cotton cloth on synthetic wax will leave a lot of streaks that are next to impossible to remove.
Some argue that the synthetic wax doesn’t quite leave the car looking as good as natural wax but personally I do not see much difference between Synthetic and Carnauba wax.
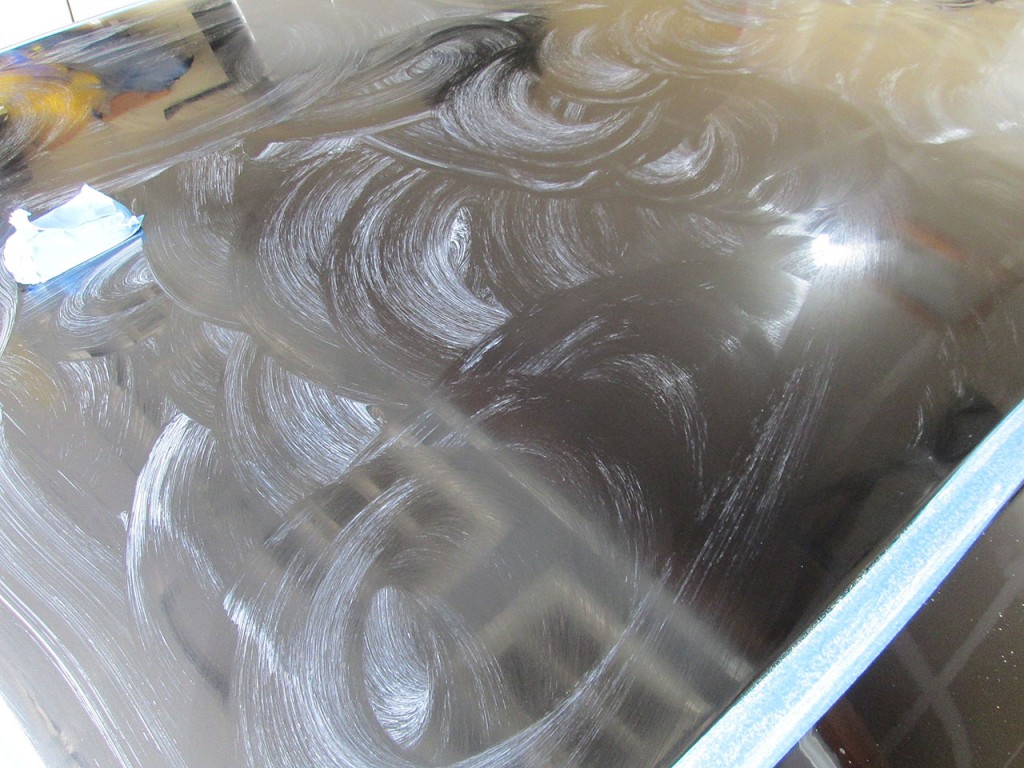
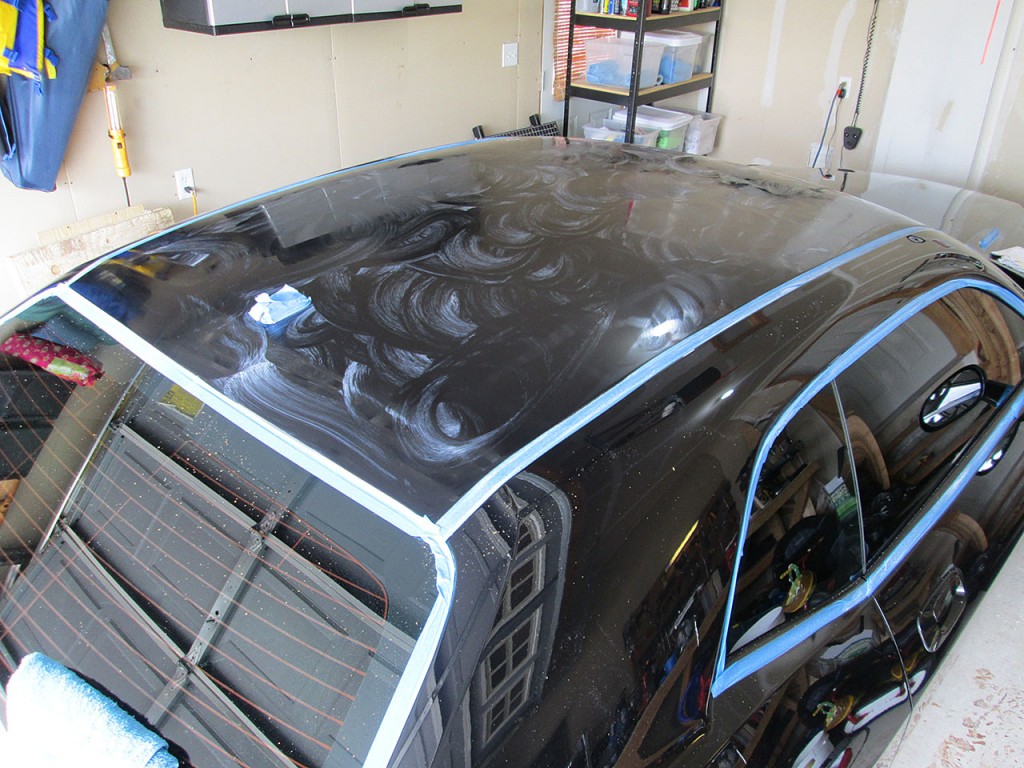
The process of applying wax is exactly the same as applying Glaze. Using application pad simply spread the wax on to the paint surface. Typically using multiple thin coats gives better results than a single thin coat. Additionally, by this time the applicator pad will glide over the paint much easier than when applying the glaze as by now the pad is already gliding on the glazed paint.
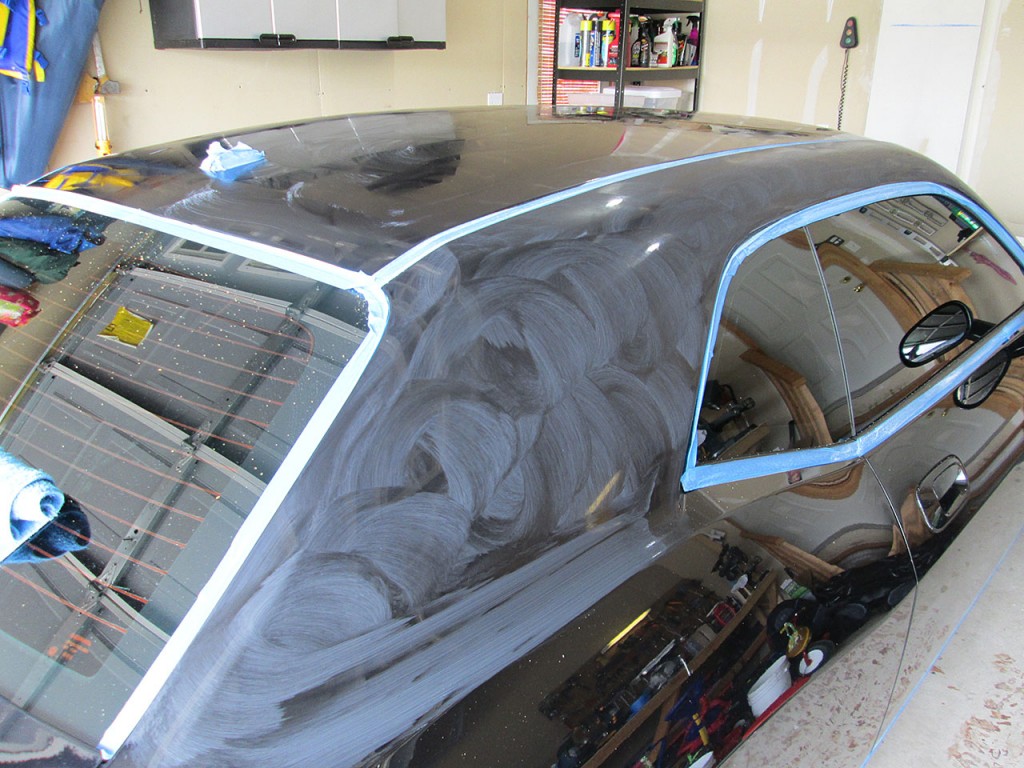
By this time when waxing/glazing the car I break the process into multiple stages. Meaning that by the time the wax is drying on the roof, I’m already applying the glaze to the next surface and paint polish the following one. This makes the process much quicker and I can finish polishing, glazing and waxing the whole car in just a day.
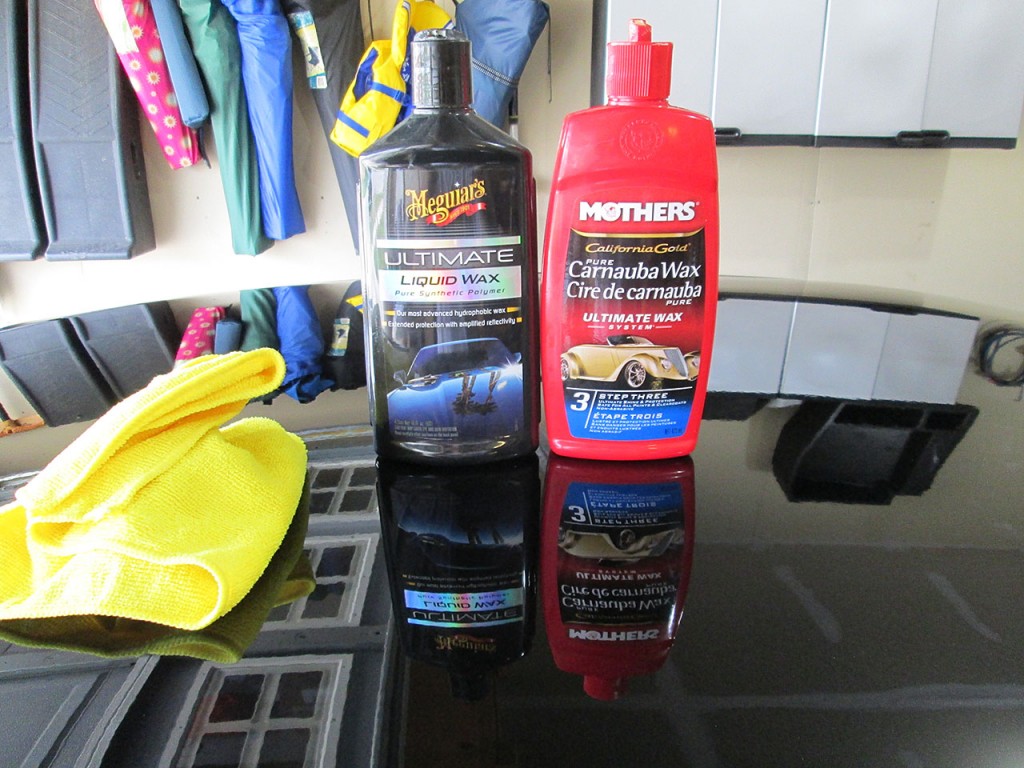
Once the wax has dried simply wipe it off to reveal an extremely glossy, reflective surface. It’s easy to know when remaining residue is gone when the towel glides very easily over the paint surface with absolutely no resistance.
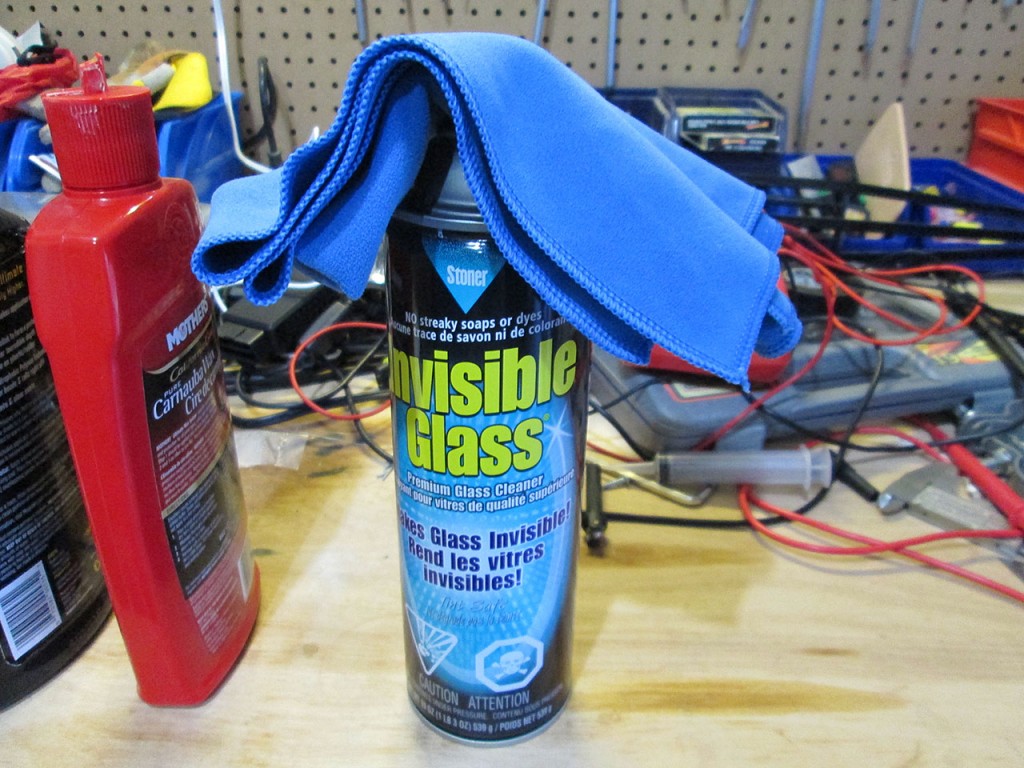
To clean the windshields and mirrors I use Stoner Invisible Glass and a very short fiber cloth. This combination leaves no streaks and is a quick 10 minute job to do all surfaces.
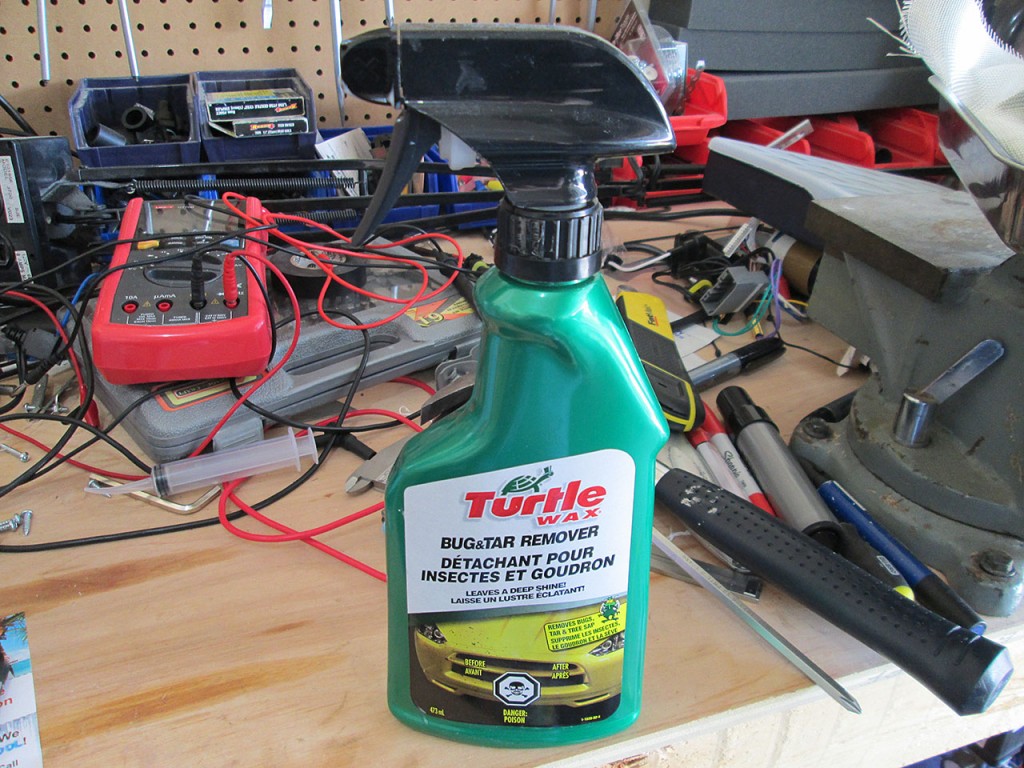
If the car hasn’t been detailed in a while it’s time to clean the tire wells. To remove any tire rubber or any residue I use Turtle Wax Bug & Tar Remover.
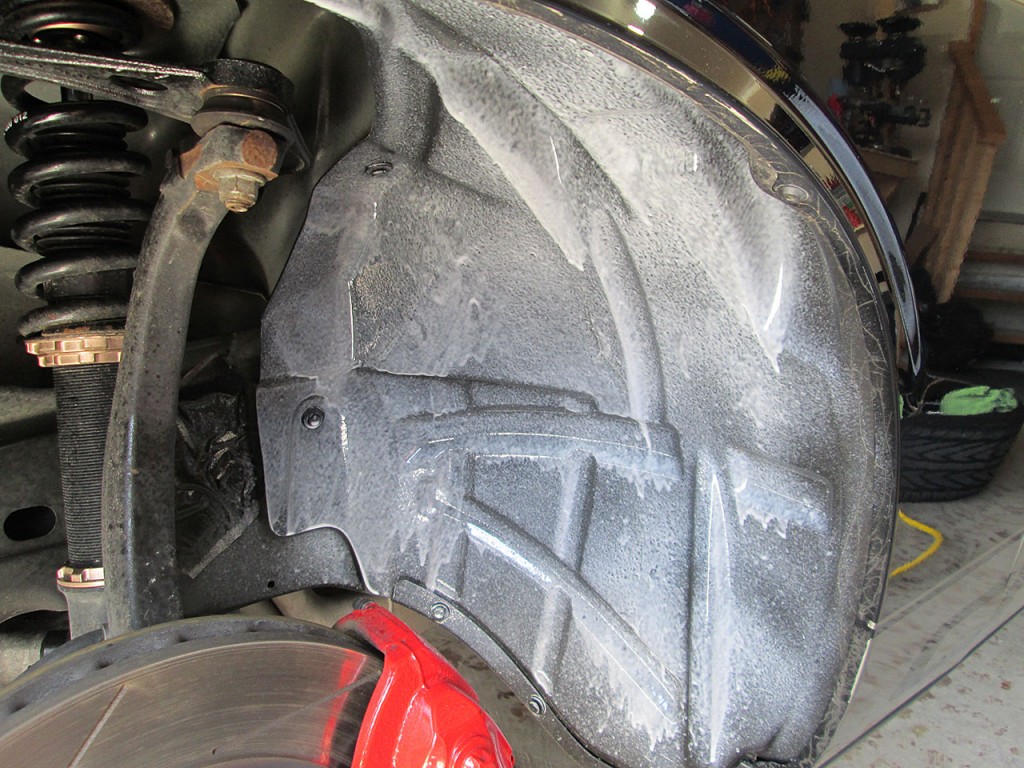
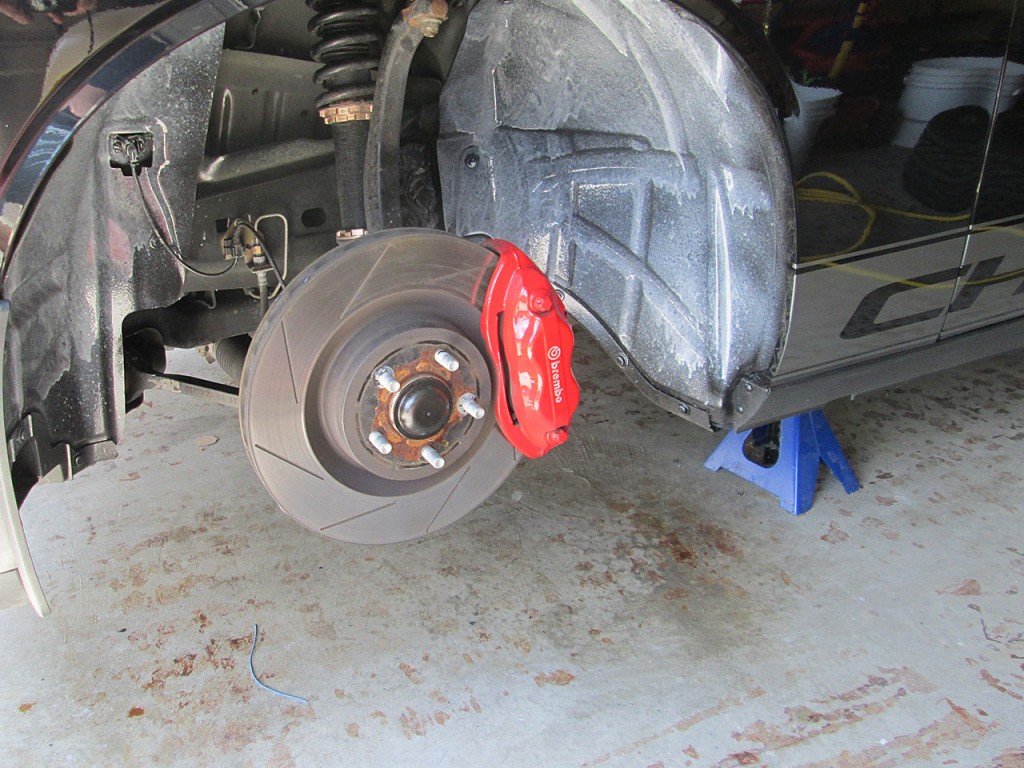
Simply spray a good amount on the surface to be cleaned and wait a few minutes for the remover to do its work.
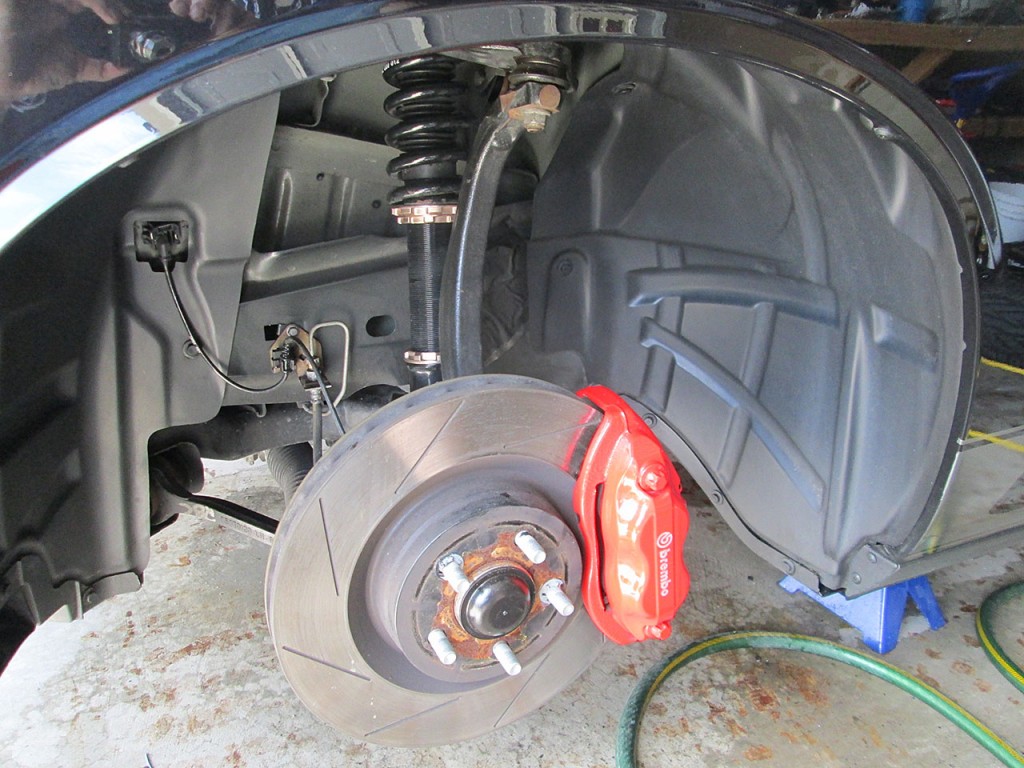
After few minutes simply use a cotton towel to wipe off the remover. I sometimes follow this process with a quick spray of Stoner Trim Shine to give the surface a bit darker, shinier look.
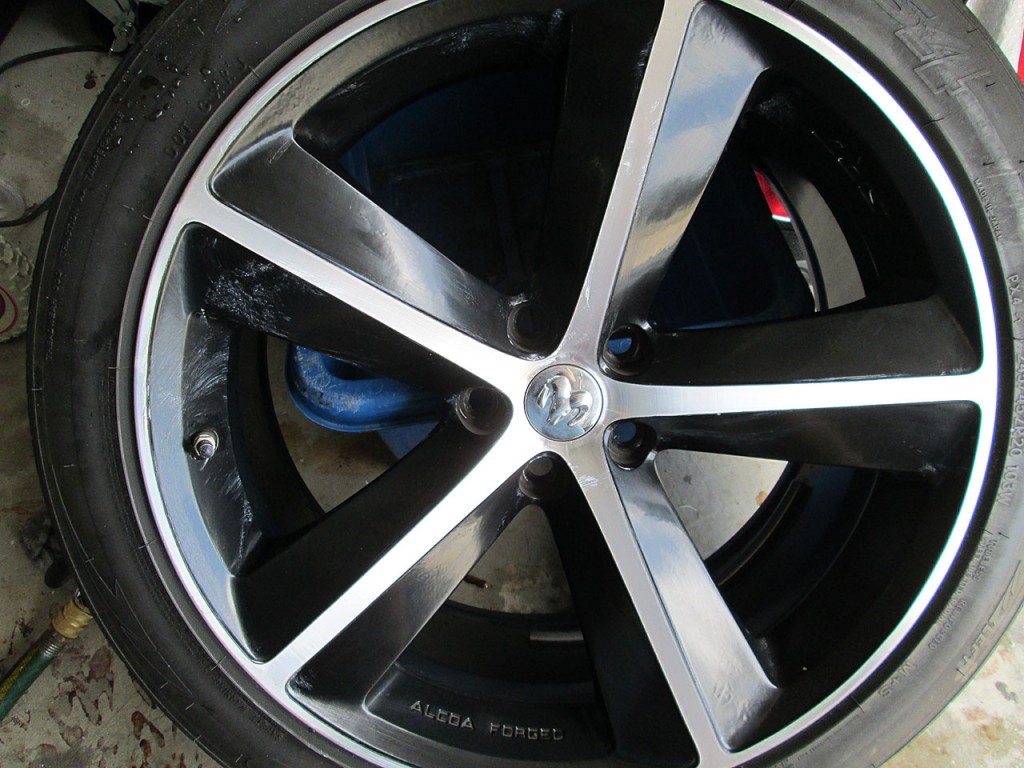
While waiting for the tar remover to do its job I clean the rims. If the rims are really dirty I’d use a spray on rim cleaner to remove the excess brake dust but typically just spray with water and wipe with microfiber cloths. I use a separate batch of cloths for wheels as the brake dust will scratch paint and it’s not a good idea to reuse them for working on the body. Once the rim is dry, I use synthetic wax on the rims. It helps to keep the brake dust from sticking to the rim.
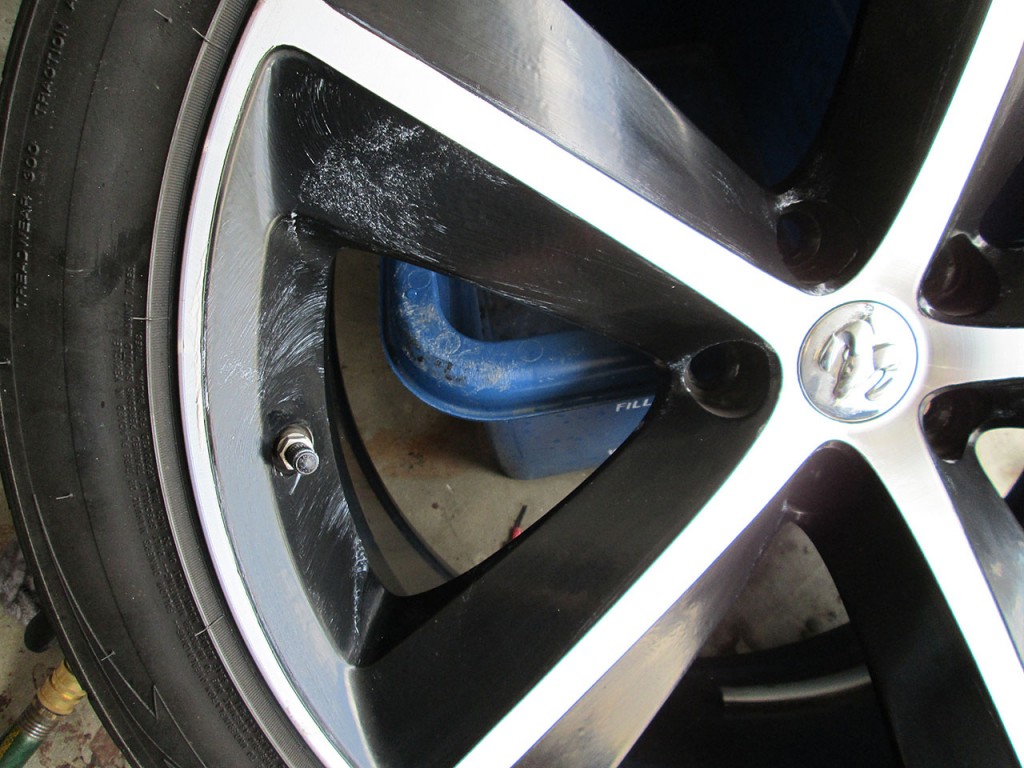
For the wheels I do not use Glaze. Just the synthetic wax. The process is the same as the body of the car. Apply the wax, wait for it to dry and then simply wipe clean.
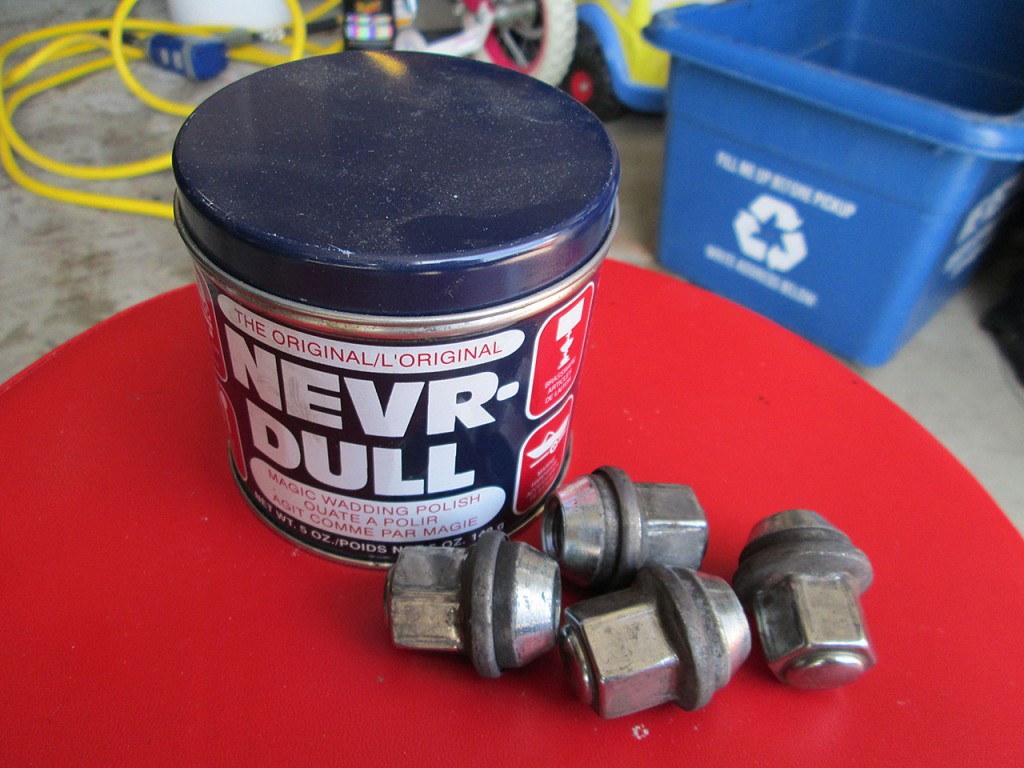
For lug nuts I use Nevr-Dull chrome polish. It’s perfect product for cleaning chrome surfaces and it’s very good at removing oxidation and any residue. For tires I use Black Magic tire wet. It doesn’t leave any residue on the tire when it dries and doesn’t cause the tires to crack like some silicone based tire sprays.
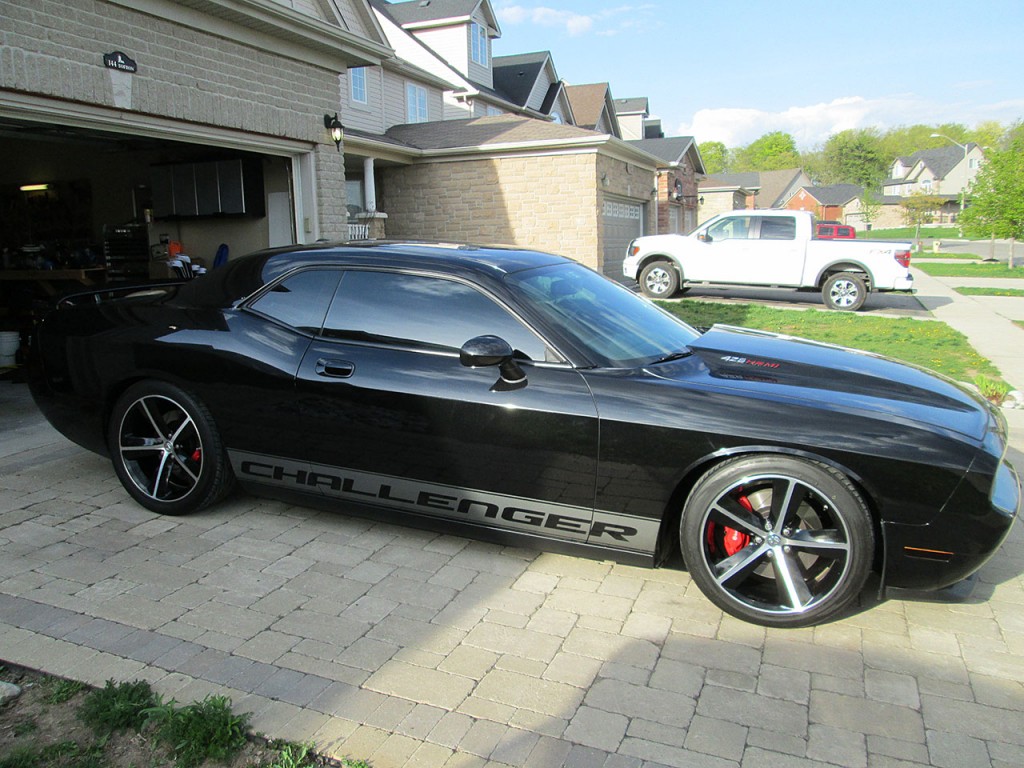
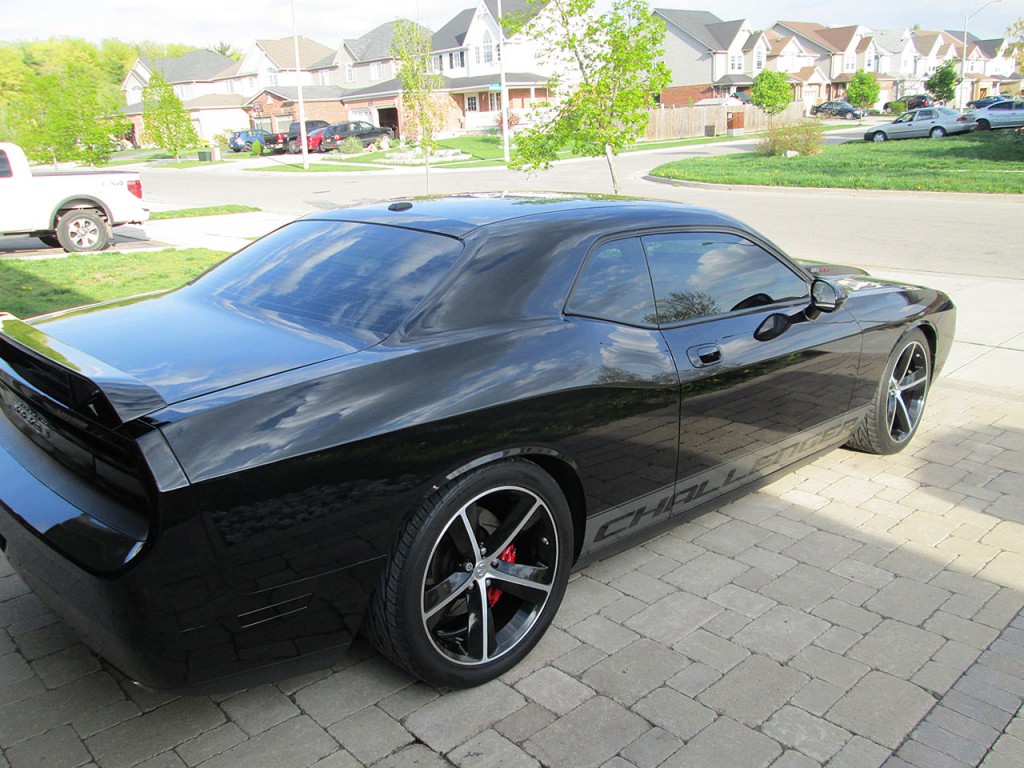
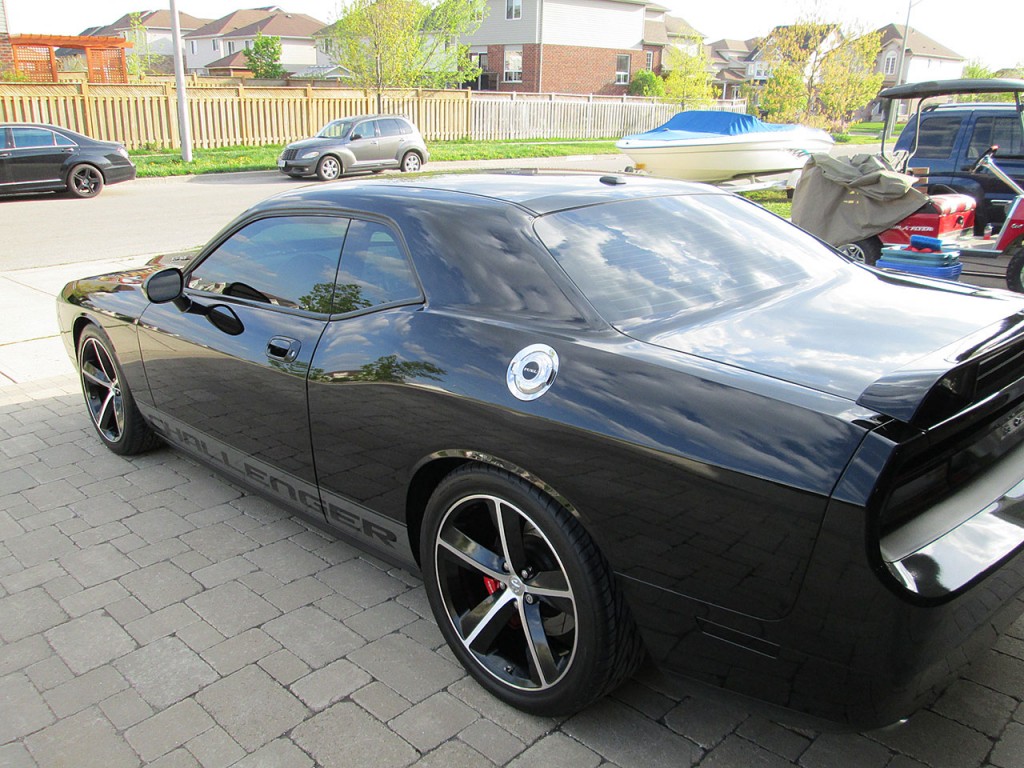
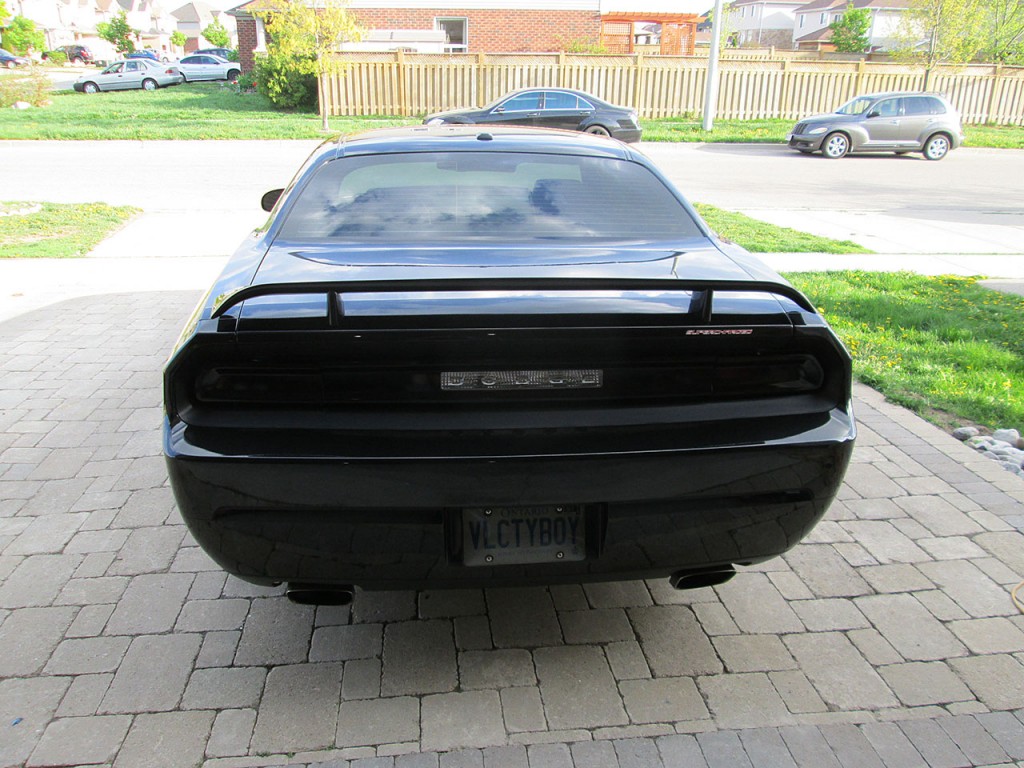
And exterior of the car is done. This process took about 20 hours total over the course of 4 days. The wax should last easily till fall depending on how much time it spends outdoors. The wax keeps the car cleaner, longer and car washes become very quick as the water and dirt easily roll off the paint.
Now for the interior of the car…..


