I’ve started working on Gauge Pod 2.0 for the Challenger. The original version had some issues as described here.
The original sender was located under the dash. Currently utilizes three sensors (AFR, Boost and Fuel Pressure). The box was built to support more sensors but in the end I ended up using only those three. I used 3 pin molex connectors which turned out to the a bad idea as the connections weren’t very secure. Additionally I had to make some last minute modifications to feed a 5V signal to the sensors. In the end the box was way too bulky and not terribly efficient.
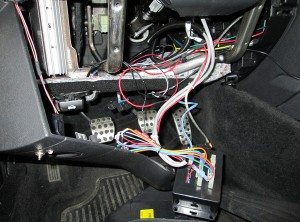
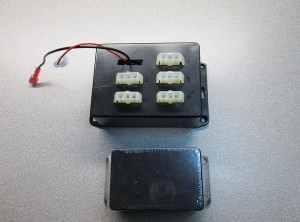
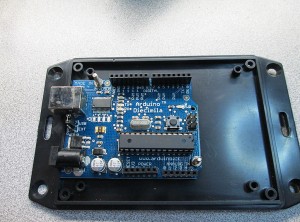
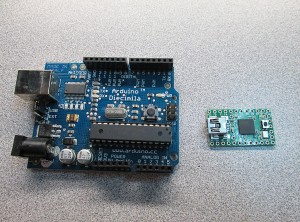
Due to the fact that the Arduino Diecimila uses pin connections (as it’s more for prototyping), the connections weren’t very good. While I had no problem with the connections themselves, I didn’t feel that this was sufficient for long term use. The next sender will have everything properly soldered.
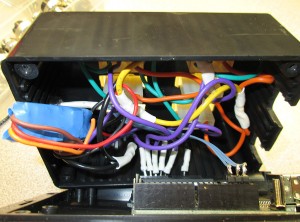
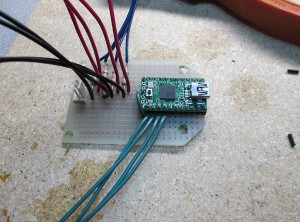
The enclosure I used was also too large even for the size of the board. The new Arduino board (Teensy) is tiny compared to the original board. Teensy is actually more powerful than the Diecimila board, as it offers double the RAM (whooping 2K), double the Flash (32K) and a lot of PWM outputs and Analog inputs. Additionally, the Teensy board can act as native USB device, no need for serial port emulation. It’s also quite cheaper than the official Arduino.
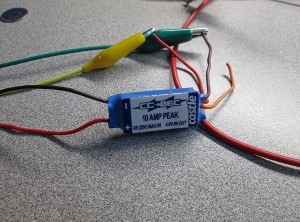
Sensor voltage is supplied via an RC BEC board from Castle Creations. The BEC can be programmed for any output voltage. Originally the board was programmed for 5.1V from factory. The BEC is most likely type of MOSFET voltage regulator instead of the more traditional linear regulator. This does introduce a bit of noise into the system as the PWM system typically operates in the Khz range. Though, with bench testing I didn’t see any significant problems with this.
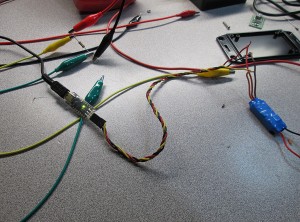
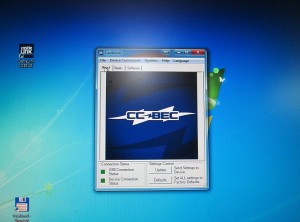
I didn’t actually realize right away that I had a programmer for the BEC. I picked one up last year for my Mamba Pro ESC. With just a few clicks of a button I was able to program it for 5V.
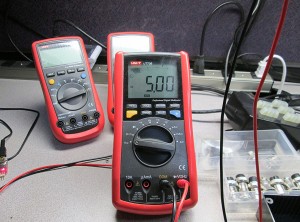
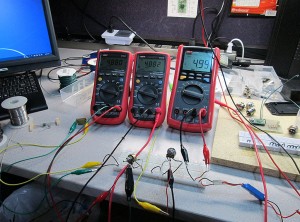
One of my theories for the flactuating voltage is that one or more sensors was putting too much load on the BEC. During testing I noticed that with higher amperages the BEC supplied voltage would drop. At 0.7A the voltage dropped to almost 4V. This was quite unusual since the BEC is rated at 10A. To mitigate this problem I’m using some inline, low ohm resistors to current limit the supply. This should prevent excessive load on the BEC.
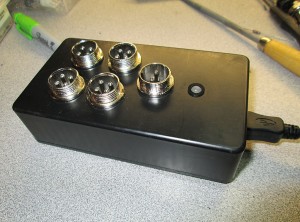
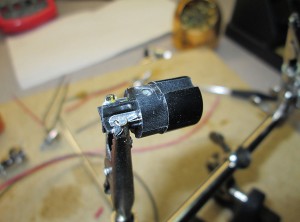
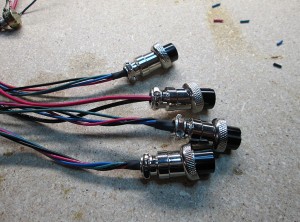
For the input voltage and sensors I’m using 2 and 4 pin barrel connectors.
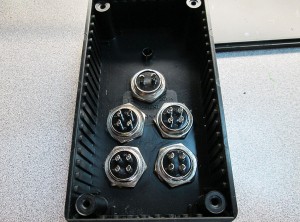
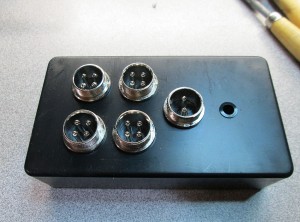
Connector Pinouts:
Sensor Input Barrel Connector:
1 – Black – Ground
2 – Red – +5V
3 – Blue – +5V (Current Limited)
4 – Green – Sense In
Power In Barrel Connector
1 – Black – Ground
2 – Red – +12V (ACC)
Teensy Sensor Pins:
| Input | Sense Pin | Ref Pin |
| Input 1 | 15 | 19 |
| Input 2 | 13 | 17 |
| Input 3 | 14 | 18 |
| Input 4 | 12 | 16 |
I’m also using an RGB LED for status indicator. The LED uses a common anode, so the LED turns on when driving Teensy pin LOW.
LED Pins on Teensy:
Common Anode: 5V
Red: 9
Green: 8
Blue: 7
Internal: 11
The Blue indicator blinks when new voltage data is sent. The Green indicator is on when the sensor supply voltage is above 4.5V. The Green indicator changes to Red if the voltage drops below 4.5V
I’m using a small perf board to solder all the components on. There’s not much to it. A few 1/4W resisitors for current limiting sensors, few resistors for the RGB LED and a trim pot for adjusting data rate.
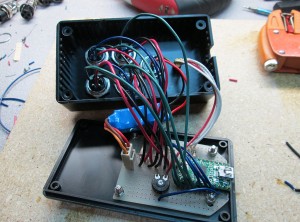
The box all done. There’s a small hole on the side for the mini-USB connector that will connect via USB cable to the carputer. This will in turn be read by the Gauge Pod software, parsed and displayed as an analog gauge on the screen.
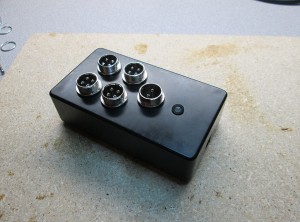
Last step was to solder up some of the female connectors that will be spliced into the Challenger itself. Just three sensor connections for now. I might add oil pressure sensor later down the line.
Thanks to the use of the reference voltage on each input any fluctuations of supply voltage and ADC error will be smoothed out. The Arduino sketch is very simple. The sender simply sends tab delimited data to the USB device in the format:
{INPUT}\t{REF_VOLT}\t{SENSE_VOLT}\r\n
e.g. IN1\t5.00\t2.00\r\n
This is repeated for each sensor input and finally sends the supply voltage: REF\t5.00\r\n
Final Features:
* USB HID Device. No more COM ports, no drivers needed.
* Reference Voltage on all inputs
* Reference supply voltage for each sensor
* Variable sending speed via trim pot
* Low Supply Voltage Indicator (less than 4.5V)
* Serial sending / Keep Alive Indicator
* Vibration proof screw-in type connectors
* Dual Current limited/non-limited sensor connectors
With the sender box complete, the next step is to re-write the Gauge Pod software to fix some of the issues and add some additional features.