A while ago I was browsing parts in a local hobby store and I came across an RPM part for my Traxxas Slash. It’s an offroad light bar (RPM #80922). The product is meant to be used with typical 3mm LED’s, in fact, RPM sells an LED kit that fits the canisters. Looking at the LEDs I knew the LEDs were for show only as the LEDs included don’t do much for illumination, typical 3mm LEDs produce between 1500 and 3000 mcd of light intensity with a rather narrow beam of light. Looks pretty, but that’s about it.
As soon as I saw this I knew I could take it to the next level. As I always say, if something is worth doing, it’s worth overdoing. So as soon as I got home I went on eBay and picked up a set of these puppies.
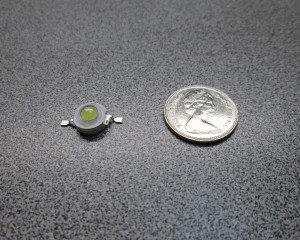
These are 1W Ultra Bright LEDs with built in heatsinks. These babies produce over 8000 mcd of light. Not only that, they have an extremely wide angle of view. These LEDs are blindingly bright, a perfect choice for some illumination for the truck.
First step is to determine the best heat/brightness ratio. I did this by trying various values of resistors to get best brightness while maintaining heat at constant temperature. The LEDs in the canister will not be able to sink any heat. I used a thermal probe to get a reading on both the resistor and the LEDs heatsink. I ended up going with 22 ohm 1/4W resistors. After an hour under load the temperature was stable at 50C on the resistor and about 44C on the LED’s heatsink with ambient temperature of about 26C (toasty next to the servers).
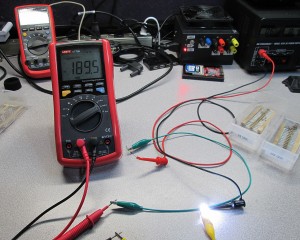
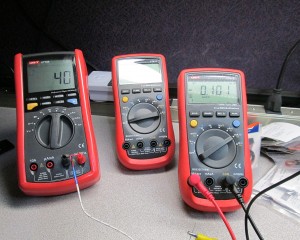
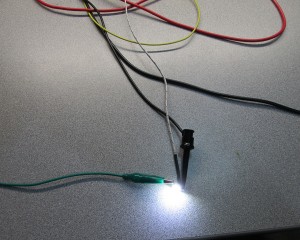
I was having trouble finding some low gauge wire that I could use for the individual LEDs. The only thing I could find on spools was 24AWG which was still bit too thick for my liking. I stumbled across a roll of ribbon cable with what looked like 30AWG wire. It was perfect.
Soldering the LEDs was very quick and painless as the built in heatsink on the LED took care of protecting the LED from the heat from the soldering iron. The L#D canisters have a small hole in the back, the ribbon wire had no trouble passing through.
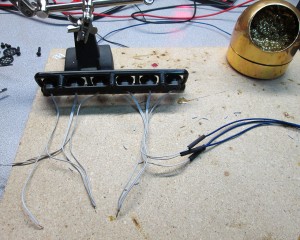
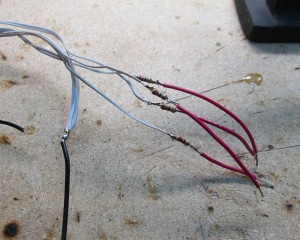
The next step is to solder the resistors inline. The best way I figured is to stagger the resistors so that when held together they don’t create a fat bundle.
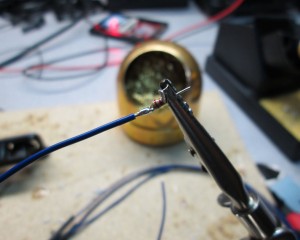
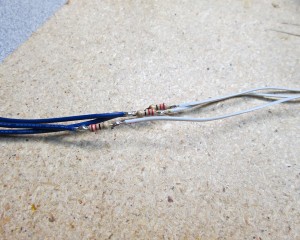
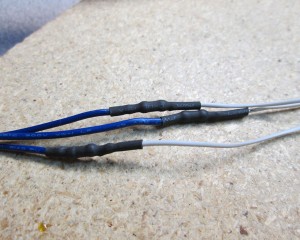
After that it’s just a matter of going to town with heatshrink to isolate all connections
Before permanently affixing the LEDs in their respective canisters I needed to test the connections and make sure all LEDs light up.
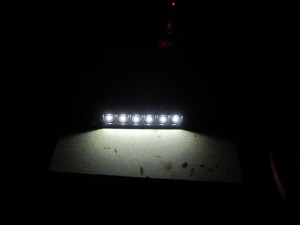
Once I confirmed that all LEDs are working properly, it was time to affix the LEDs to the canisters. I decided to use 30 minute Epoxy to give me plenty of time to align the LEDs properly.
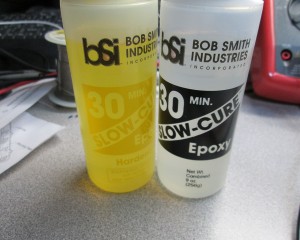
What I missed though is that mixing a larger batch of epoxy causes a MUCH shorter curing time. In fact, the epoxy started to set just minutes after mixing the batch. I tried to work quickly applying the epoxy to each canister before the batch became unusable. The results were less than stellar. At least I still had time to align the LEDs but it was too late to try to remove some surplus.
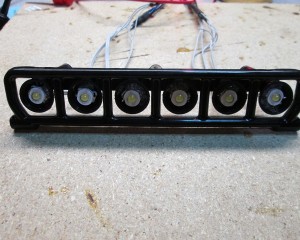
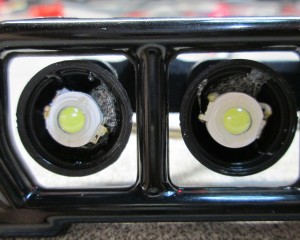
The RPM kits came with lenses that can be used with the LED canisters. Unfortunately due to the size of the 1W LED, the lens can not be used in this configuration. Which I don’t think it’s a big deal, I can see the cheap plastic lens getting scratched and becoming opaque in very little time.
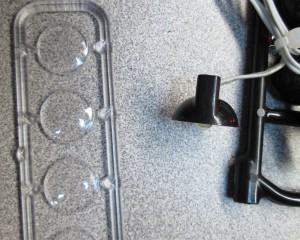
The grilles on for the canister fir perfectly though. Good thing too because it hides some of the ugly spillover epoxy inside the canisters. Mixed a much smaller batch this time so I had plenty of time to align the grilles.
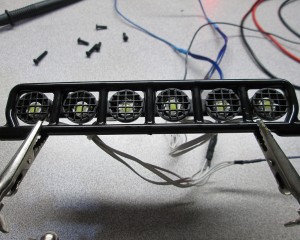
Once the epoxy has cured it was time to attach the bar to the body and do final testing. The light bar actually fits very nicely on the truck.
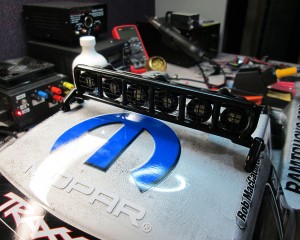
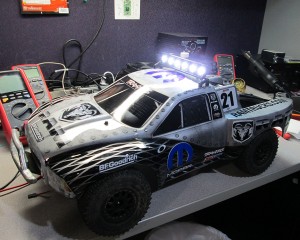
Shortly after I did this build I decided to take another step and add the bumper lights. Plus a friend asked me to do a set for him too. Back onto eBay to pick up RPM #80982 and few extra LEDs.
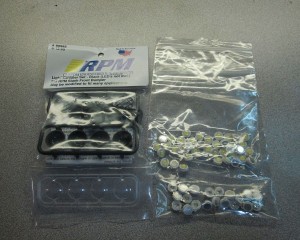
The process was pretty much the same as building the top light bar.
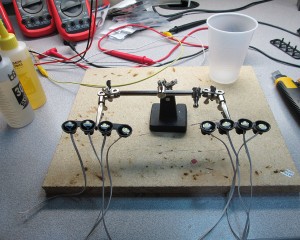
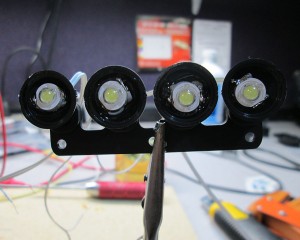
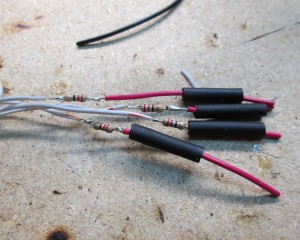
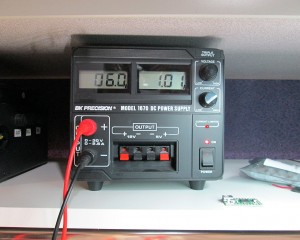
Once all wiring was done. It was time again to test the new LED arrays. Once again, zero problems with soldering these things. Just 8 LEDs in an array gobbled up a full 1 AMP of current. Having 10 LEDs on the truck will definitely put the receiver connection at a strain.
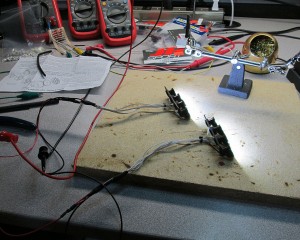
Just like the top bar, the lenses were skipped due to LED size, but the grilles went on without issues.
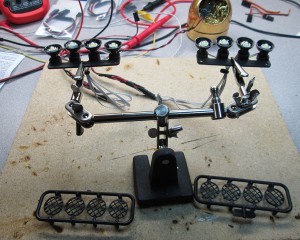
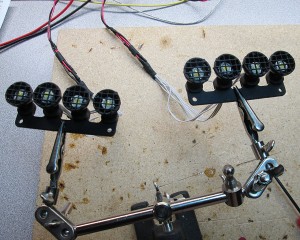
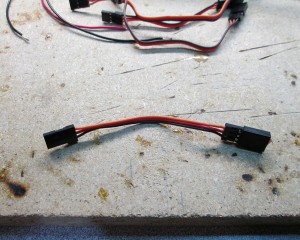
Last step was to solder up some Futaba/JR connectors to the LEDs for easy connections. I’ve used some servo extensions to do the job. Just cut off the male connector and solder the female to the LED leads.
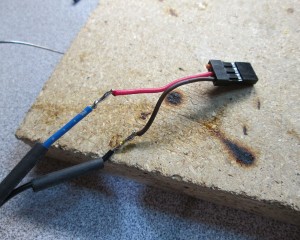
Time to do final mounting to the truck. Routed the wiring through the H frame.
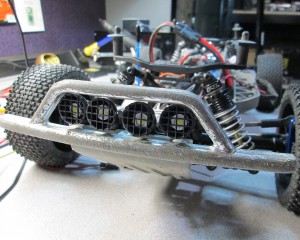
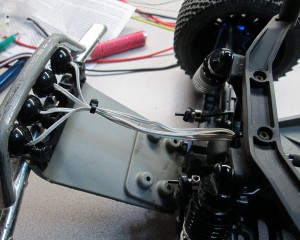
The RPM kit fits perfectly in the bumper using existing screw holes. The LEDs are definitely bright. It huts my eyes just looking at them.
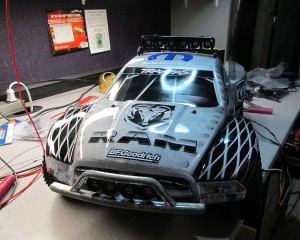
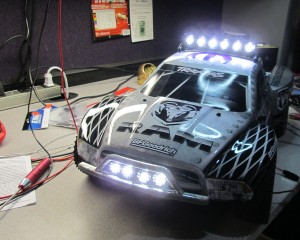
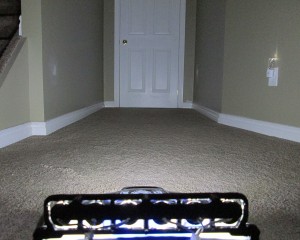
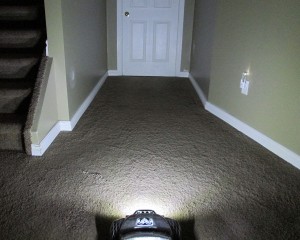
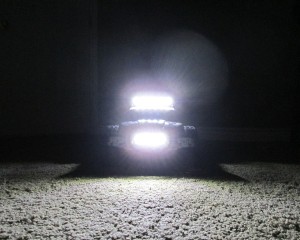
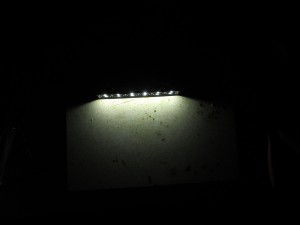
Some night shots. The camera really doesn’t do it justice. These LEDs are very, very bright.
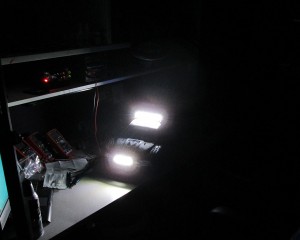
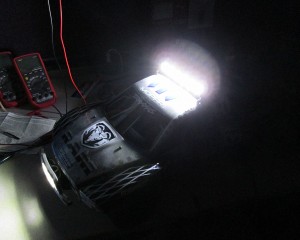
Some quick snaps showing just how much illumination these things provide. Other than the little night light these were taken in near perfect darkness.
