To complete the installation of NexentaStor the system reboots and presents a registration screen with a unique Machine ID. A quick trip to
http://www.nexenta.com/corp/downloads/register-community-download returns an email with the activation code.
The console wizard the proceeds with setting up the management network interface. In this case I select the bnx0 interface that corresponds to the management link I set up earlier.
bnx0 IP Address: 192.168.77.23
bnx0 netmask: 255.255.255.0
bnx0 mtu: 1496 Error.
No worries. There’s a known fix for that. Let’s just skip for now.
Name Server #1: 192.168.77.201
Name Server #2: 192.168.77.202
Name Server #3:
Gateway IP address: 192.168.77.1
Once Nexenta completes internal configuration. Log into the console
username: root
password: nexenta

# setup network interface bnx0 static
bnx0 IP Address: 192.168.77.23
bnx0 netmask: 255.255.255.0
bnx0 mtu: 8982
Warning: changing mtu MAY require driver re-load! Network Interface(s) could be re-initialized.
Change MTU from the current 1496 to 8982 ?  (y/n) y

# setup network interface bnx0 static
bnx0 IP Address: 192.168.77.23
bnx0 netmask: 255.255.255.0
bnx0 mtu: 1500
Warning: changing mtu MAY require driver re-load! Network Interface(s) could be re-initialized.
Change MTU from the current 8982 to 1500 ?  (y/n) y

# ping www.google.ca
www.google.ca is alive
Yay. Server is online. While at it, might as well check for any updates.
# setup appliance upgrade
Checking repository sources. Please wait...
No new upgrades/packages available.
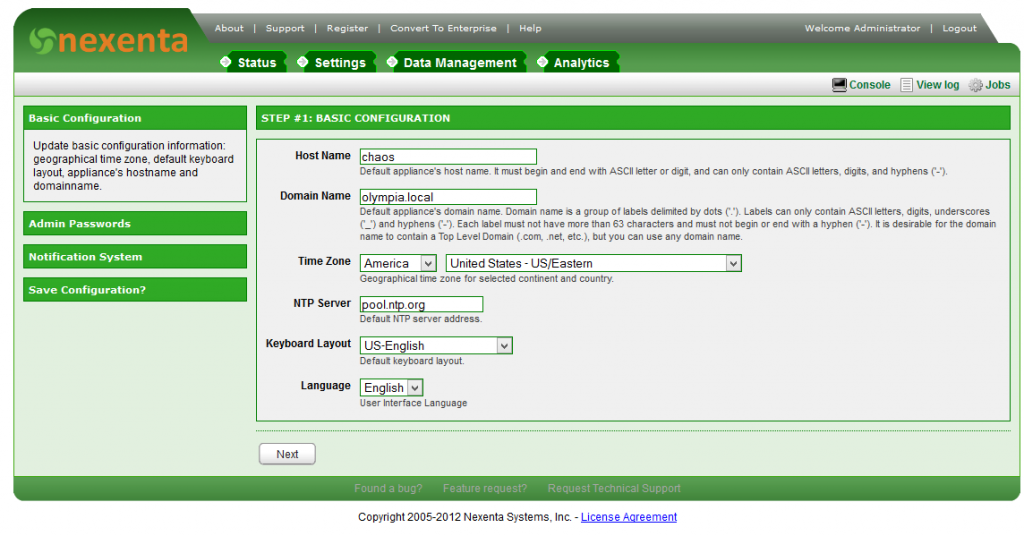
Now to go back to the Web UI to complete the configuration of the filer.

Ran into an issue configuring the Jumbo Frames on the Intel PRO/1000 VT card.
For whatever reason NexentaStor will only allow ports 3 and 4 (igb2/igb3) to bet set to jumbo frames (9K). Attempting to set igb0/igb1 port to Jumbo Frames will result in error:
SystemCallError: failed to configure igb0 with ip 192.168.91.1 netmask 255.255.255.0 mtu 9000 broadcast + up: ifconfig: setifmtu: SIOCSLIFMTU: igb0: Invalid argument
This of course doesn’t make sense since Intel Pro cards are on Nexenta’s HCL. To fix this, gotta get into the guts of the OS. In Console or through SSH:
# option expert_mode="1" -s
# !bash
You are about to enter the Unix ("raw") shell and execute low-level Unix command(s). Warning: using low-level Unix commands is not recommended! Execute? Yes
Now the actual solaris shell is enabled and all commands can be accessed. From here I need to disconnect the igb0/igb1 interfaces
# dladm show-phys
LINK MEDIA STATE SPEED DUPLEX DEVICE
bnx2 Ethernet down 0 half bnx2
igb2 Ethernet up 1000 full igb2
bnx0 Ethernet up 1000 full bnx0
igb0 Ethernet up 1000 full igb0
bnx1 Ethernet down 0 half bnx1
bnx3 Ethernet down 0 half bnx3
igb3 Ethernet up 1000 full igb3
igb1 Ethernet up 1000 full igb1

# dladm show-linkprop -p mtu igb0
LINK PROPERTY PERM VALUE DEFAULT POSSIBLE
igb0 mtu r- 1500 1500 60-9000
Well, that’s interesting. Why can’t we set it then?
# ifconfig igb0 unplumb
# dladm set-linkprop -p mtu=9000 igb0
# ifconfig igb0 plumb 192.168.91.1 up
Now repeat for igb1. Once igb1 has been configured
# exit
Important: To re-sync the appliance's management state information, please
consider running 'setup appliance nms restart' command.

# setup appliance nms restart
Trying to gain exclusive access to the appliance.
This operation may take up to 30 seconds to complete. Please wait...
Exclusive access granted.
This operation will make Nexenta Management Server temporarily unavailable. Proceed? Yes
Restarting NMS. Please wait...
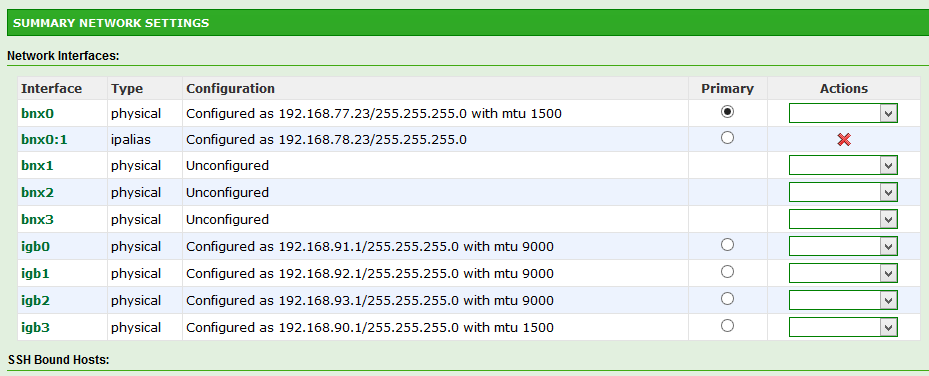
Now to go back to the web interface and configure the IP. Not sure why this needs to be done again. But it works fine this time.

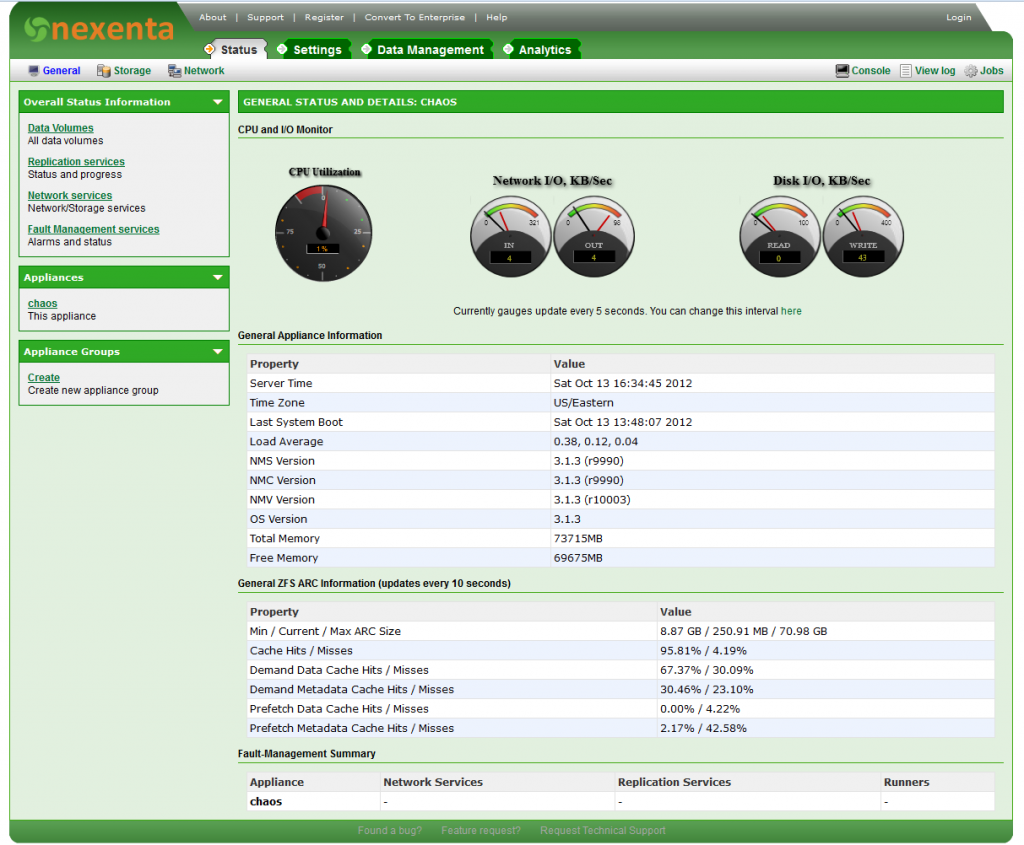
Once the rest of the wizard is completed the status screen shows the current configuration.

In Part 3 I’ll be doing some benchmarks…
Pingback: Setup MTU size on Nexenta | Netværkstossen og skabsdatalogens IT-blog